{Recipe} Peanut Butter Protein Cheesecake
“Protein Cheesecake” is all the rage right now. Just search the hashtag: #proteincheesecake on Instagram and you’ll find thousands of photos and variations of this protein packed treat. Last week I had some time to experiment in the kitchen, and I came up with an AMAZING recipe for…
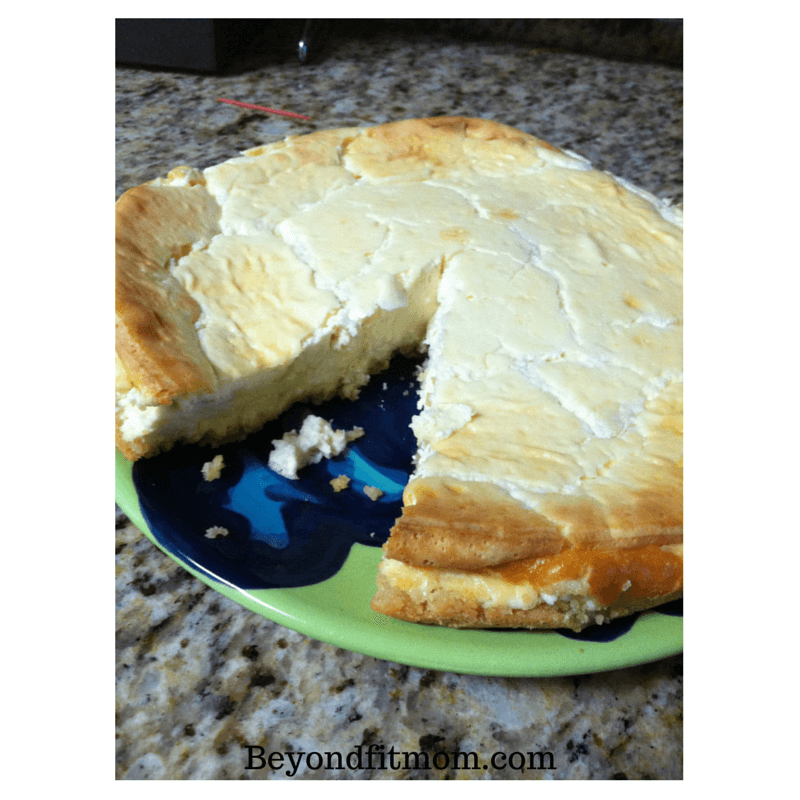
Healthy Peanut Butter Protein Cheesecake! (DROOL!)
First…if you haven’t made BeyondFit’s Vanilla Macadamia Nut Cheesecake definitely give it a try! It’s rich with macadamia nuts, almond flours, and even uses real vanilla beans in the cheesecake. It’s delicious, and definitely a winner!
BUT…if you are looking for something a little less involved, or a “cheesecake” recipe WITHOUT the cream cheese, this healthy peanut butter protein cheesecake is for you!
It tastes just like the real thing, but this healthy protein cheesecake recipe uses greek yogurt instead of the cream cheese!
This post contains affiliate links because it’s fun to share our favorite things! BeyondFit Mom may be compensated when you click on one of these links. Thank you for supporting BeyondFit Mom.
Crust:
• 3/4 C vanilla chai whey protein
• 4 T coconut oil melted
• 1/4 C PB2 peanut butter powder
• 1/2 C almond meal
• 3 T ground flax seeds
• 30 drops stevia
Cheesecake Filling:
• 2 eggs
• 2 C non-fat greek yogurt
• 1/2 C + 2 T stevia in the raw
• 1 T coconut flour
• 1/4 C natural peanut butter
Directions:
- Preheat your oven to 300 degrees F.
- Beat the eggs, add in the greek yogurt and whisk until smooth. Next, add in the peanut butter and whisk. Slowly add in the stevia and coconut flour.
- Coat an 8×8 pan in coconut oil.
- To make the crust, mix almond meal, flax, whey protein, PB2 and liquid stevia.
- Drizzle in the melted coconut oil and stir until its all combined.
- Press the peanut butter crust mixture evenly into the bottom of the 8×8 square pan. Pack firmly.
- Pour the cheesecake filling and spread it around so its even.
- Place in the oven and bake for approximately 45 minutes.
- When it’s done, it will just start to go golden around the edges, and it will jiggle slightly in the middle when you shake it side to side.
- Allow to cool completely and store in fridge to chill completely for 1-2 hours before storing.
- Keep stored in the fridge with tin foil over top of the pan.
ENJOY!!
Want more great recipes?
Check out our SUMMER SIZZLE RECIPE SERIES on the blog!