30 Days of Planks
Last November we completed our Planksgiving Challenge by doing a new (and super fun) plank variation everyday. Now, by popular demand, we are posting ALL the Planksgiving planks (pictures + description) here so you can do them too…
If your goal is to work on your abs then this PLANK CHALLENGE is for you….
With 30 days of plank photos and descriptions you can easily view all of the different plank variations!
The challenge: hold the plank of the day for 1 minute!
Make sure to check the challenge board daily for some bonus HEALTHY nutrition tips, recipes and extra motivation added throughout the challenge!
This is going to be a long post so lets get started!
Day 1
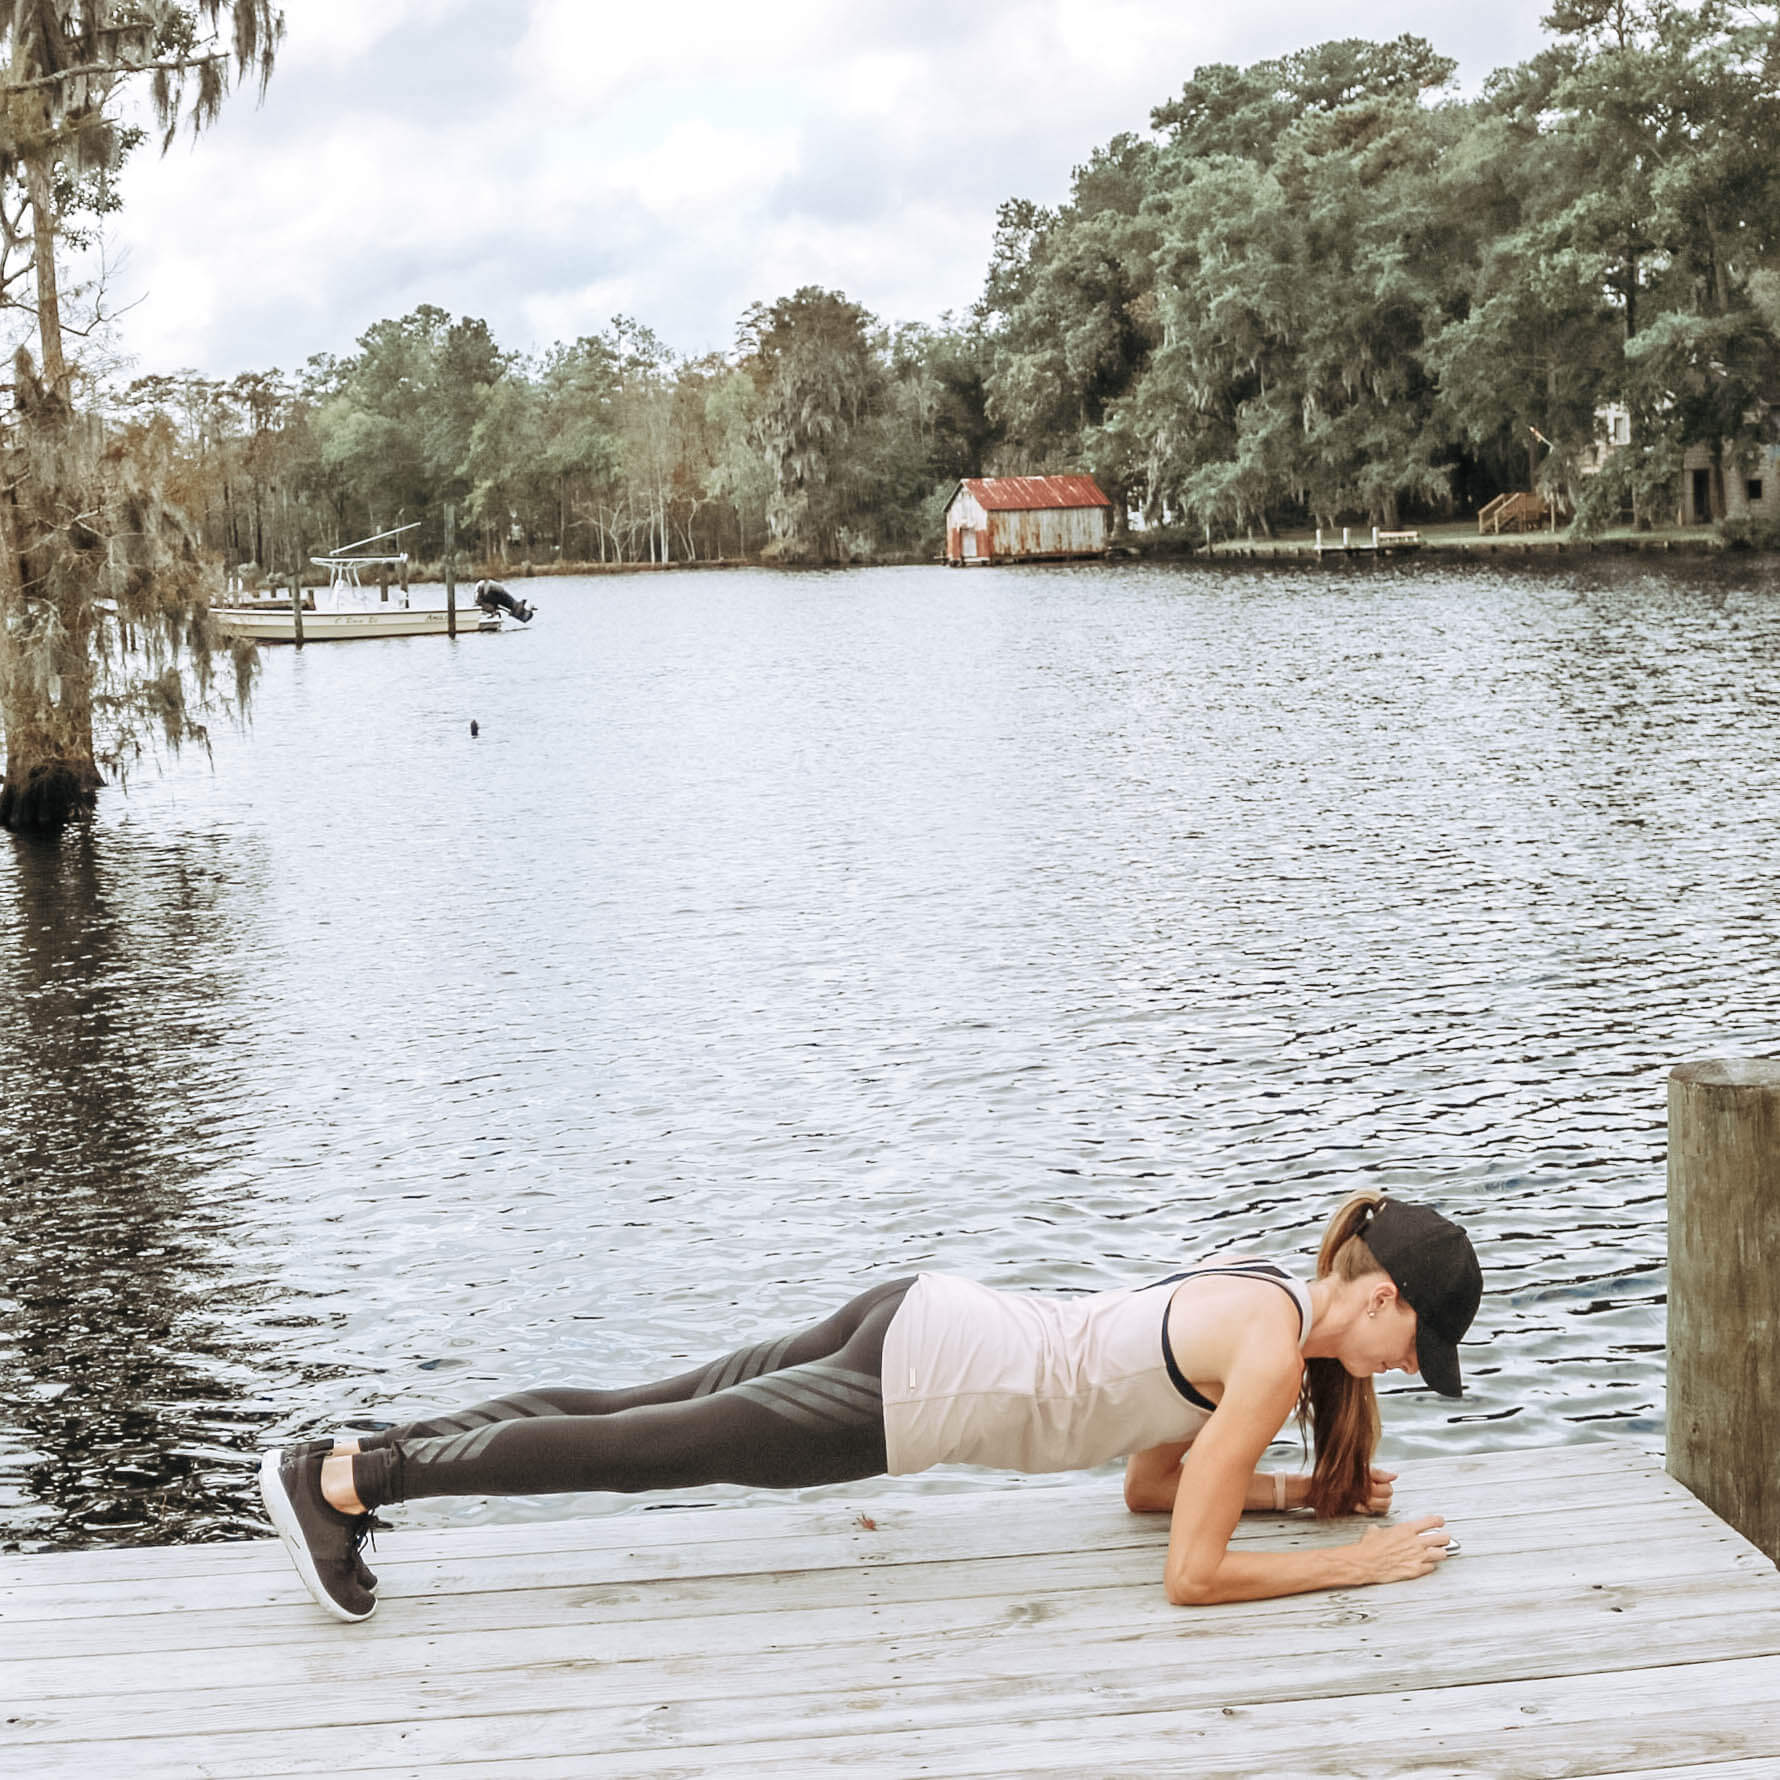
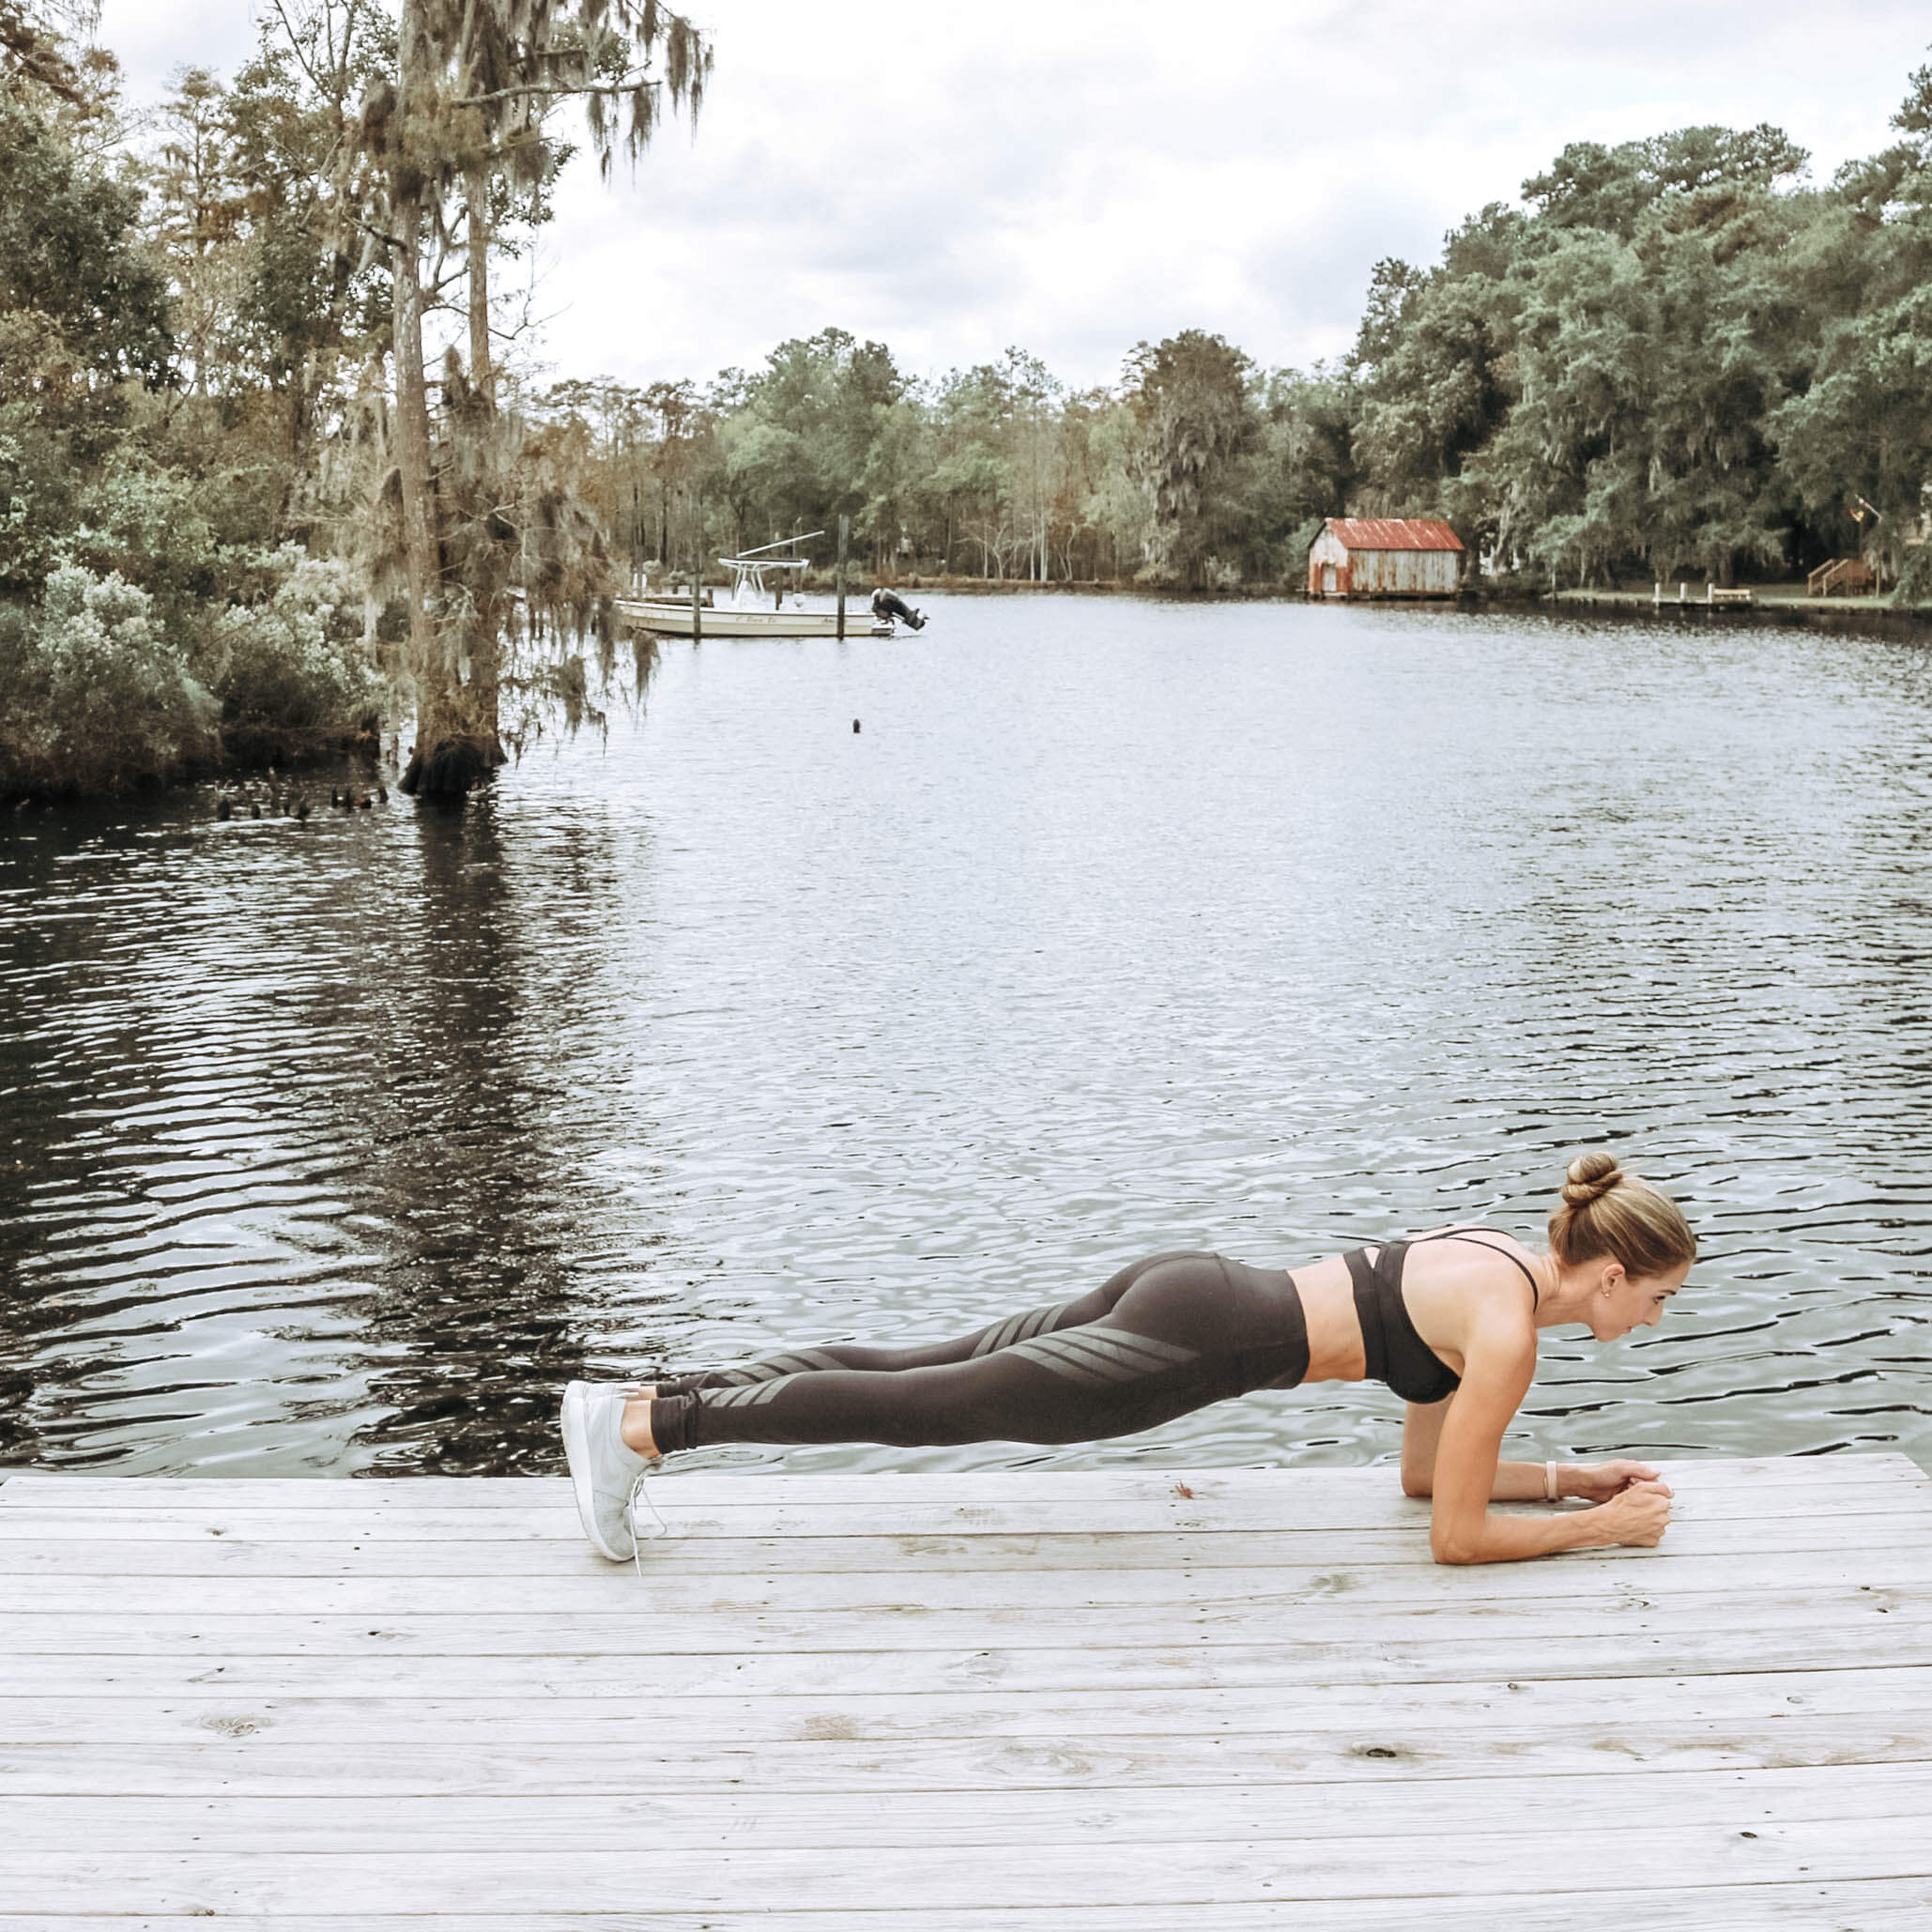
Forearm Plank: Starting from standard plank position, lower yourself until you’re resting on your forearms. Keep forearms parallel to each other with hands flat on the ground or clasped together if that’s more comfortable. (Baby kisses are optional!)
Why we LOVE it: Forearm planks (also known as low planks) are less taxing on your wrists and shoulders but still great for working that core!
Day 2
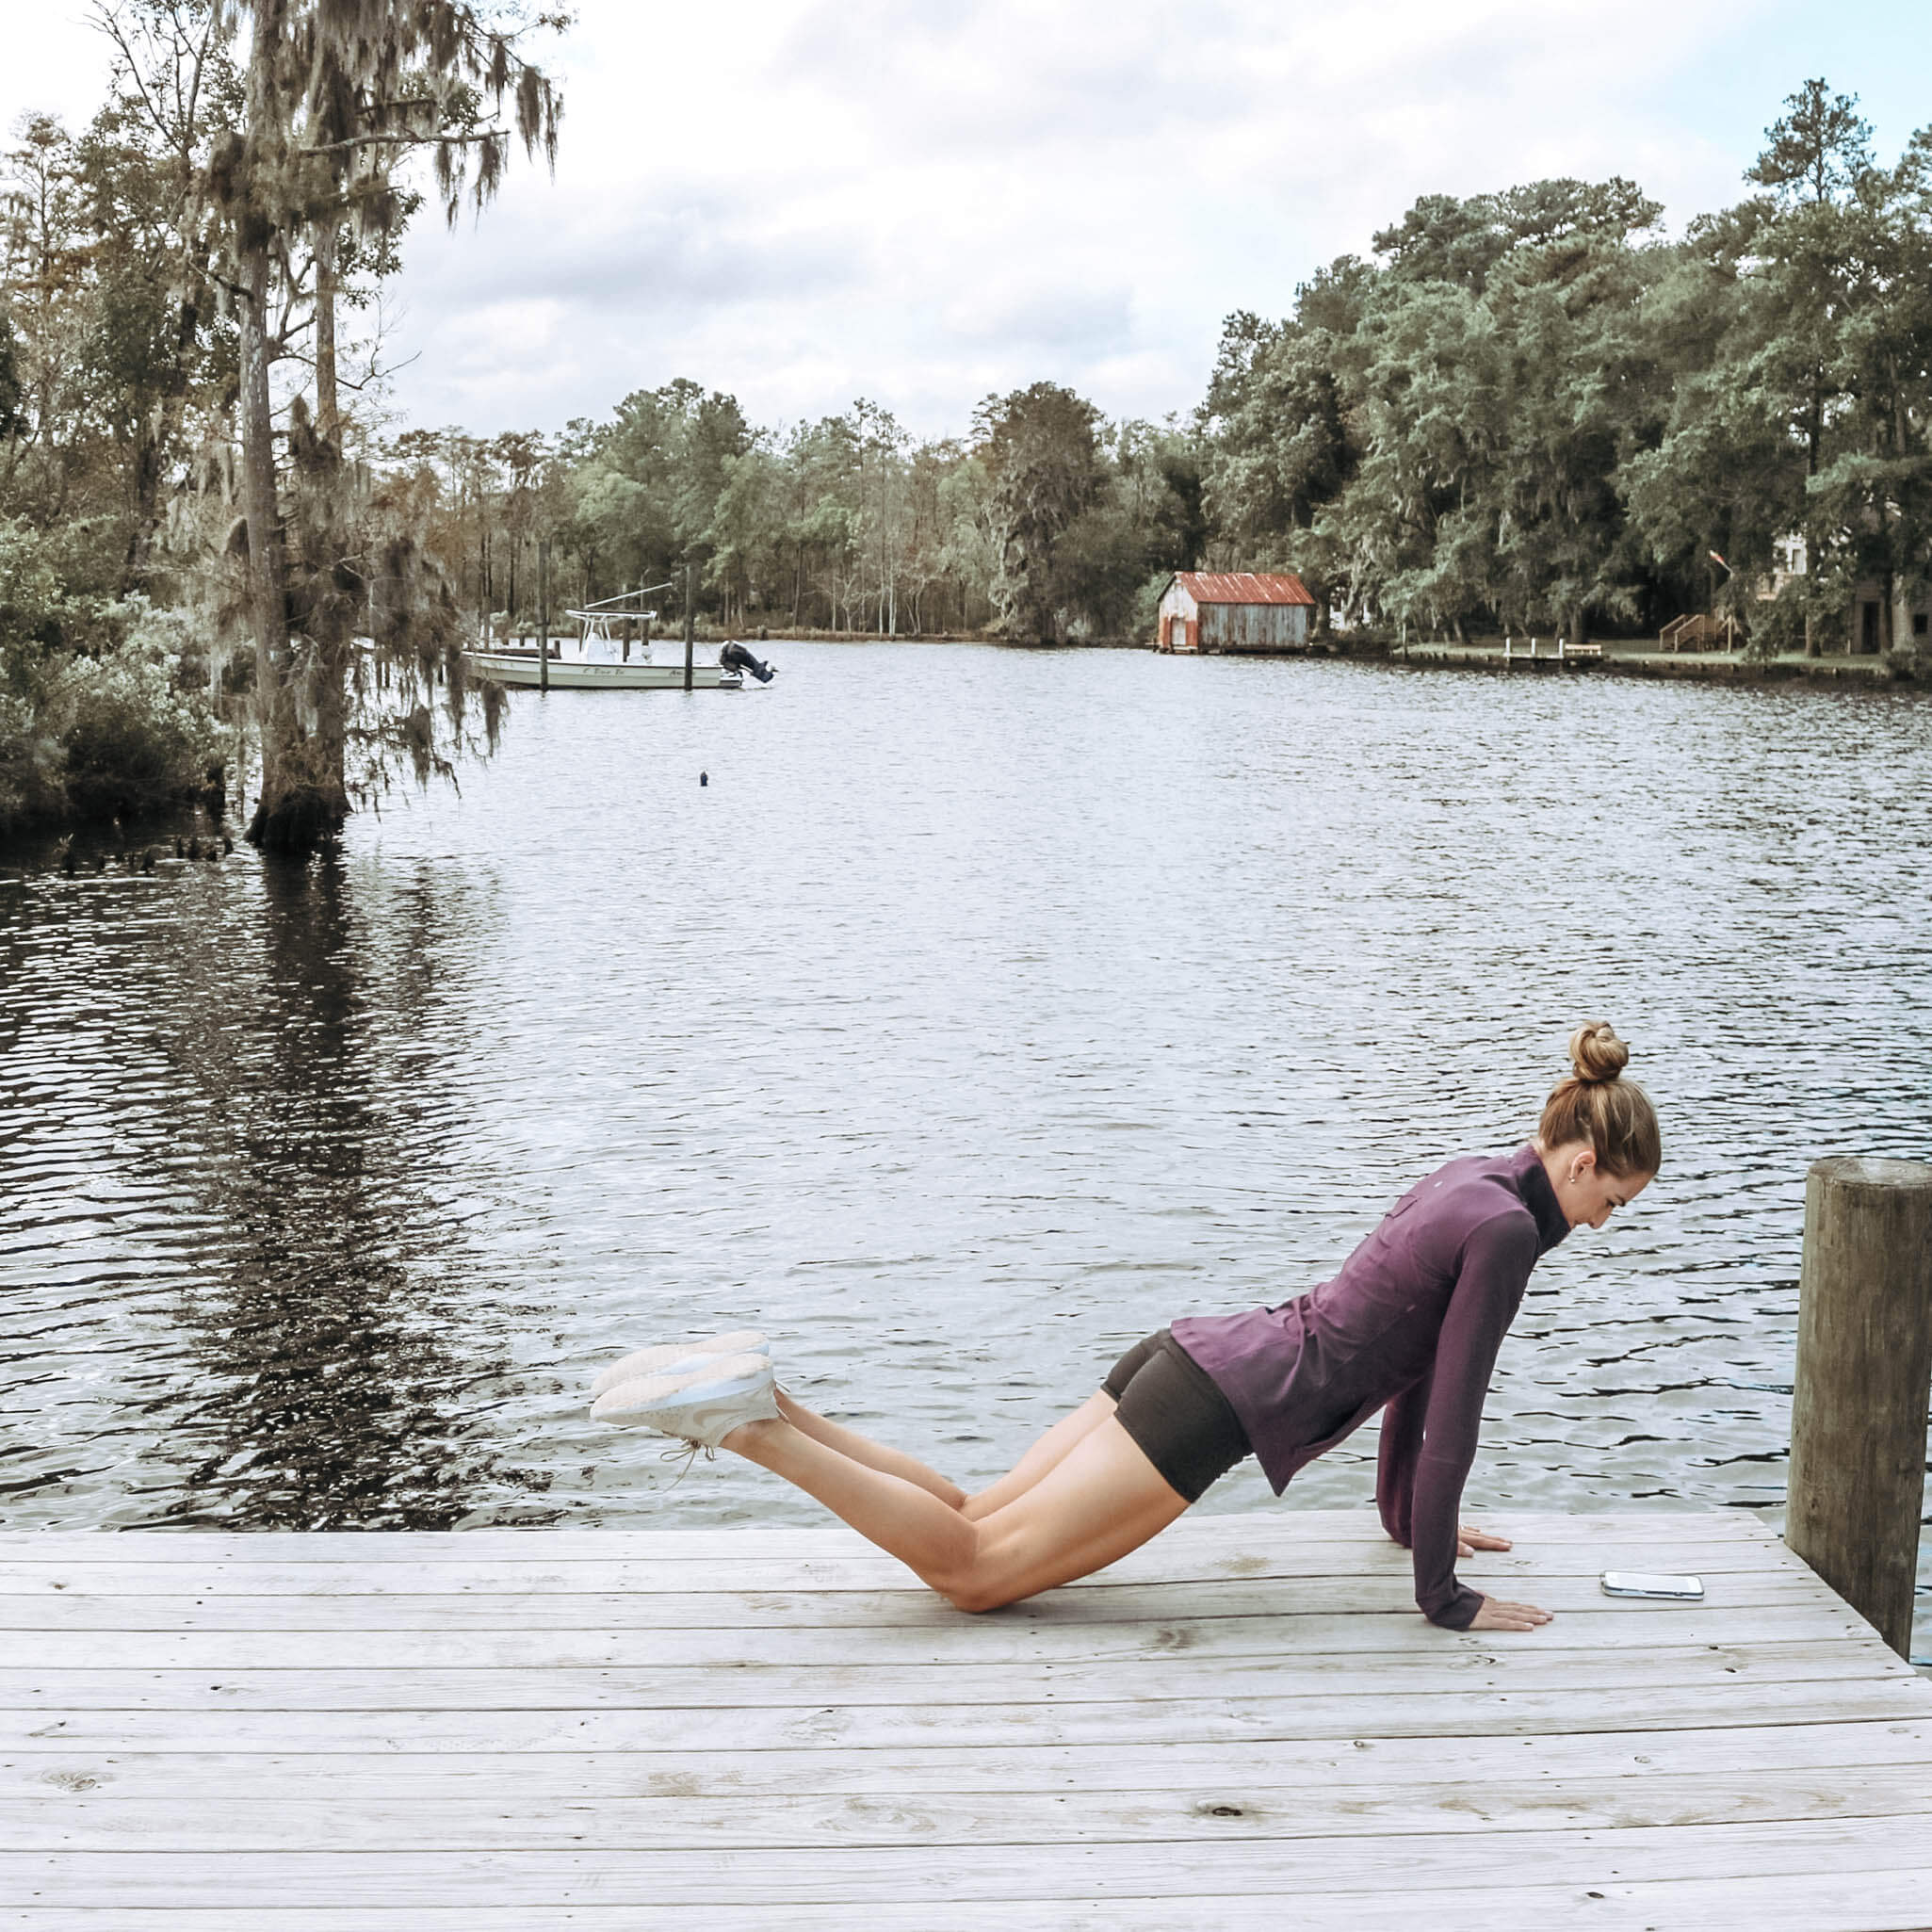
Knee Plank: Keep your back straight and core tight—imagine drawing your bellybutton to your spine (rather than sucking in your stomach). Practice holding it until you can work up to a full standard plank.
Why we LOVE it: This plank is noticeably easier to hold than the traditional straight-arm plank, but it’s great for beginners to concentrate on form. By resting the knees on the ground (or playground- lol), there’s less stress on the lower back. If knees feel uncomfortable, roll up a sticky mat to rest them on. If you’re more advanced, add some resistance(like a crazy toddler).
Day 3
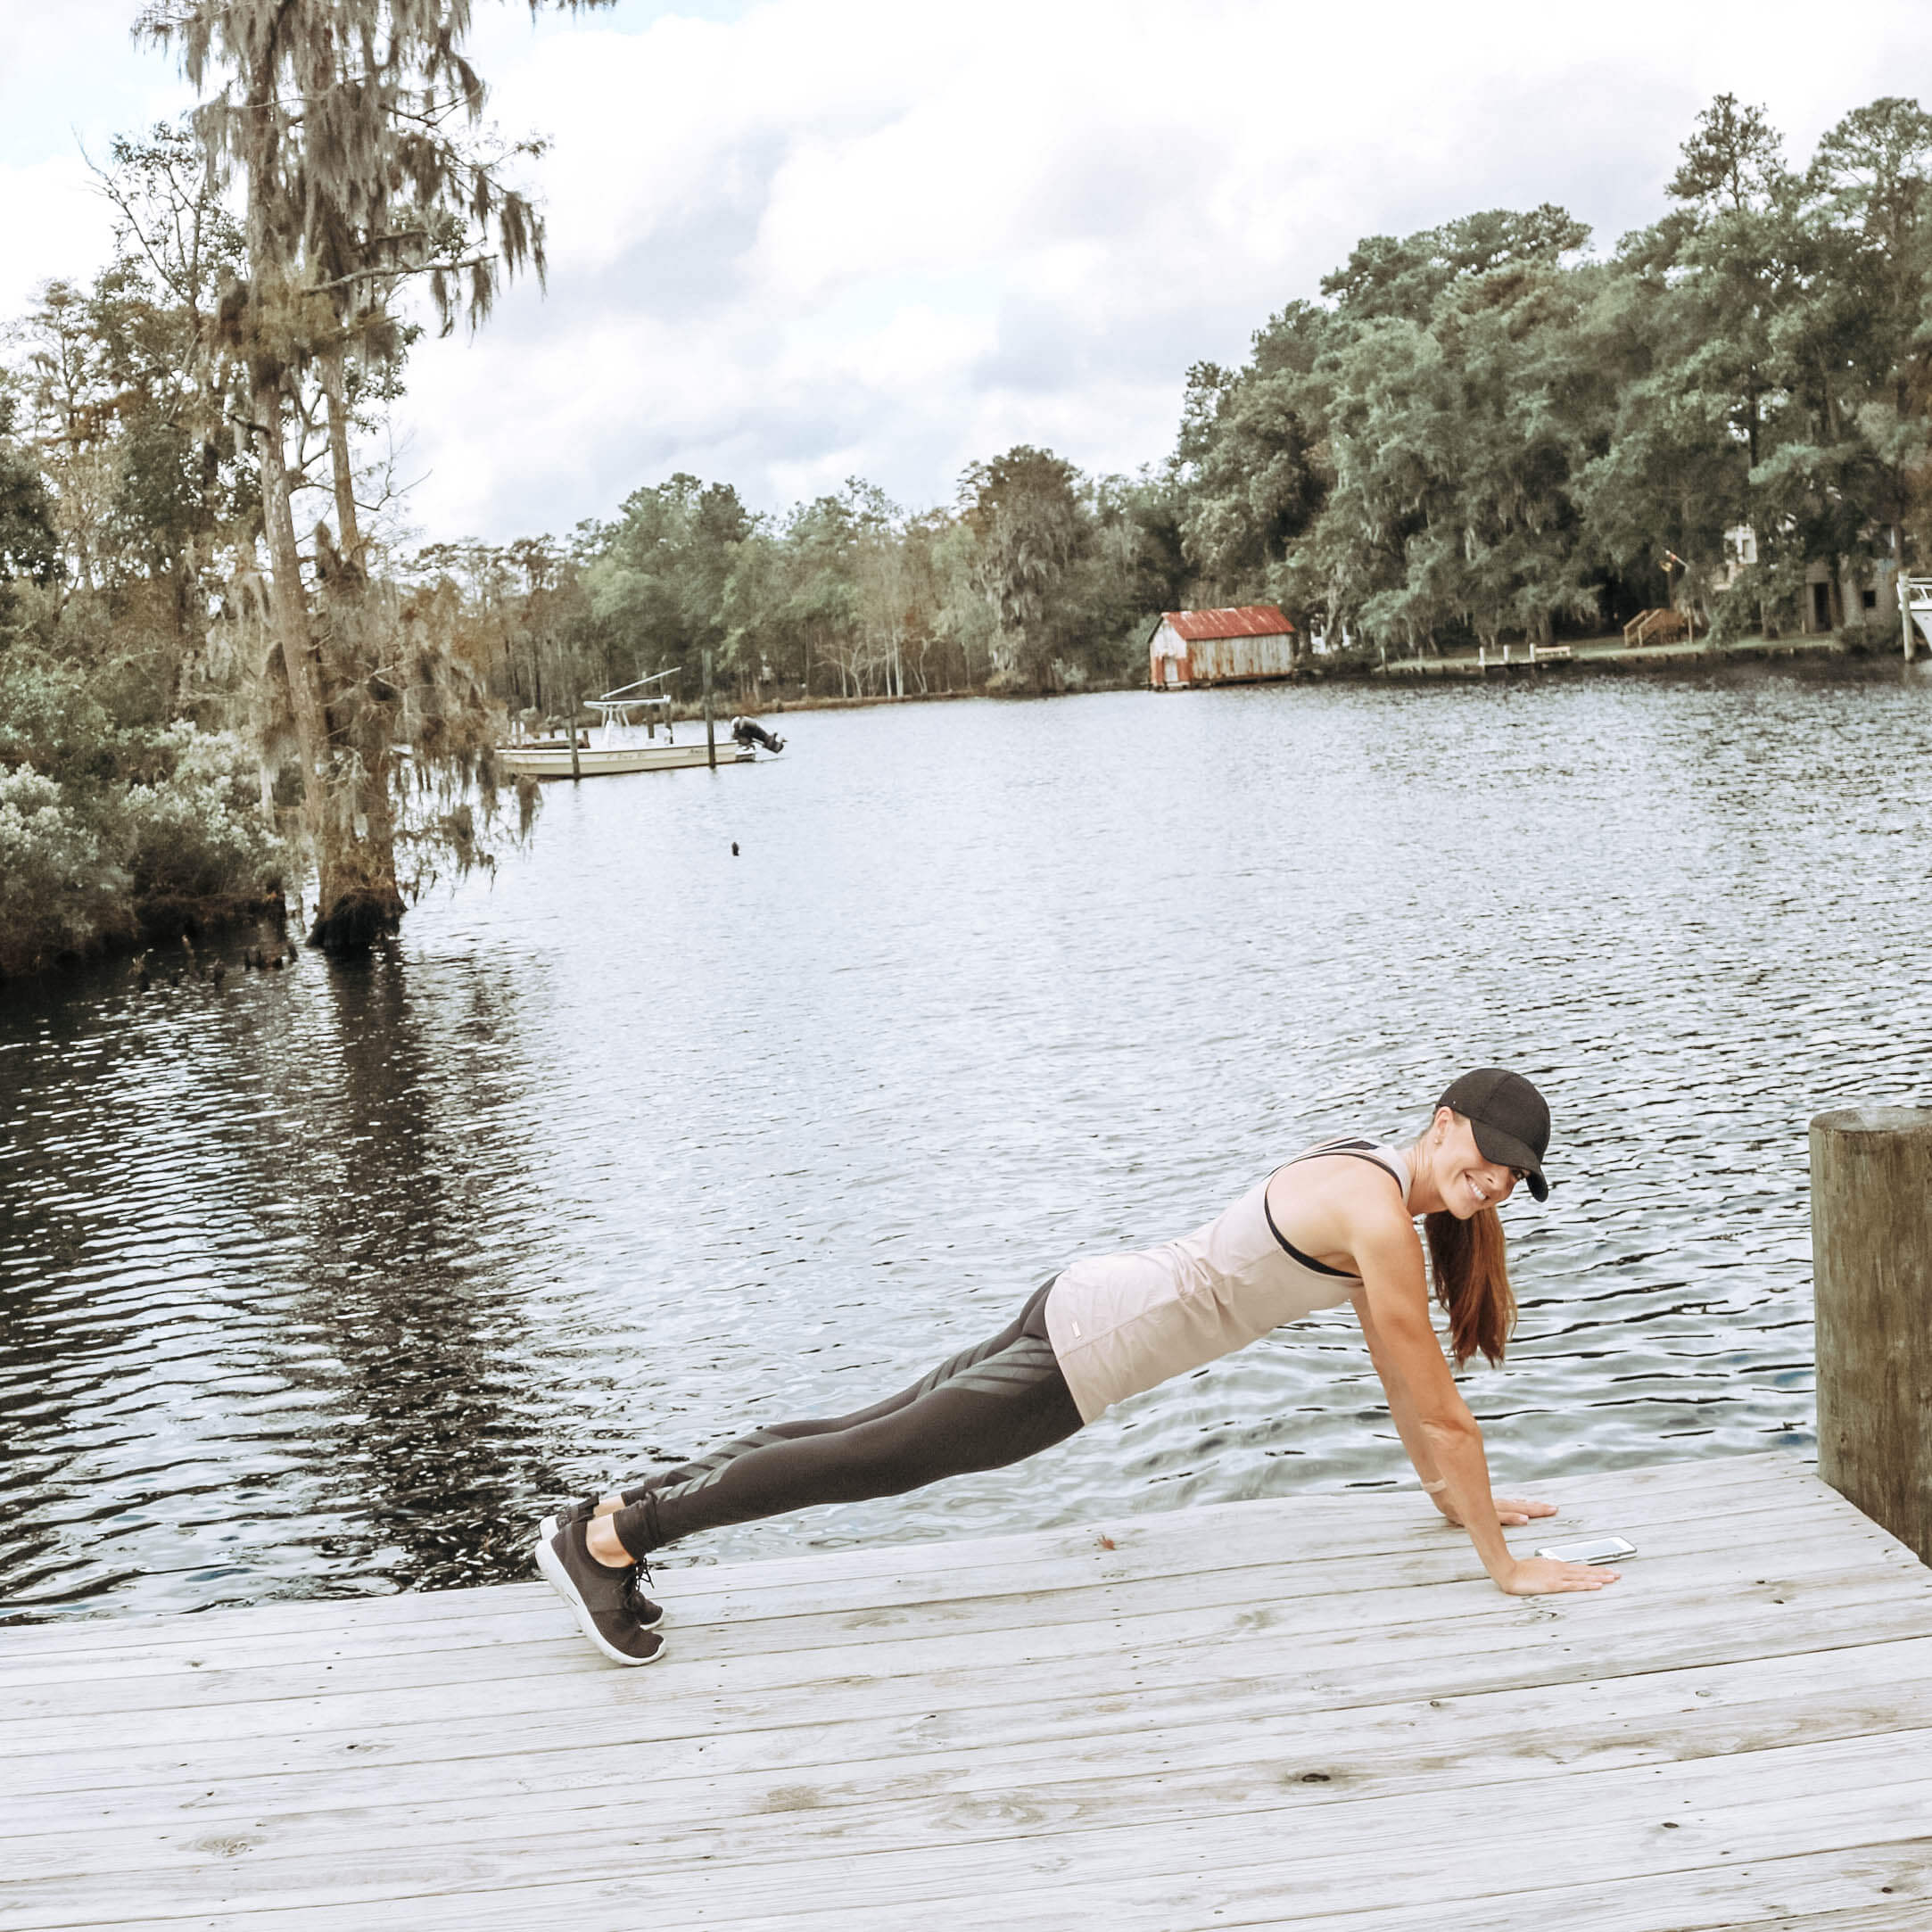
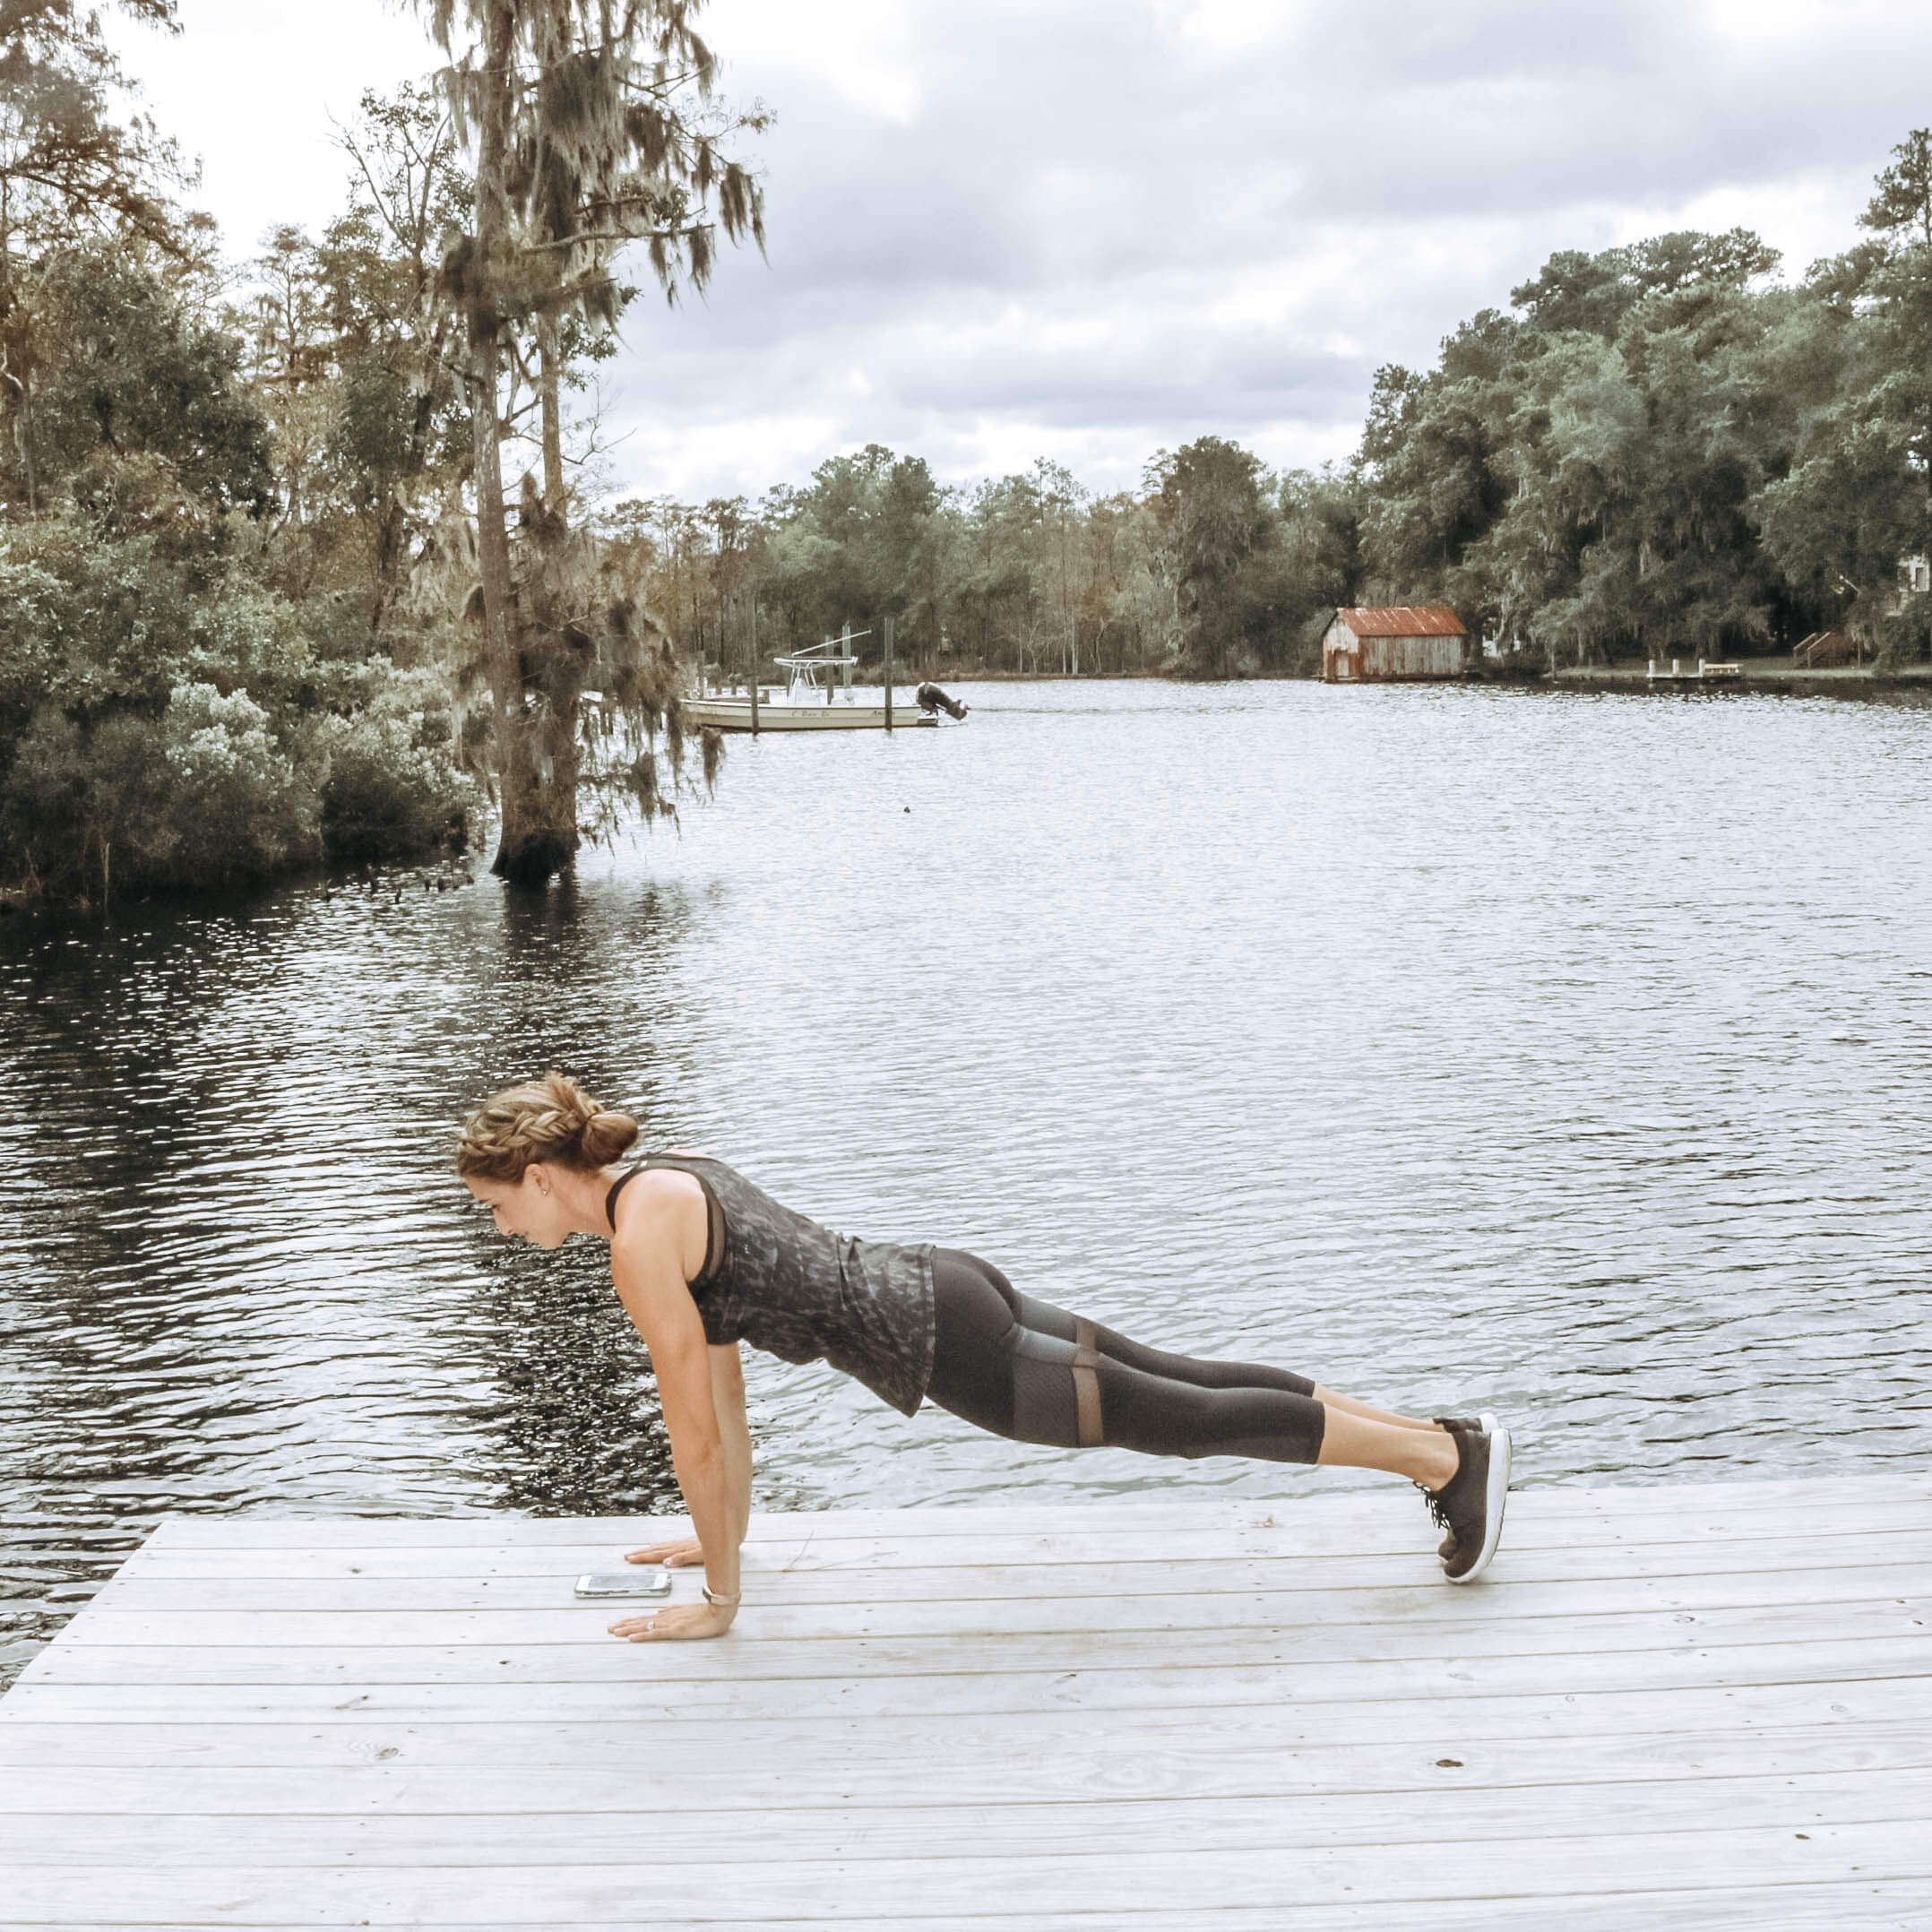
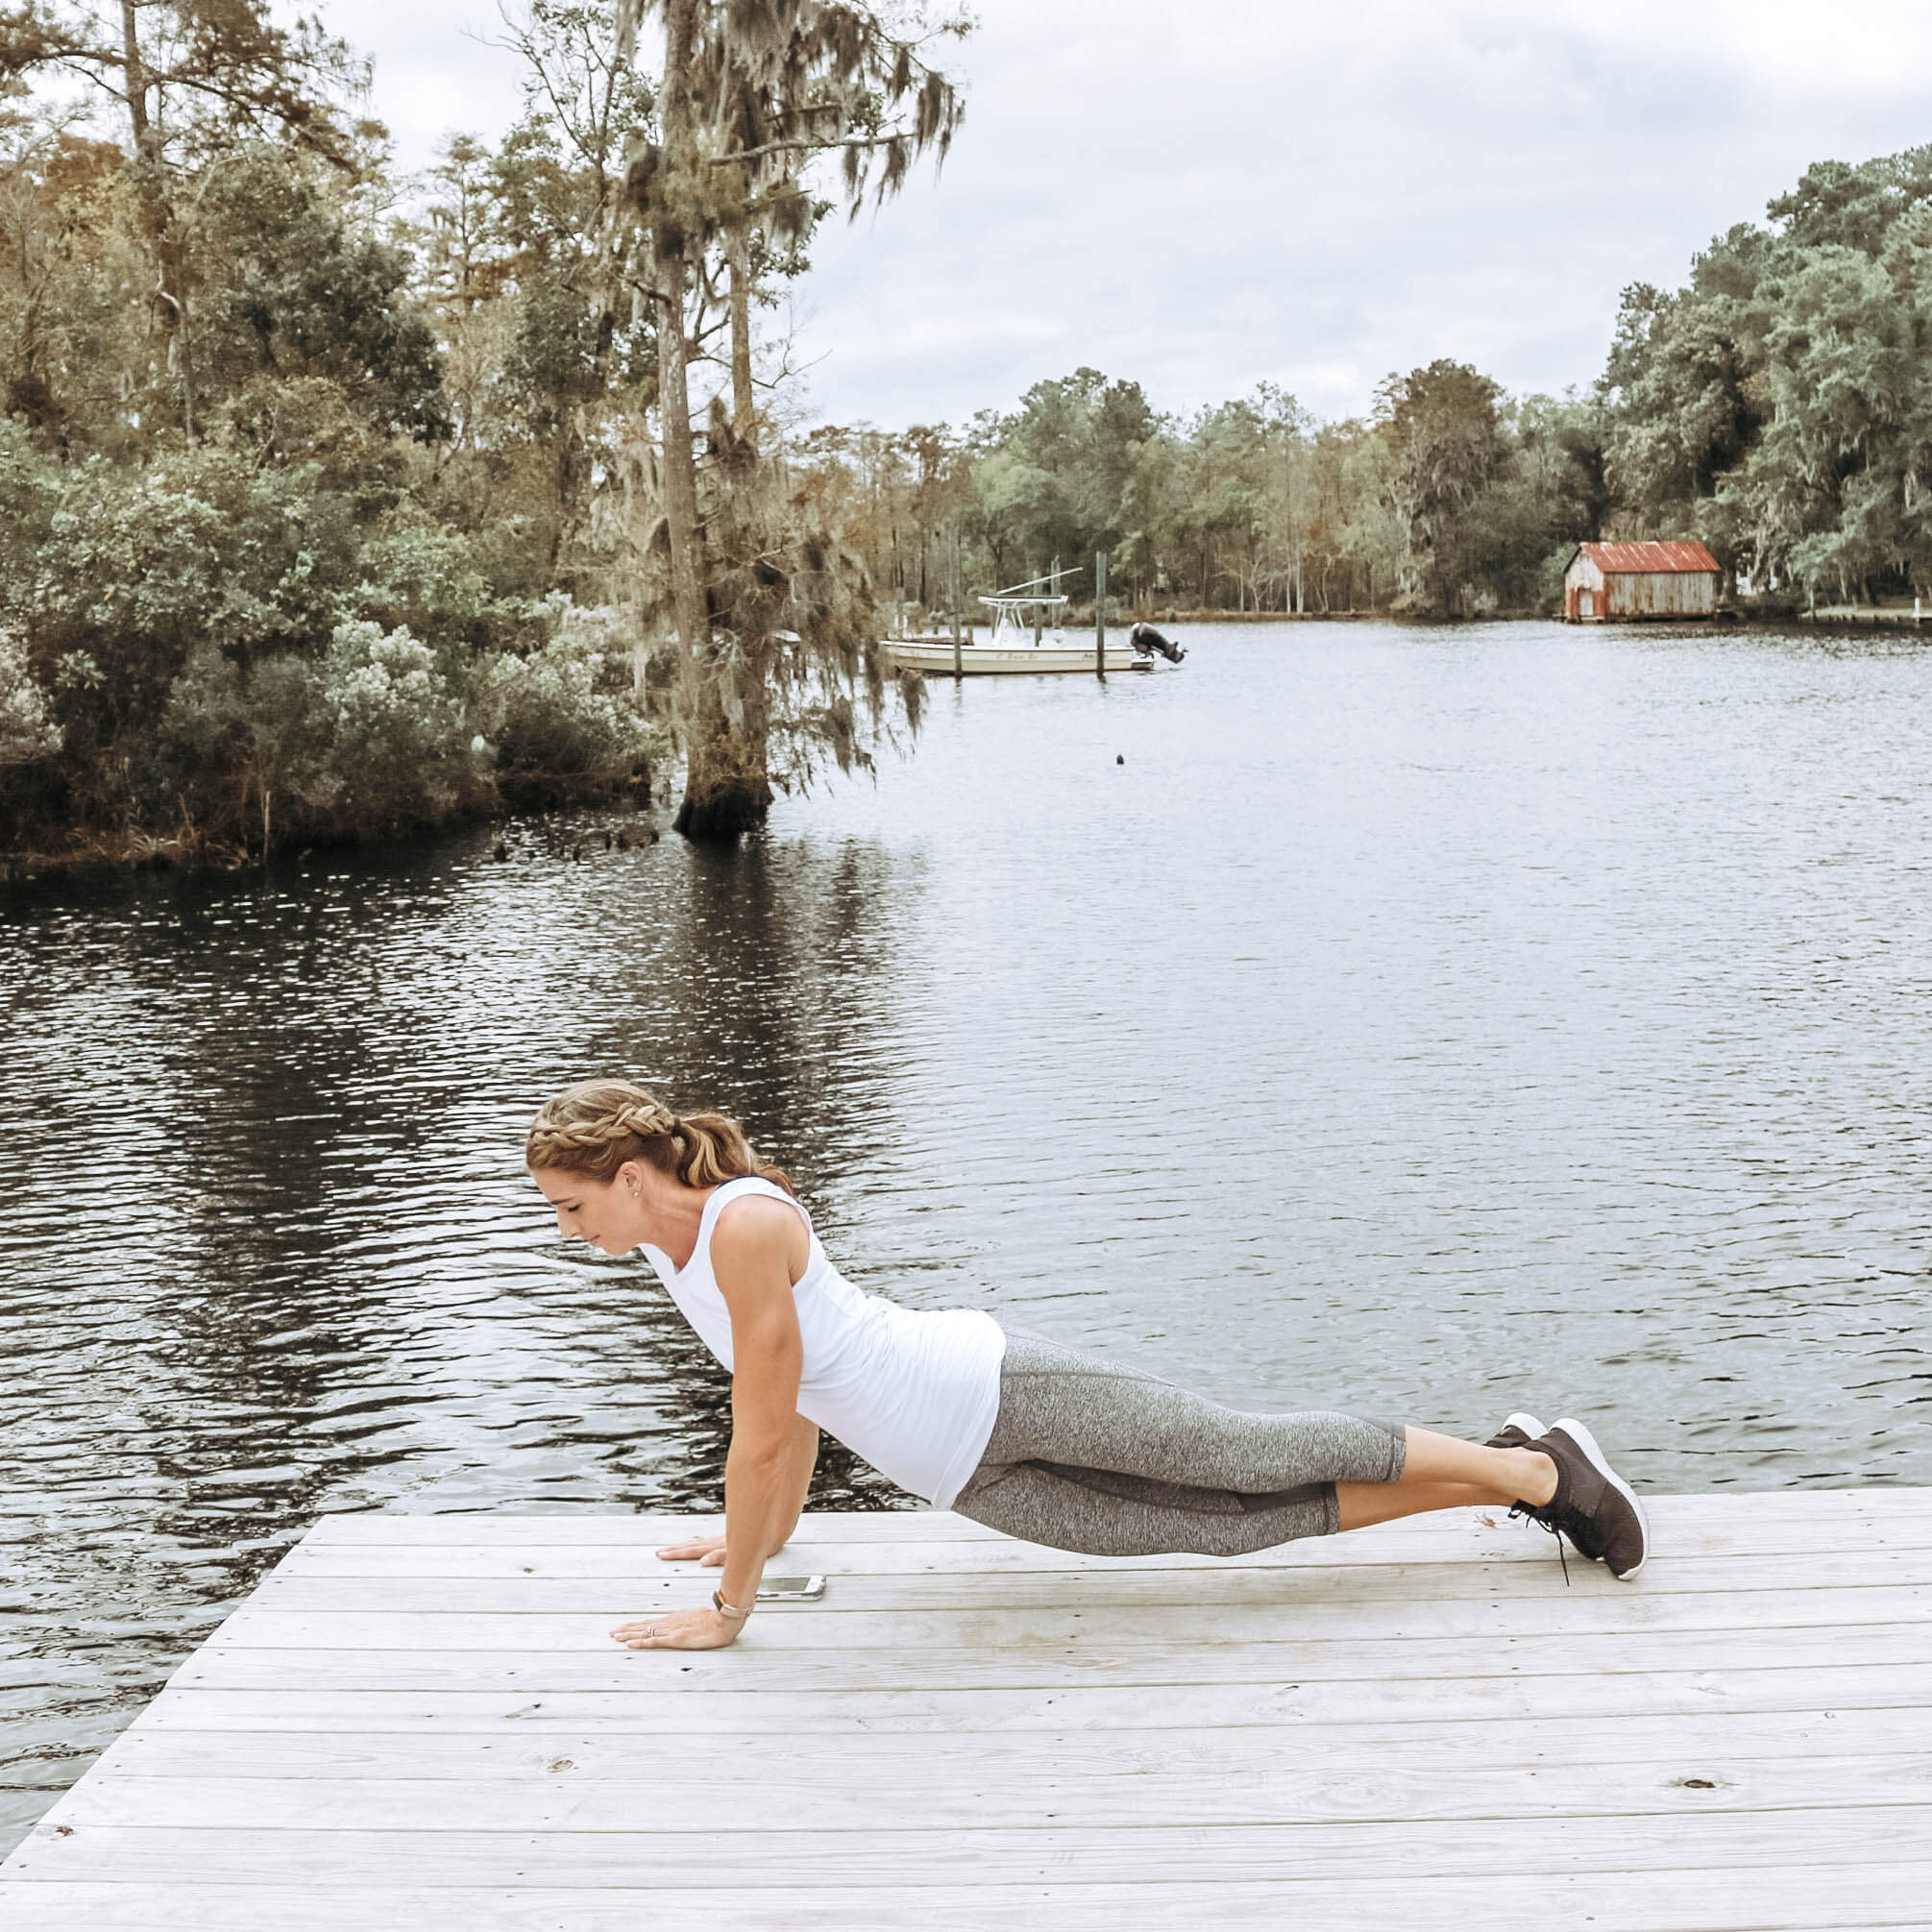
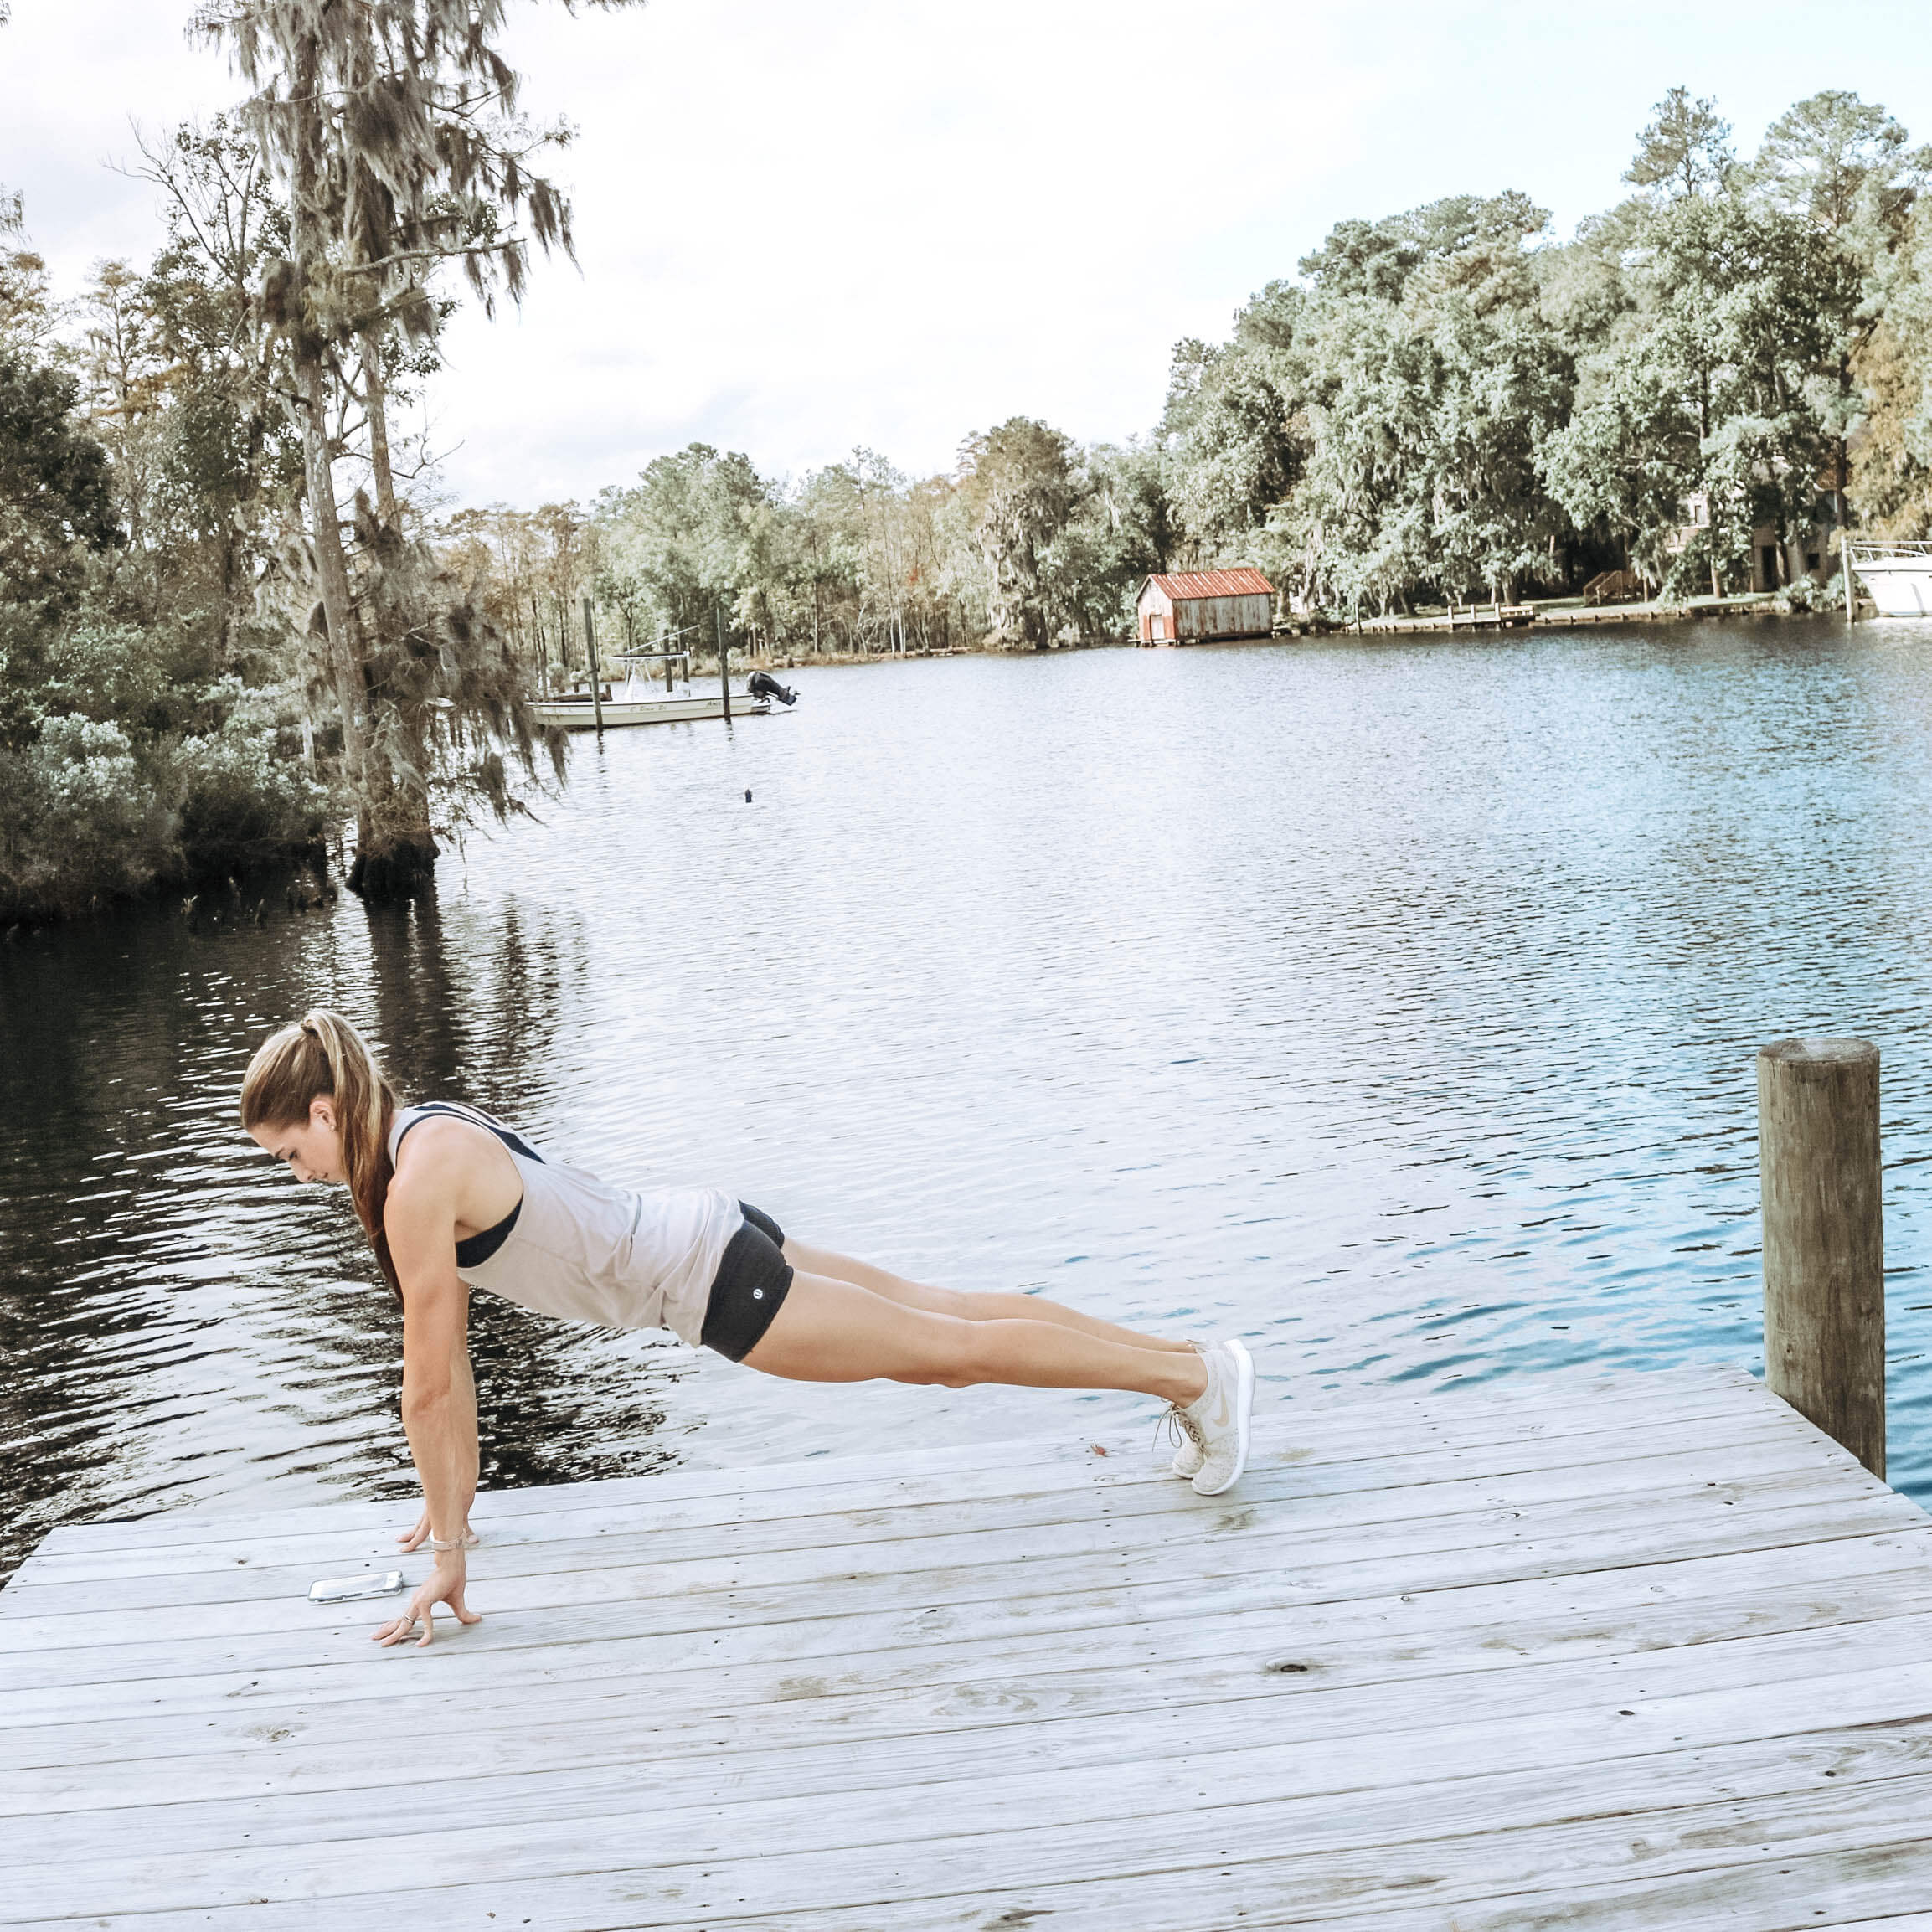
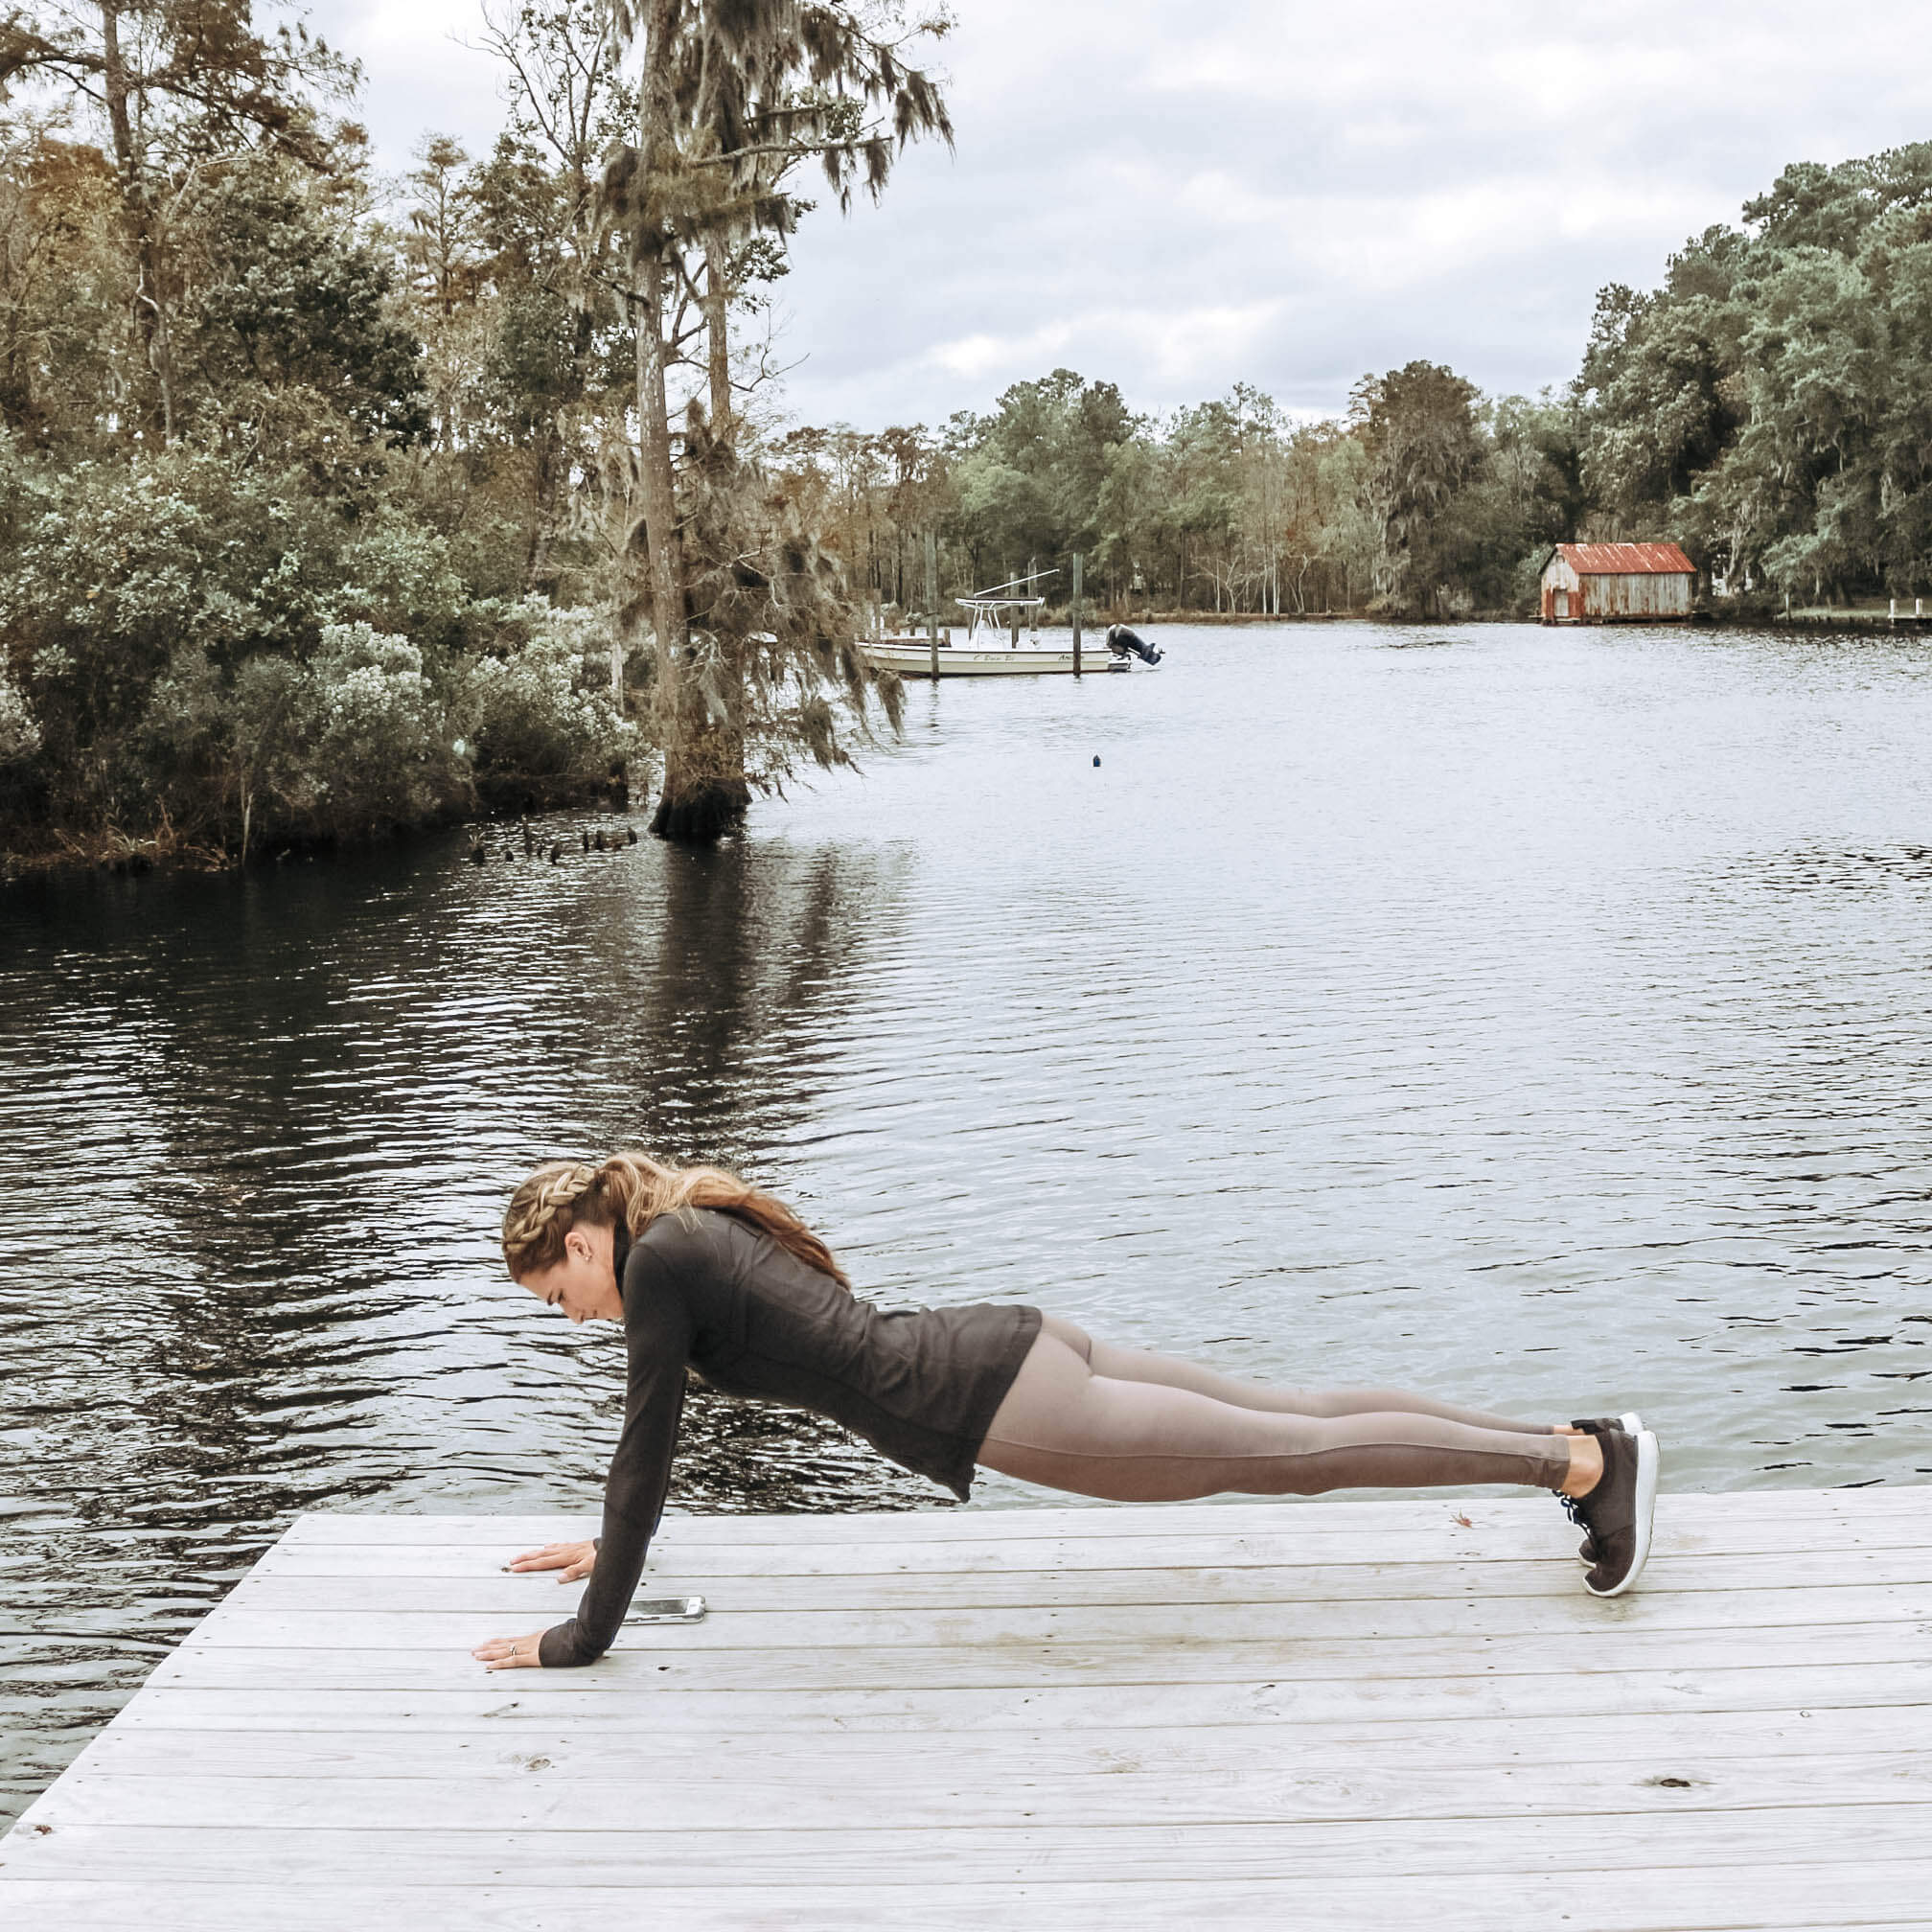
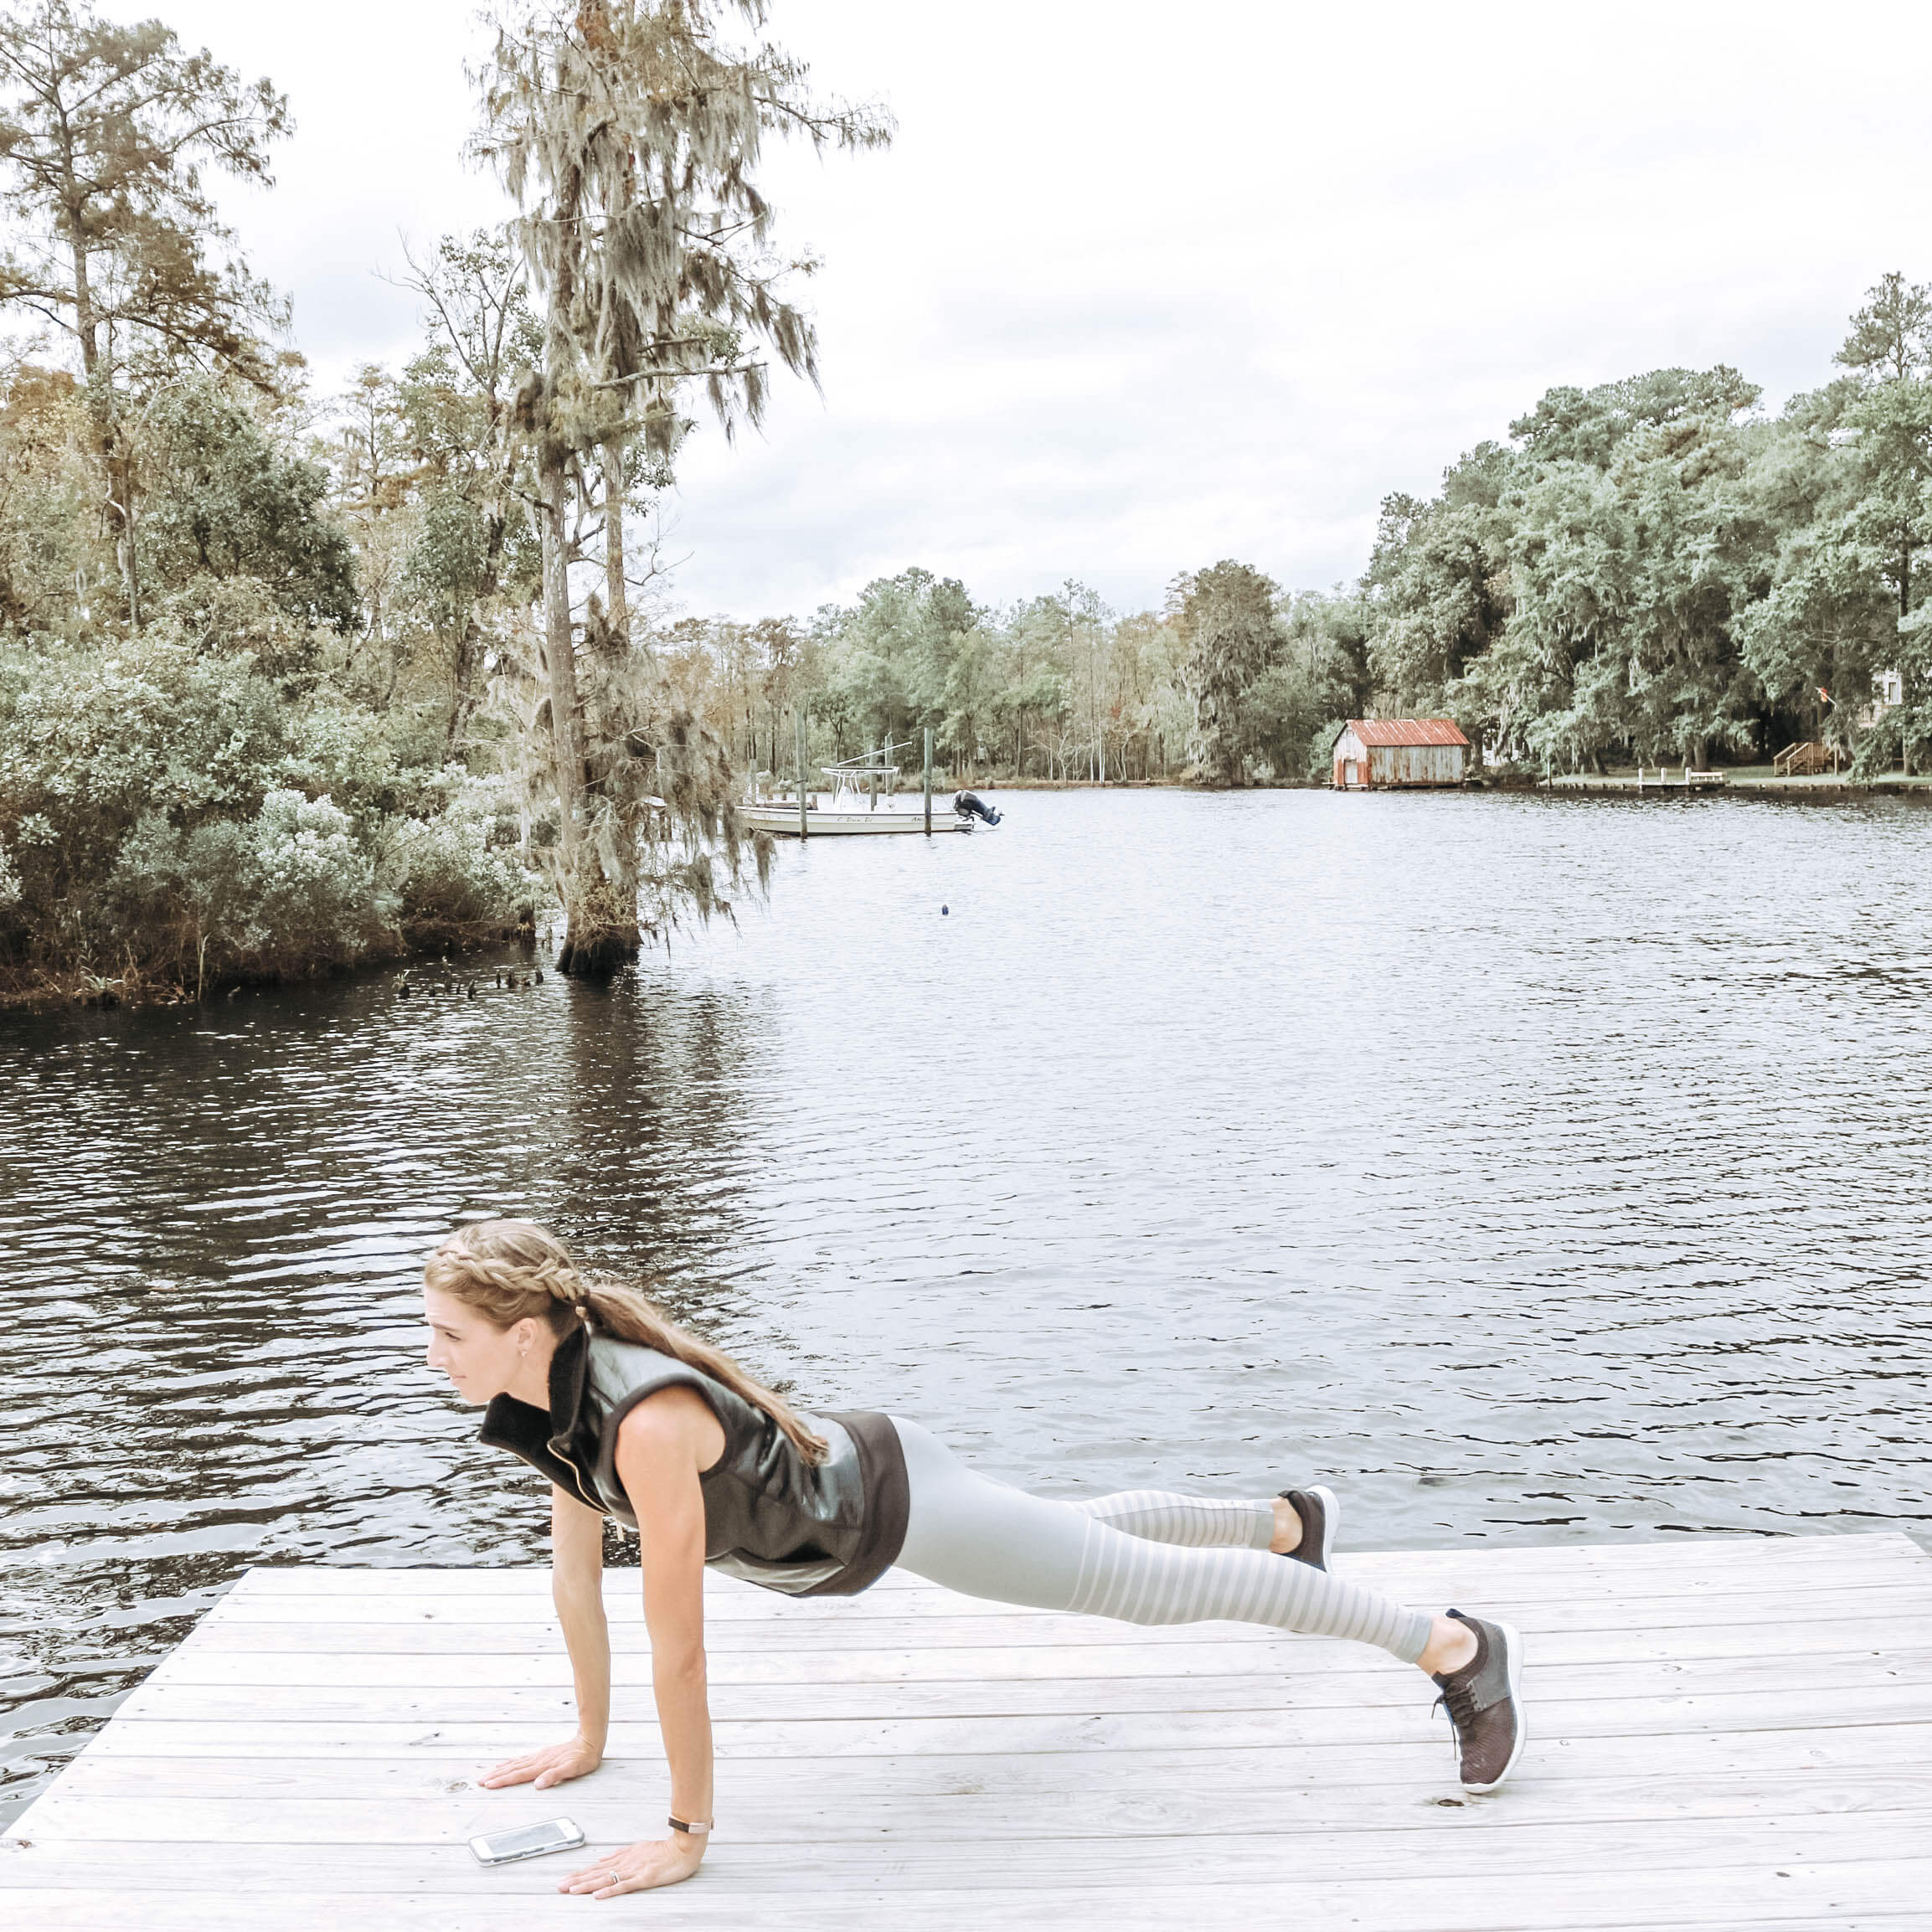
Standard Plank: When it comes to planks, form is everything. Paying close attention to form not only ensures you’ll get a great workout, but also that you’re protecting your body from injury.
Start in tabletop position, kneeling on the floor with hands directly below your shoulders. Lift your knees until you are supporting your weight on just your toes and hands. (As if you are, you know, a plank!). Spread your fingers to make a wide, stable base.
Line up your shoulders over your hands and heels over toes. Hold your body in a straight line from the top of your head down to your heels. Hold your core in tight, being careful not to let your stomach sag or your back round out.
Why we LOVE it: In addition to your core, the high plank also uses your body weight to sculpt your shoulders and arms. To challenge yourself, working your way from your toes up to the shoulders, flex every muscle you can.
Day 4
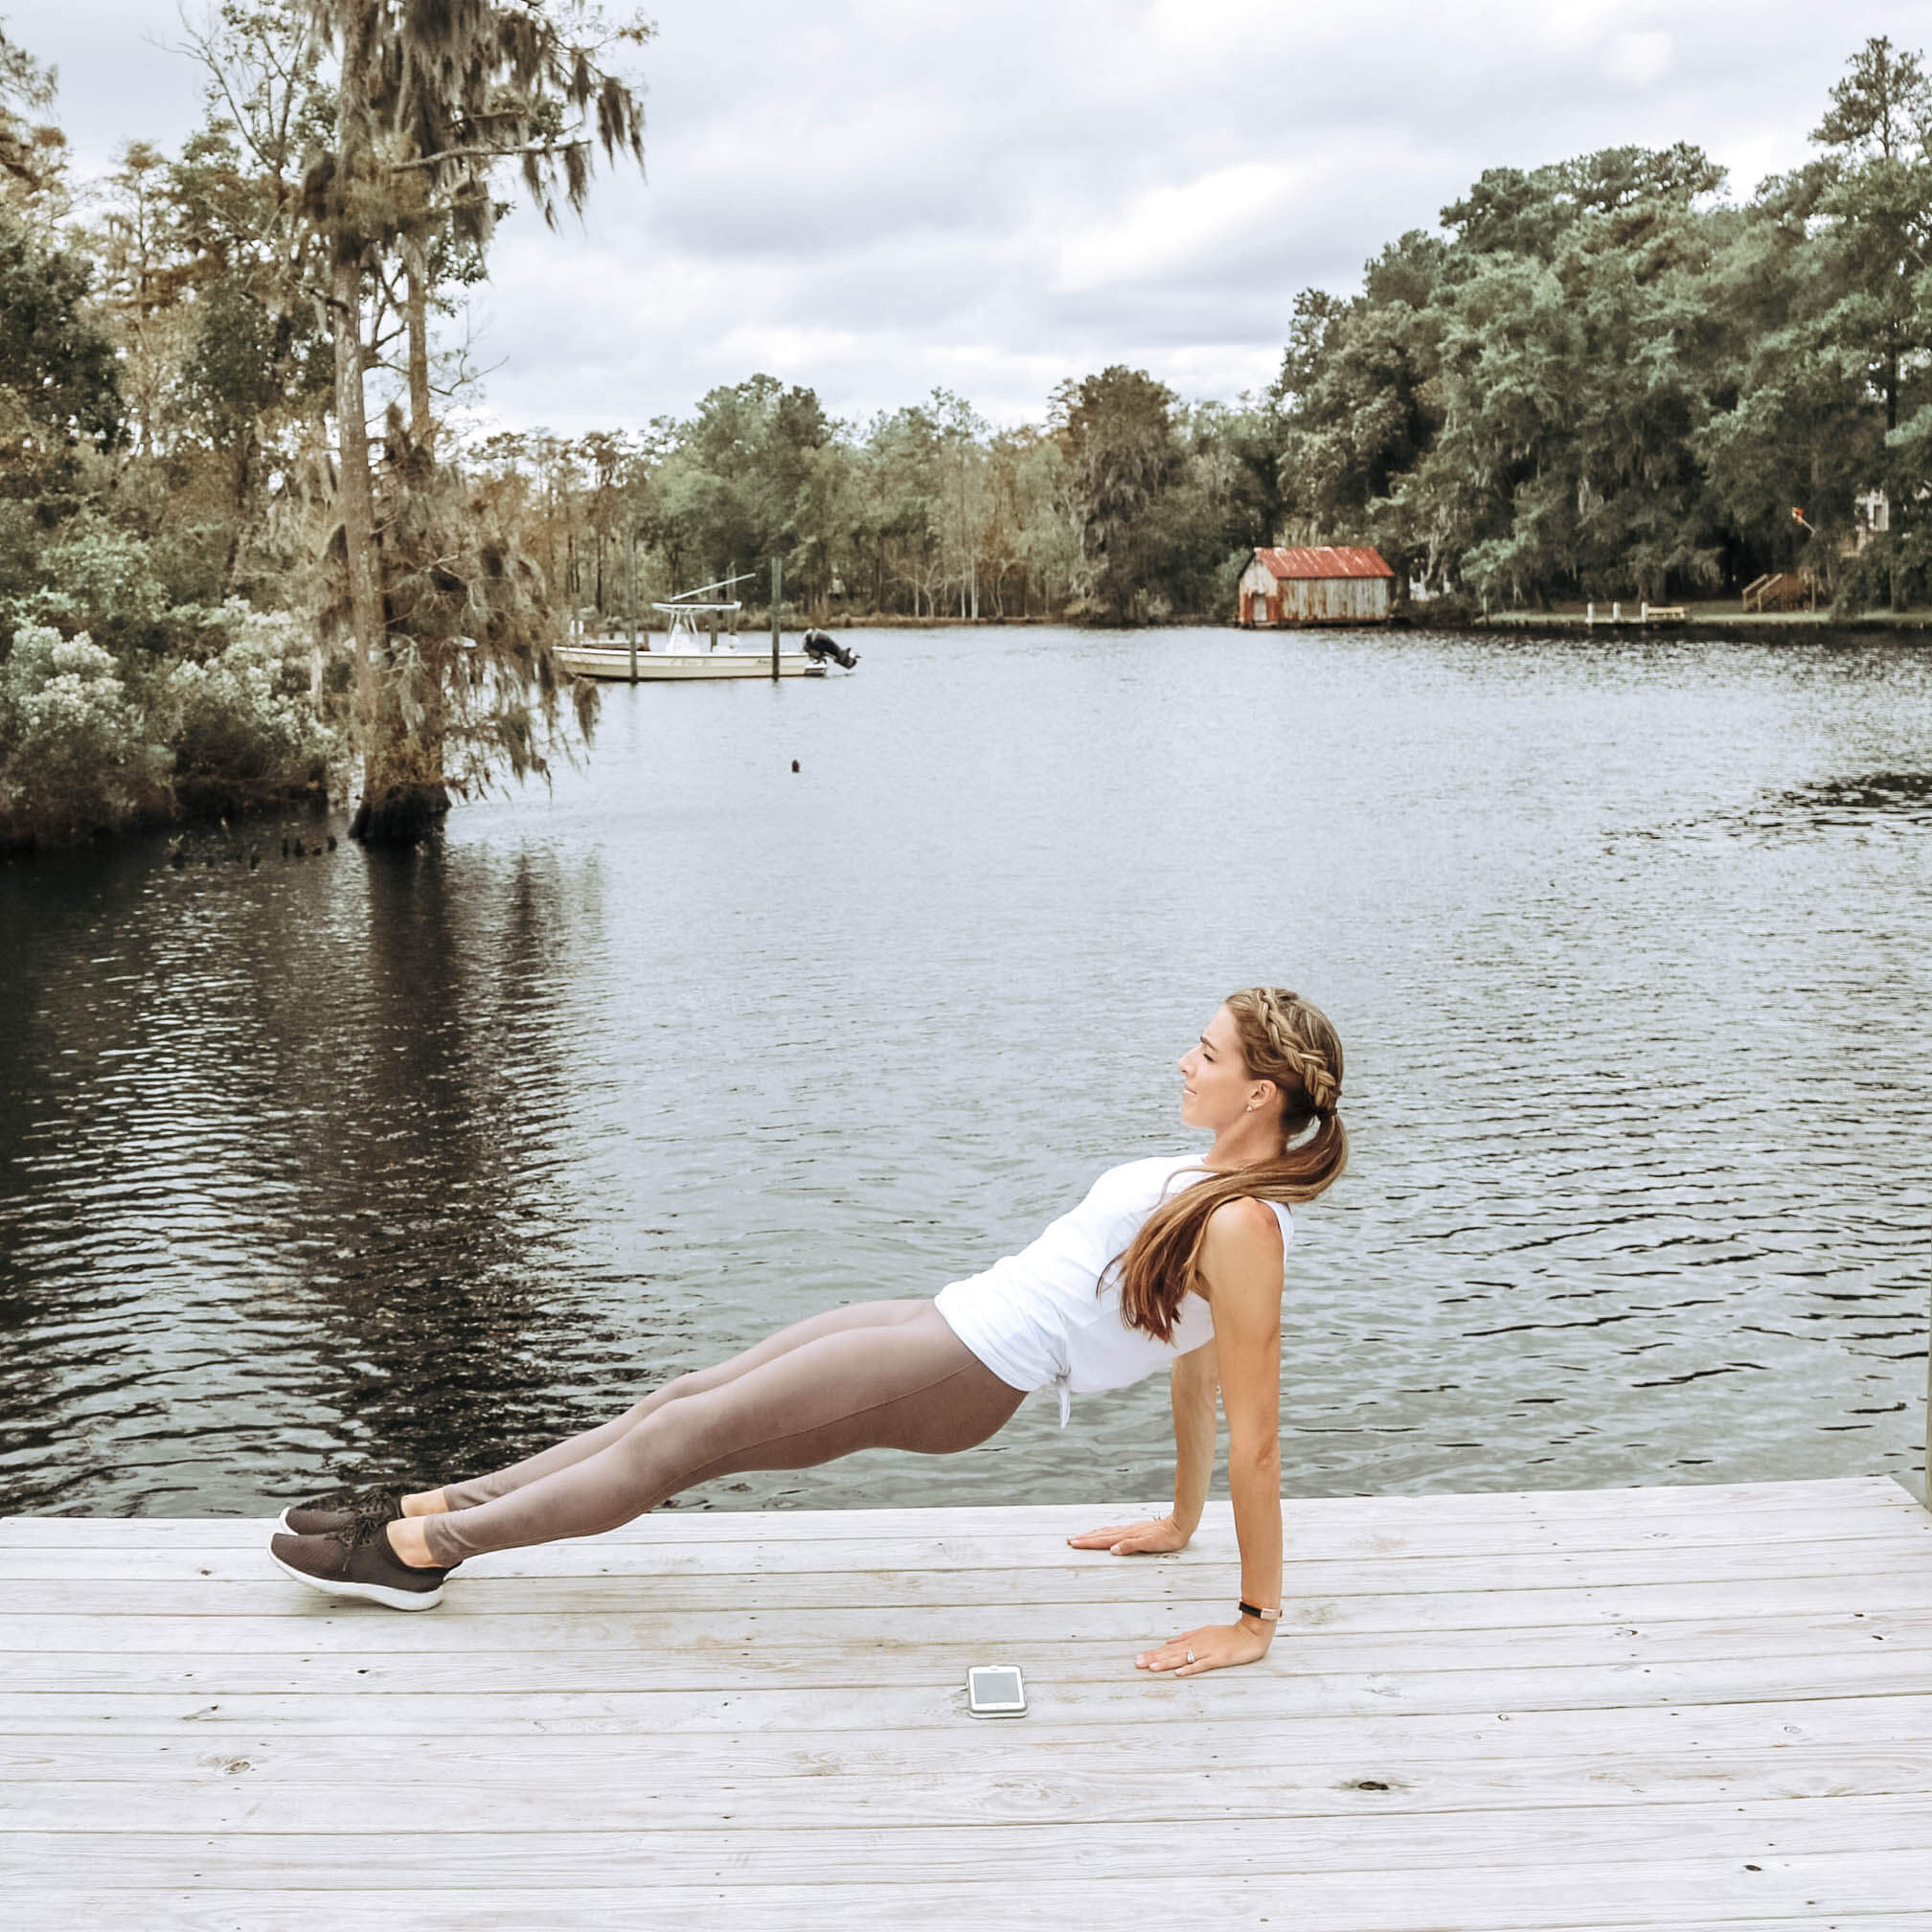
Reverse Plank: Sit on the ground with your legs extended in front of you and arms at your sides. Place hands on the floor next to your hips, fingers pointing towards your feet. Lift your hips as high as you can, aiming for a straight line from chin to toes.
Why we LOVE it: In addition to being great for your core, the reverse plank is also an awesome shoulder and upper body stretch. You may discover here that your shoulders aren’t as flexible as you thought; just take it slow. And, you know, try not to cry.
Day 5
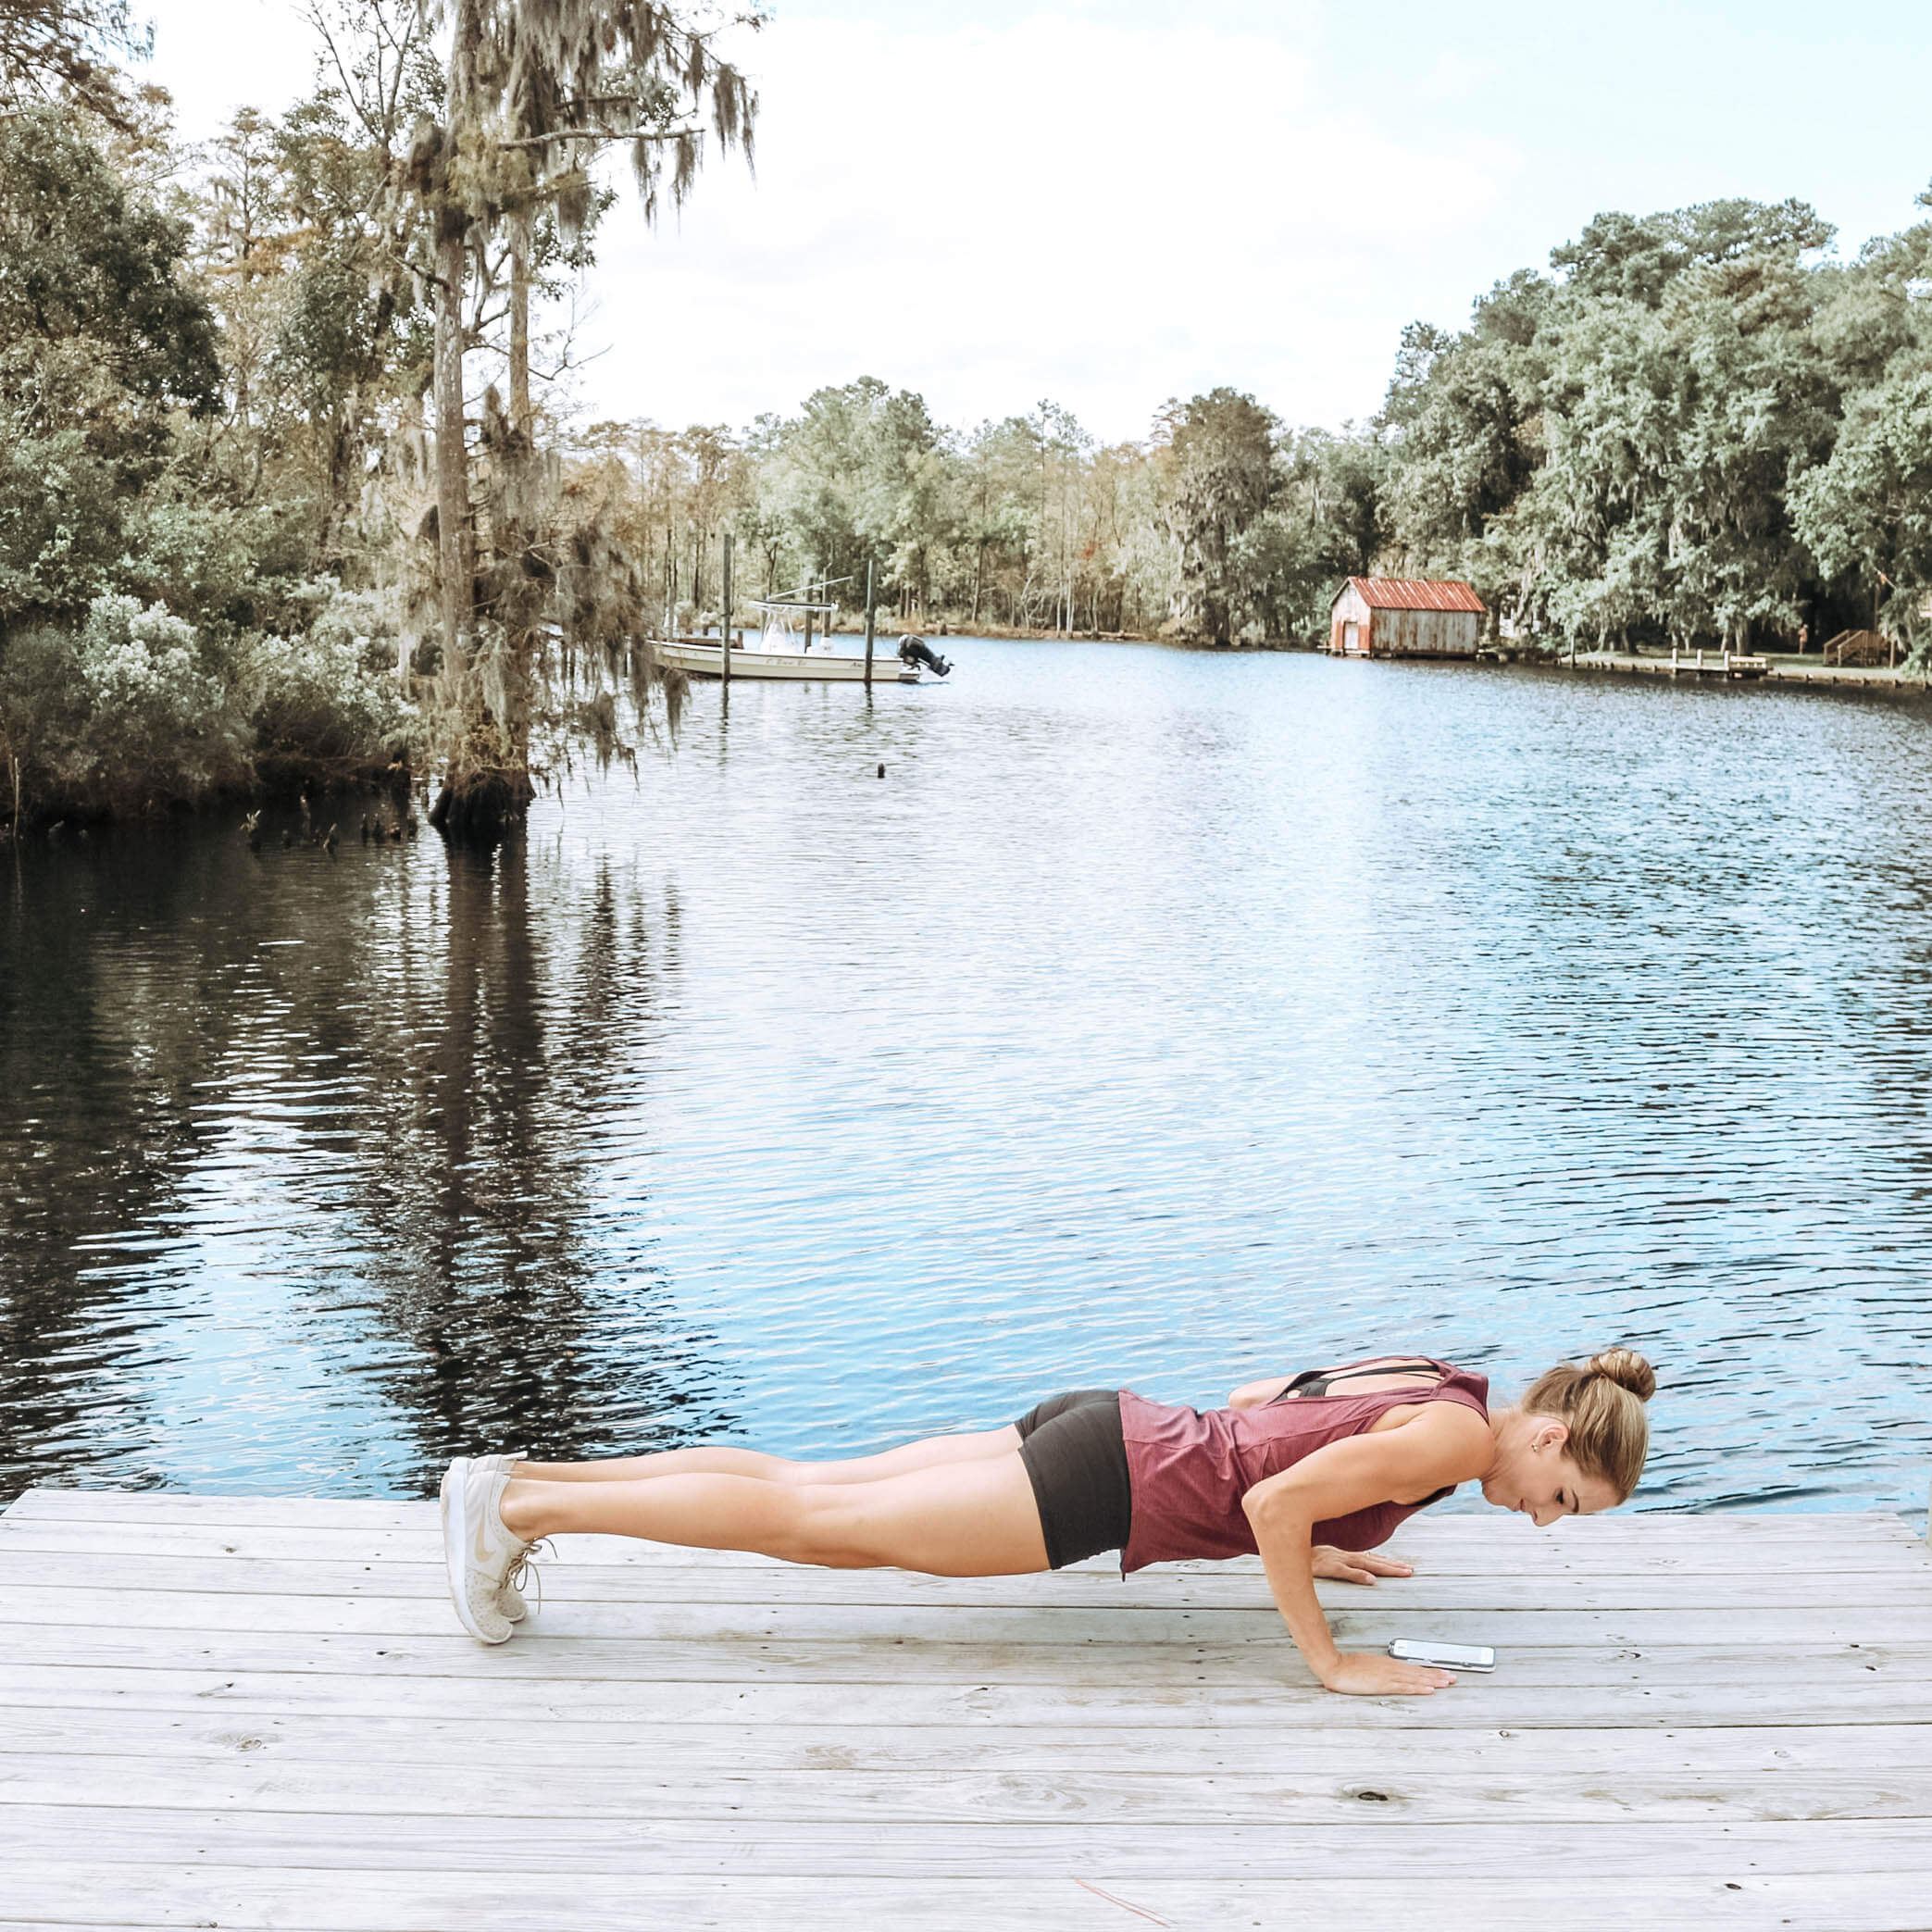
Chaturanga Plank: HUG your elbows into the sides of your body. Keep the tops of your shoulders pulled back away from your ears and pointing straight forward, not drooping down. Imagine that you’re trying to make your clavicles SMILE. In other words, broaden through the chest. Lower elbows to 90 degrees. Toddler scream optional. And we do suggest you wear clothes for this one.
Why we LOVE it: In addition to being great for your entire core, the chaturanga plank is great to strengthen your shoulders and upper body as well!
Day 6
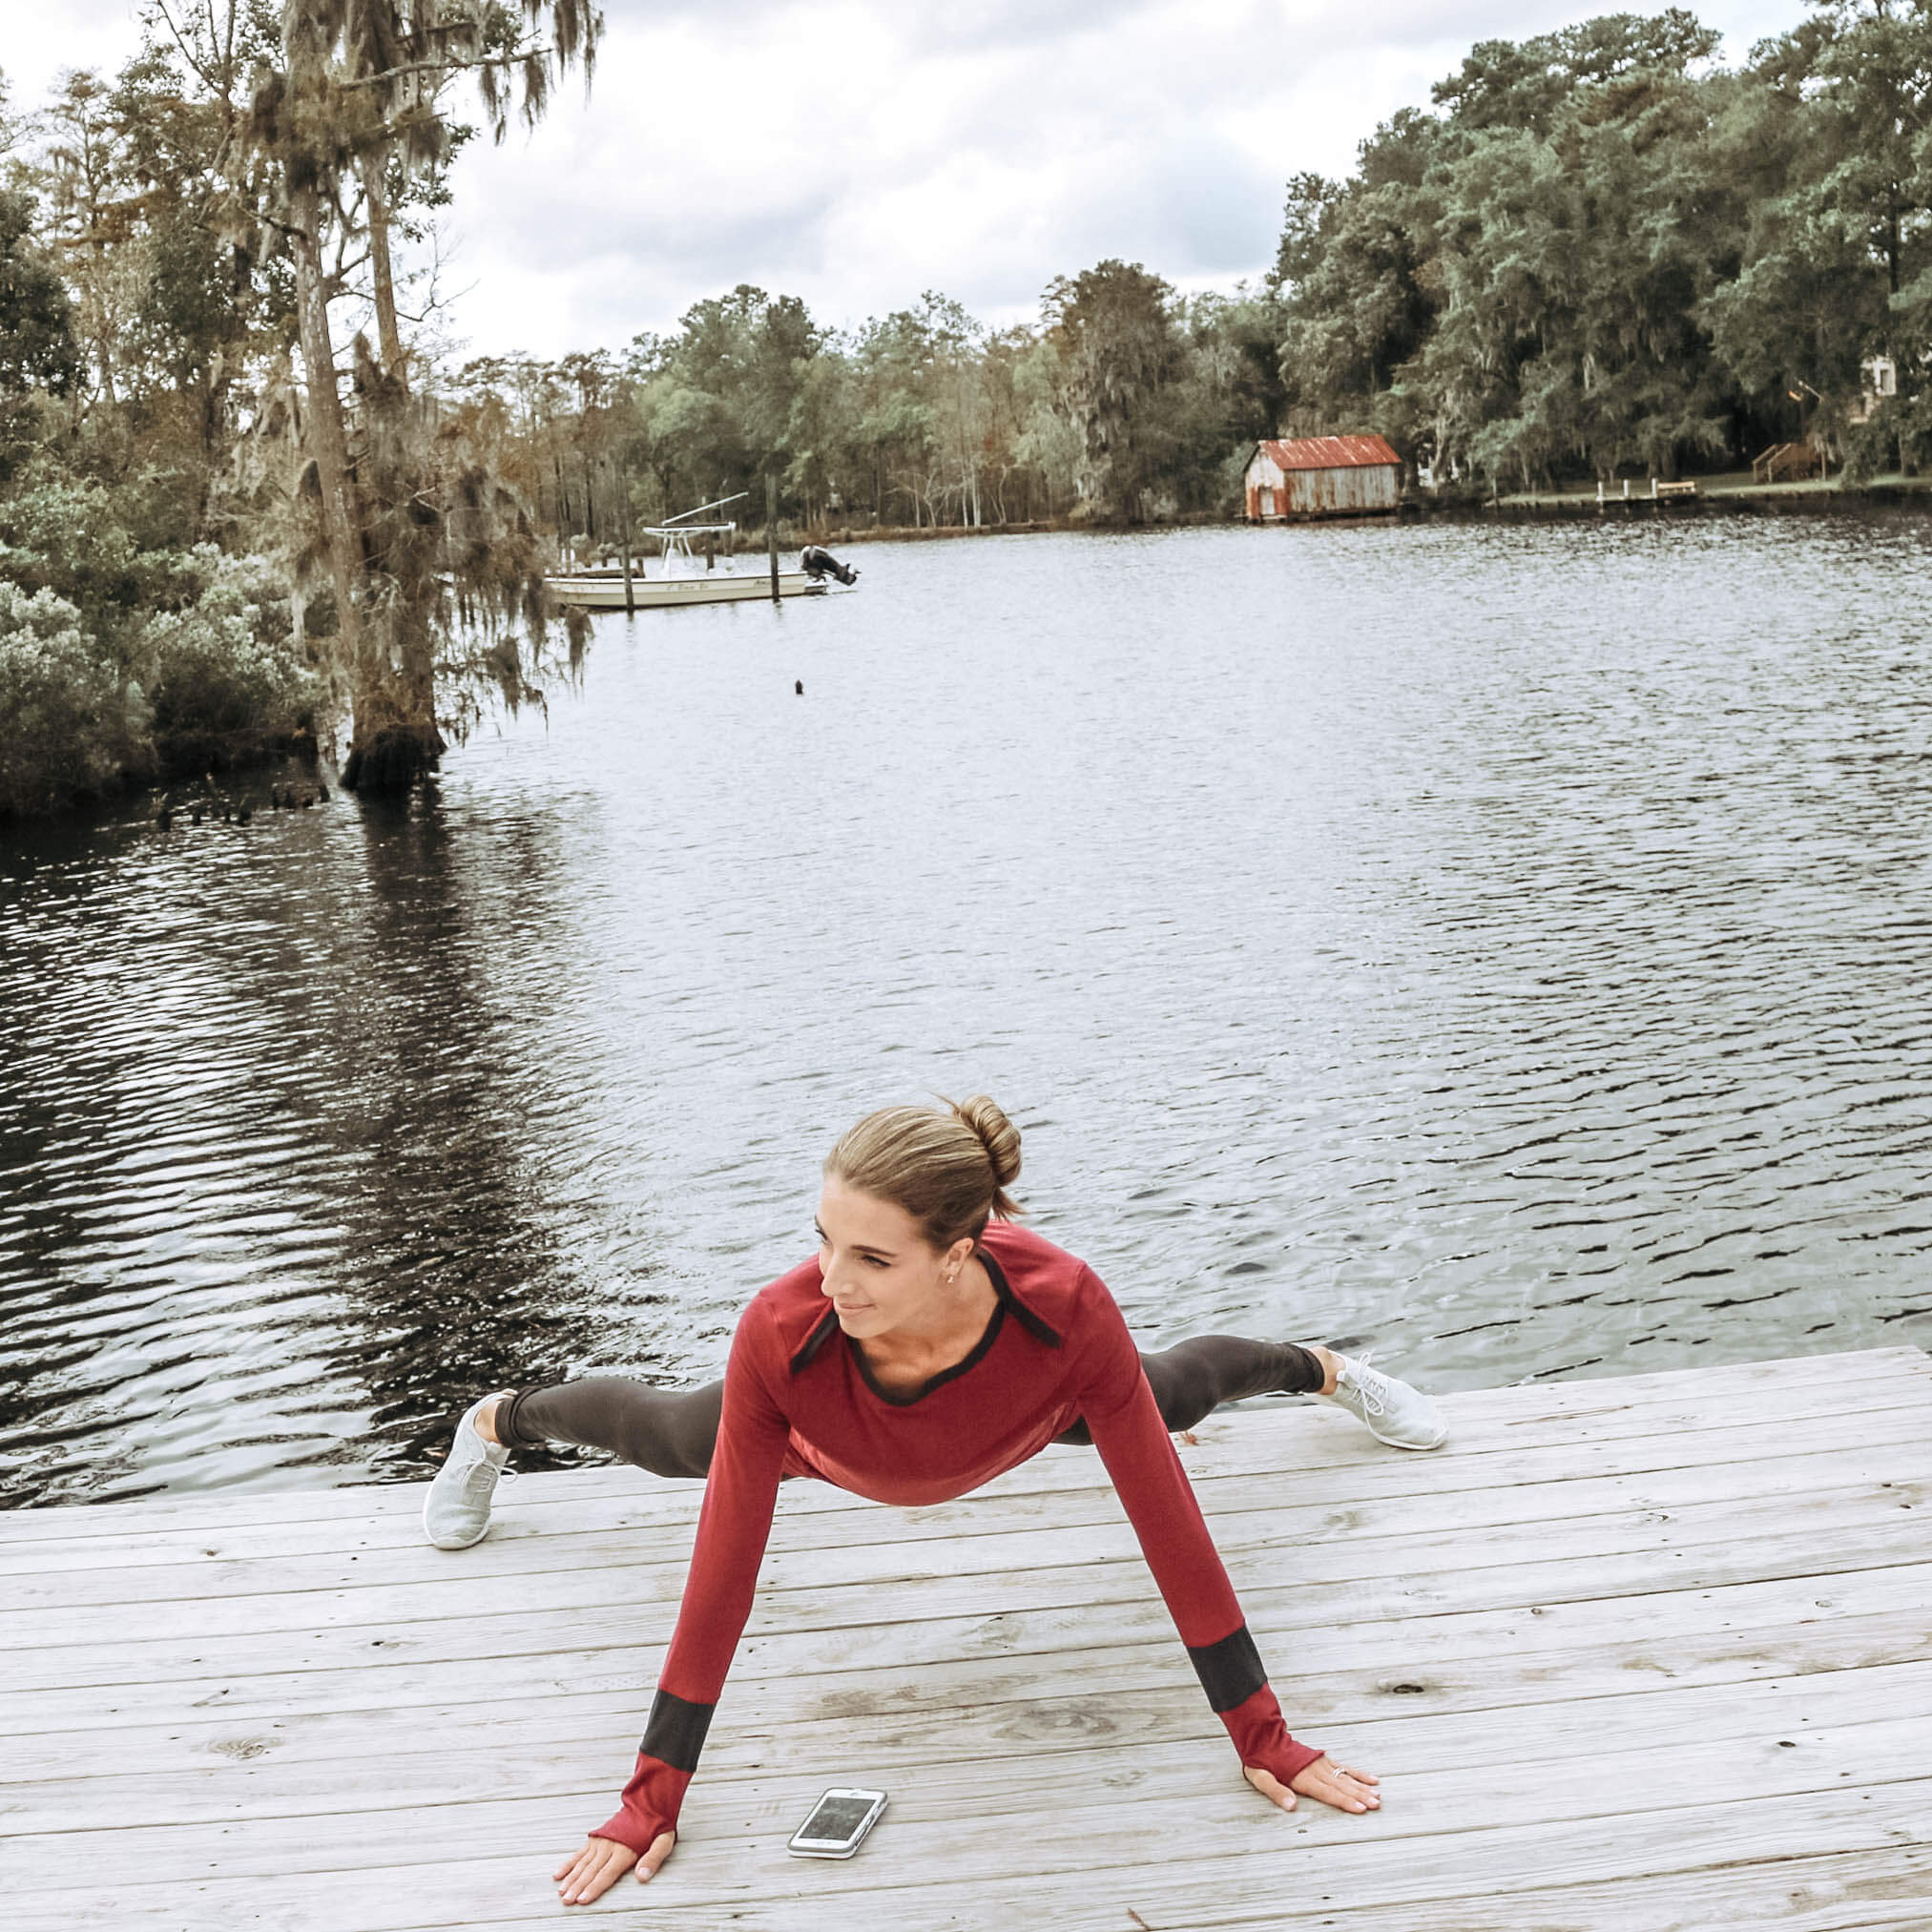
X Plank: Start in standard plank. Move your legs out laterally until your feet are planted wider than hip-width apart. If this feels tough enough, you can stay in this position (a Y plank, perhaps?) You can add some extra upper body work by walking your hands out wider than shoulder-width apart, until you’re in a full X
Why we LOVE it: In addition to being great to strengthen your core, the X plank is another great bodyweight move to work on strengthening the upper body as well! Total body workout in 1 minute? Yes please!
Day 7
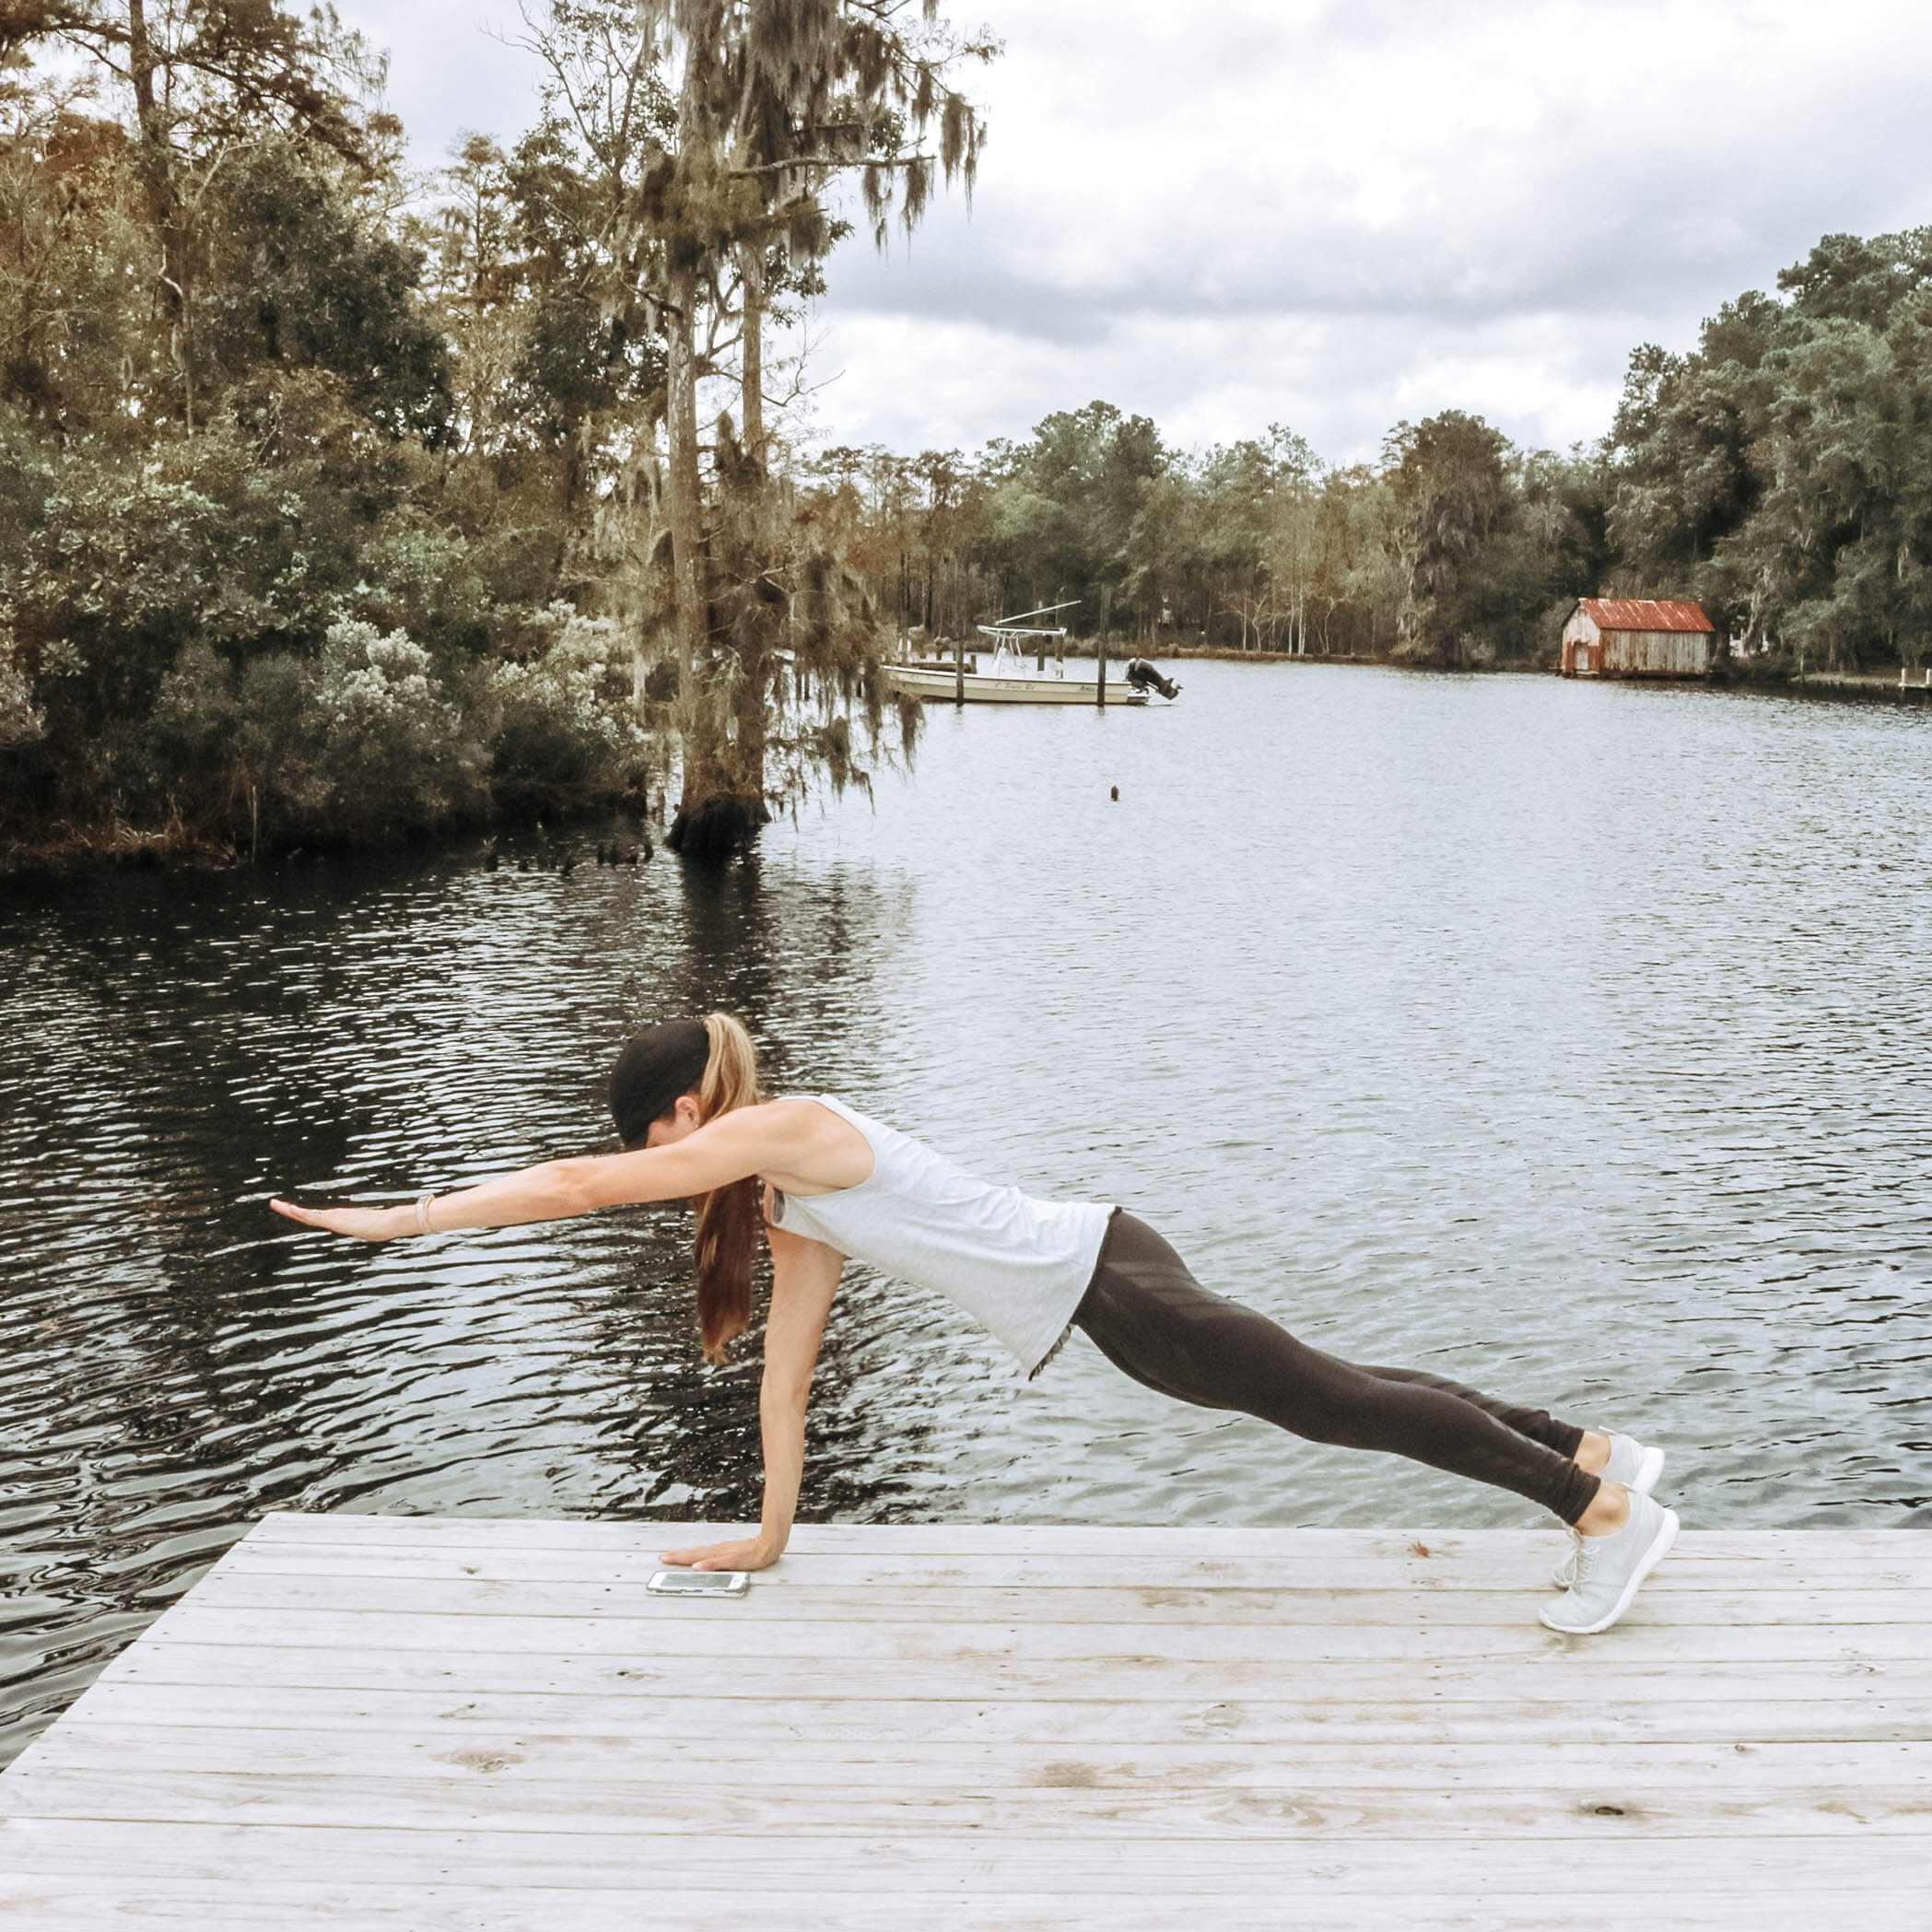
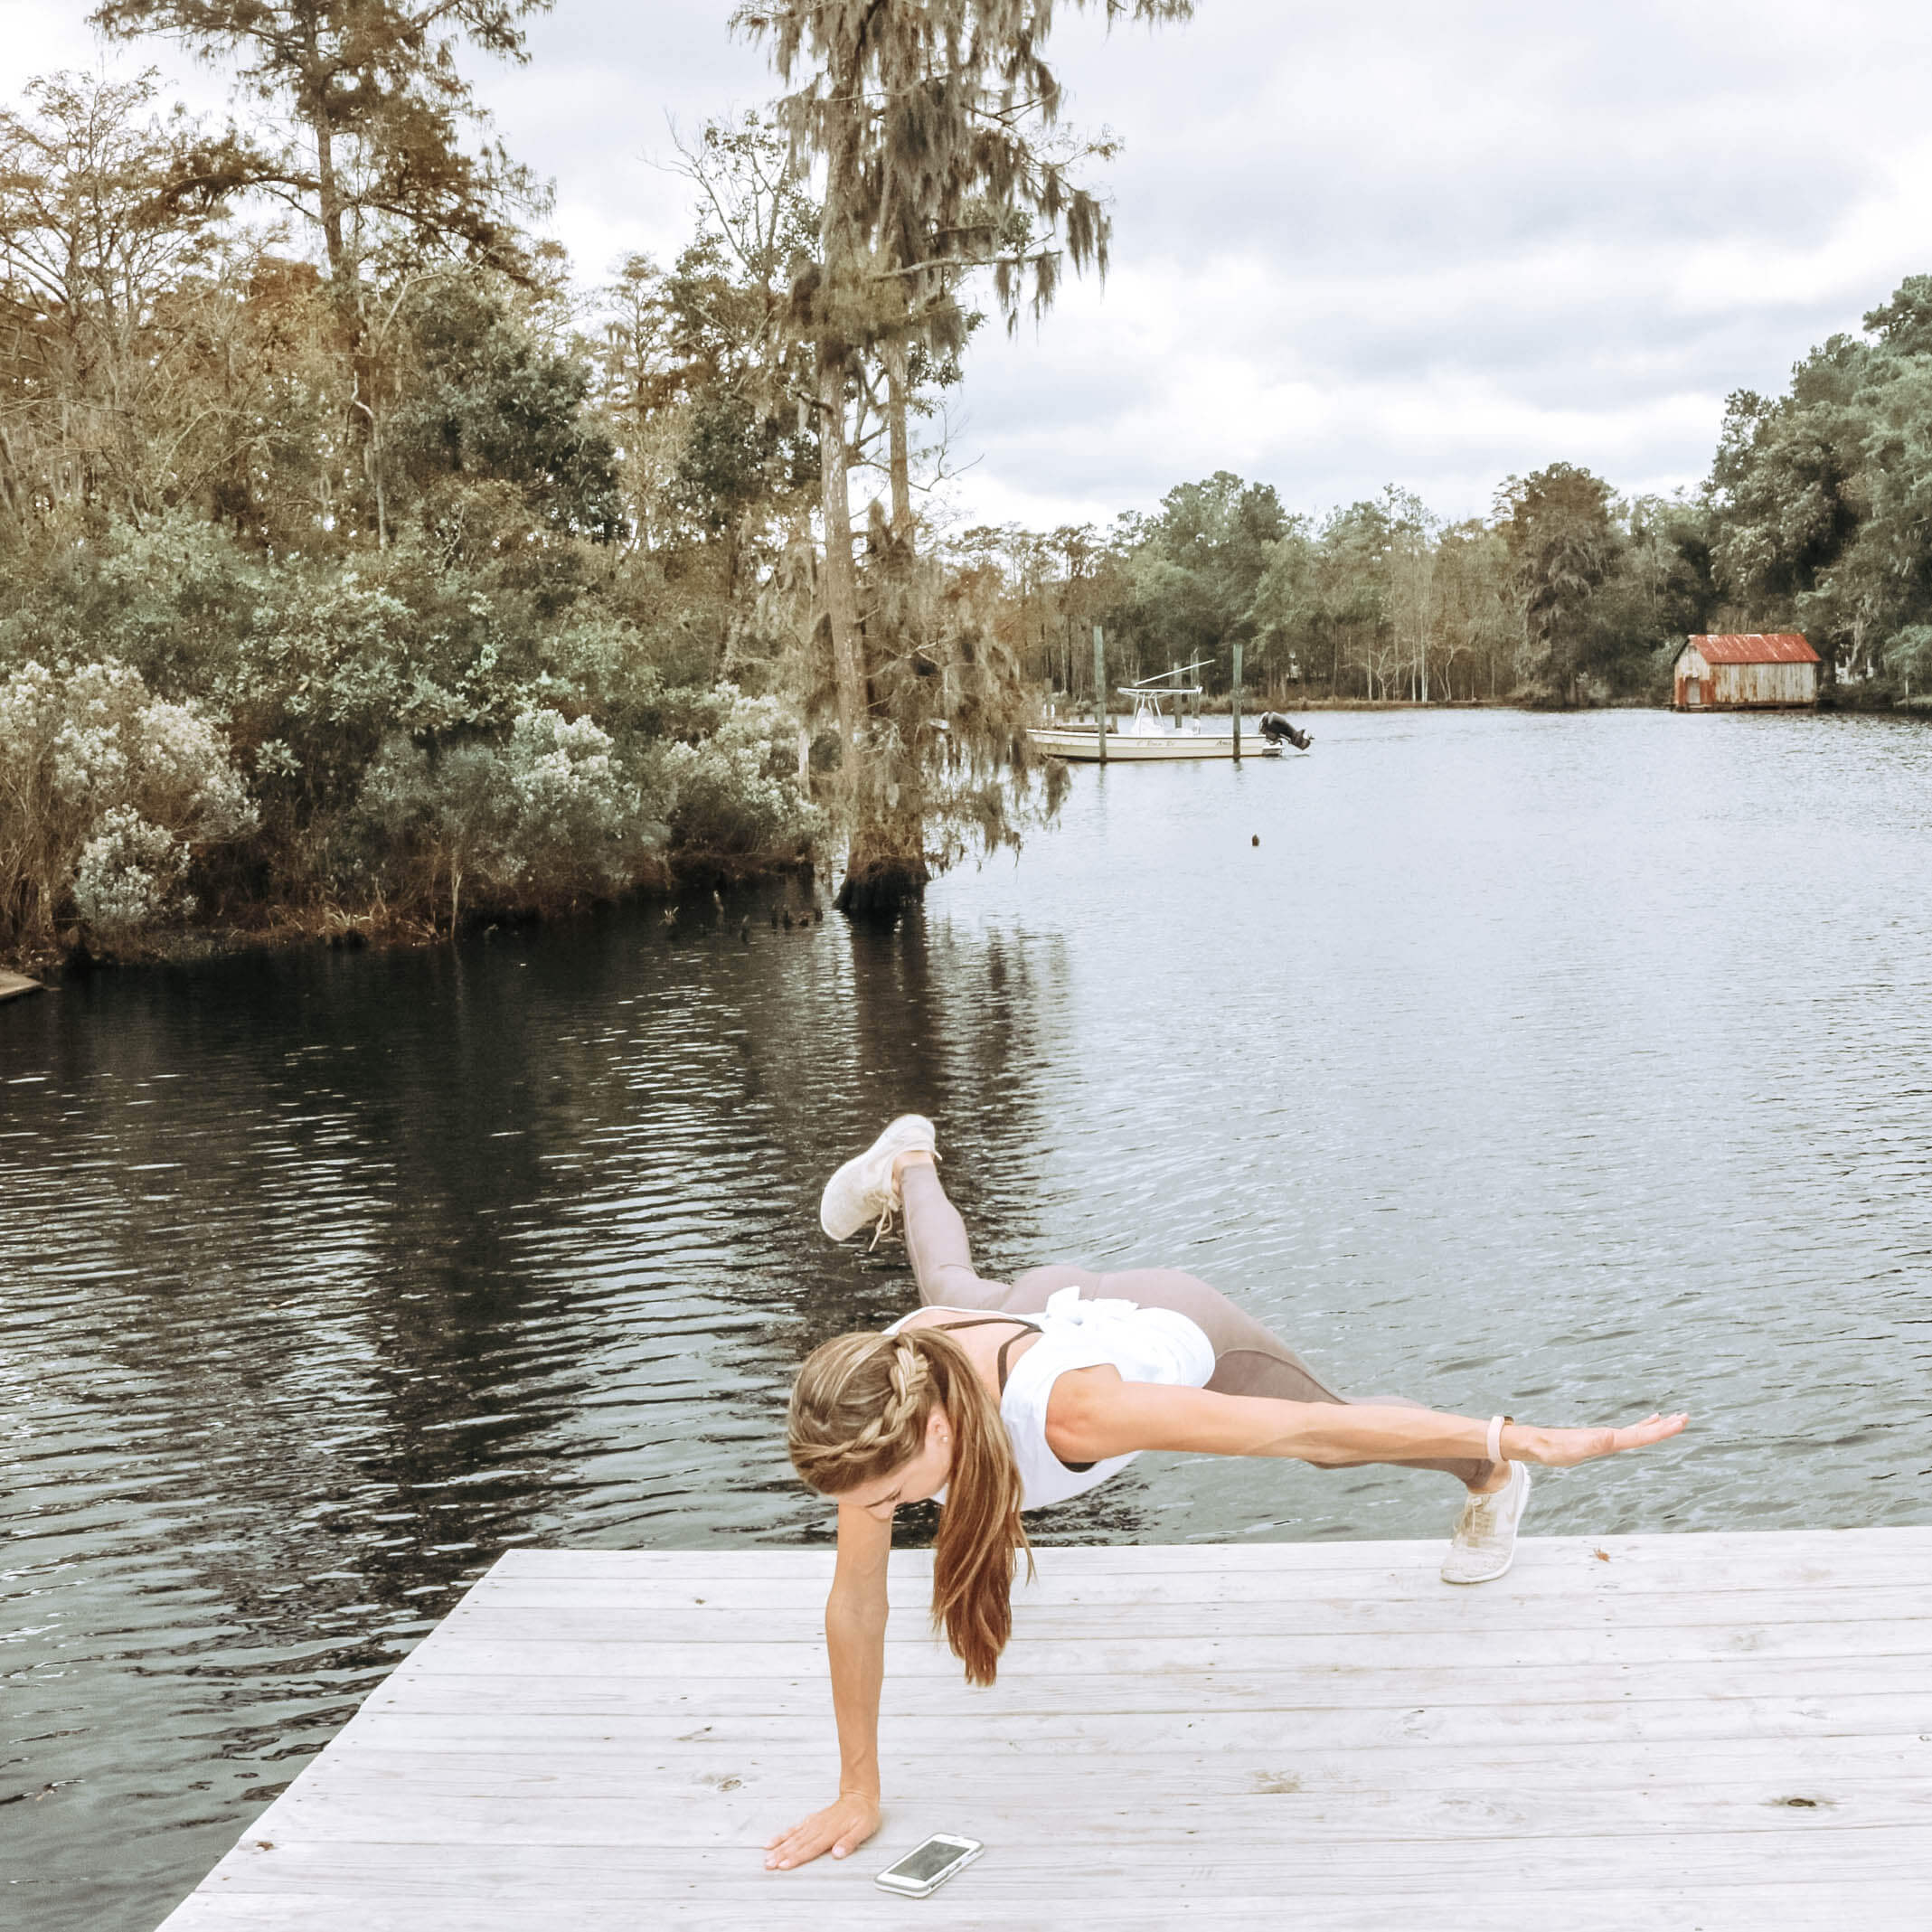
Single Arm Plank: Start in standard plank. Then place one arm behind your back- ORRR out in front to tickle a giggling toddler.
Why we LOVE it: In addition to being great for your core, the single arm plank develops amazing upper body strength and as an awesome way to work on your balance as well.
Day 8
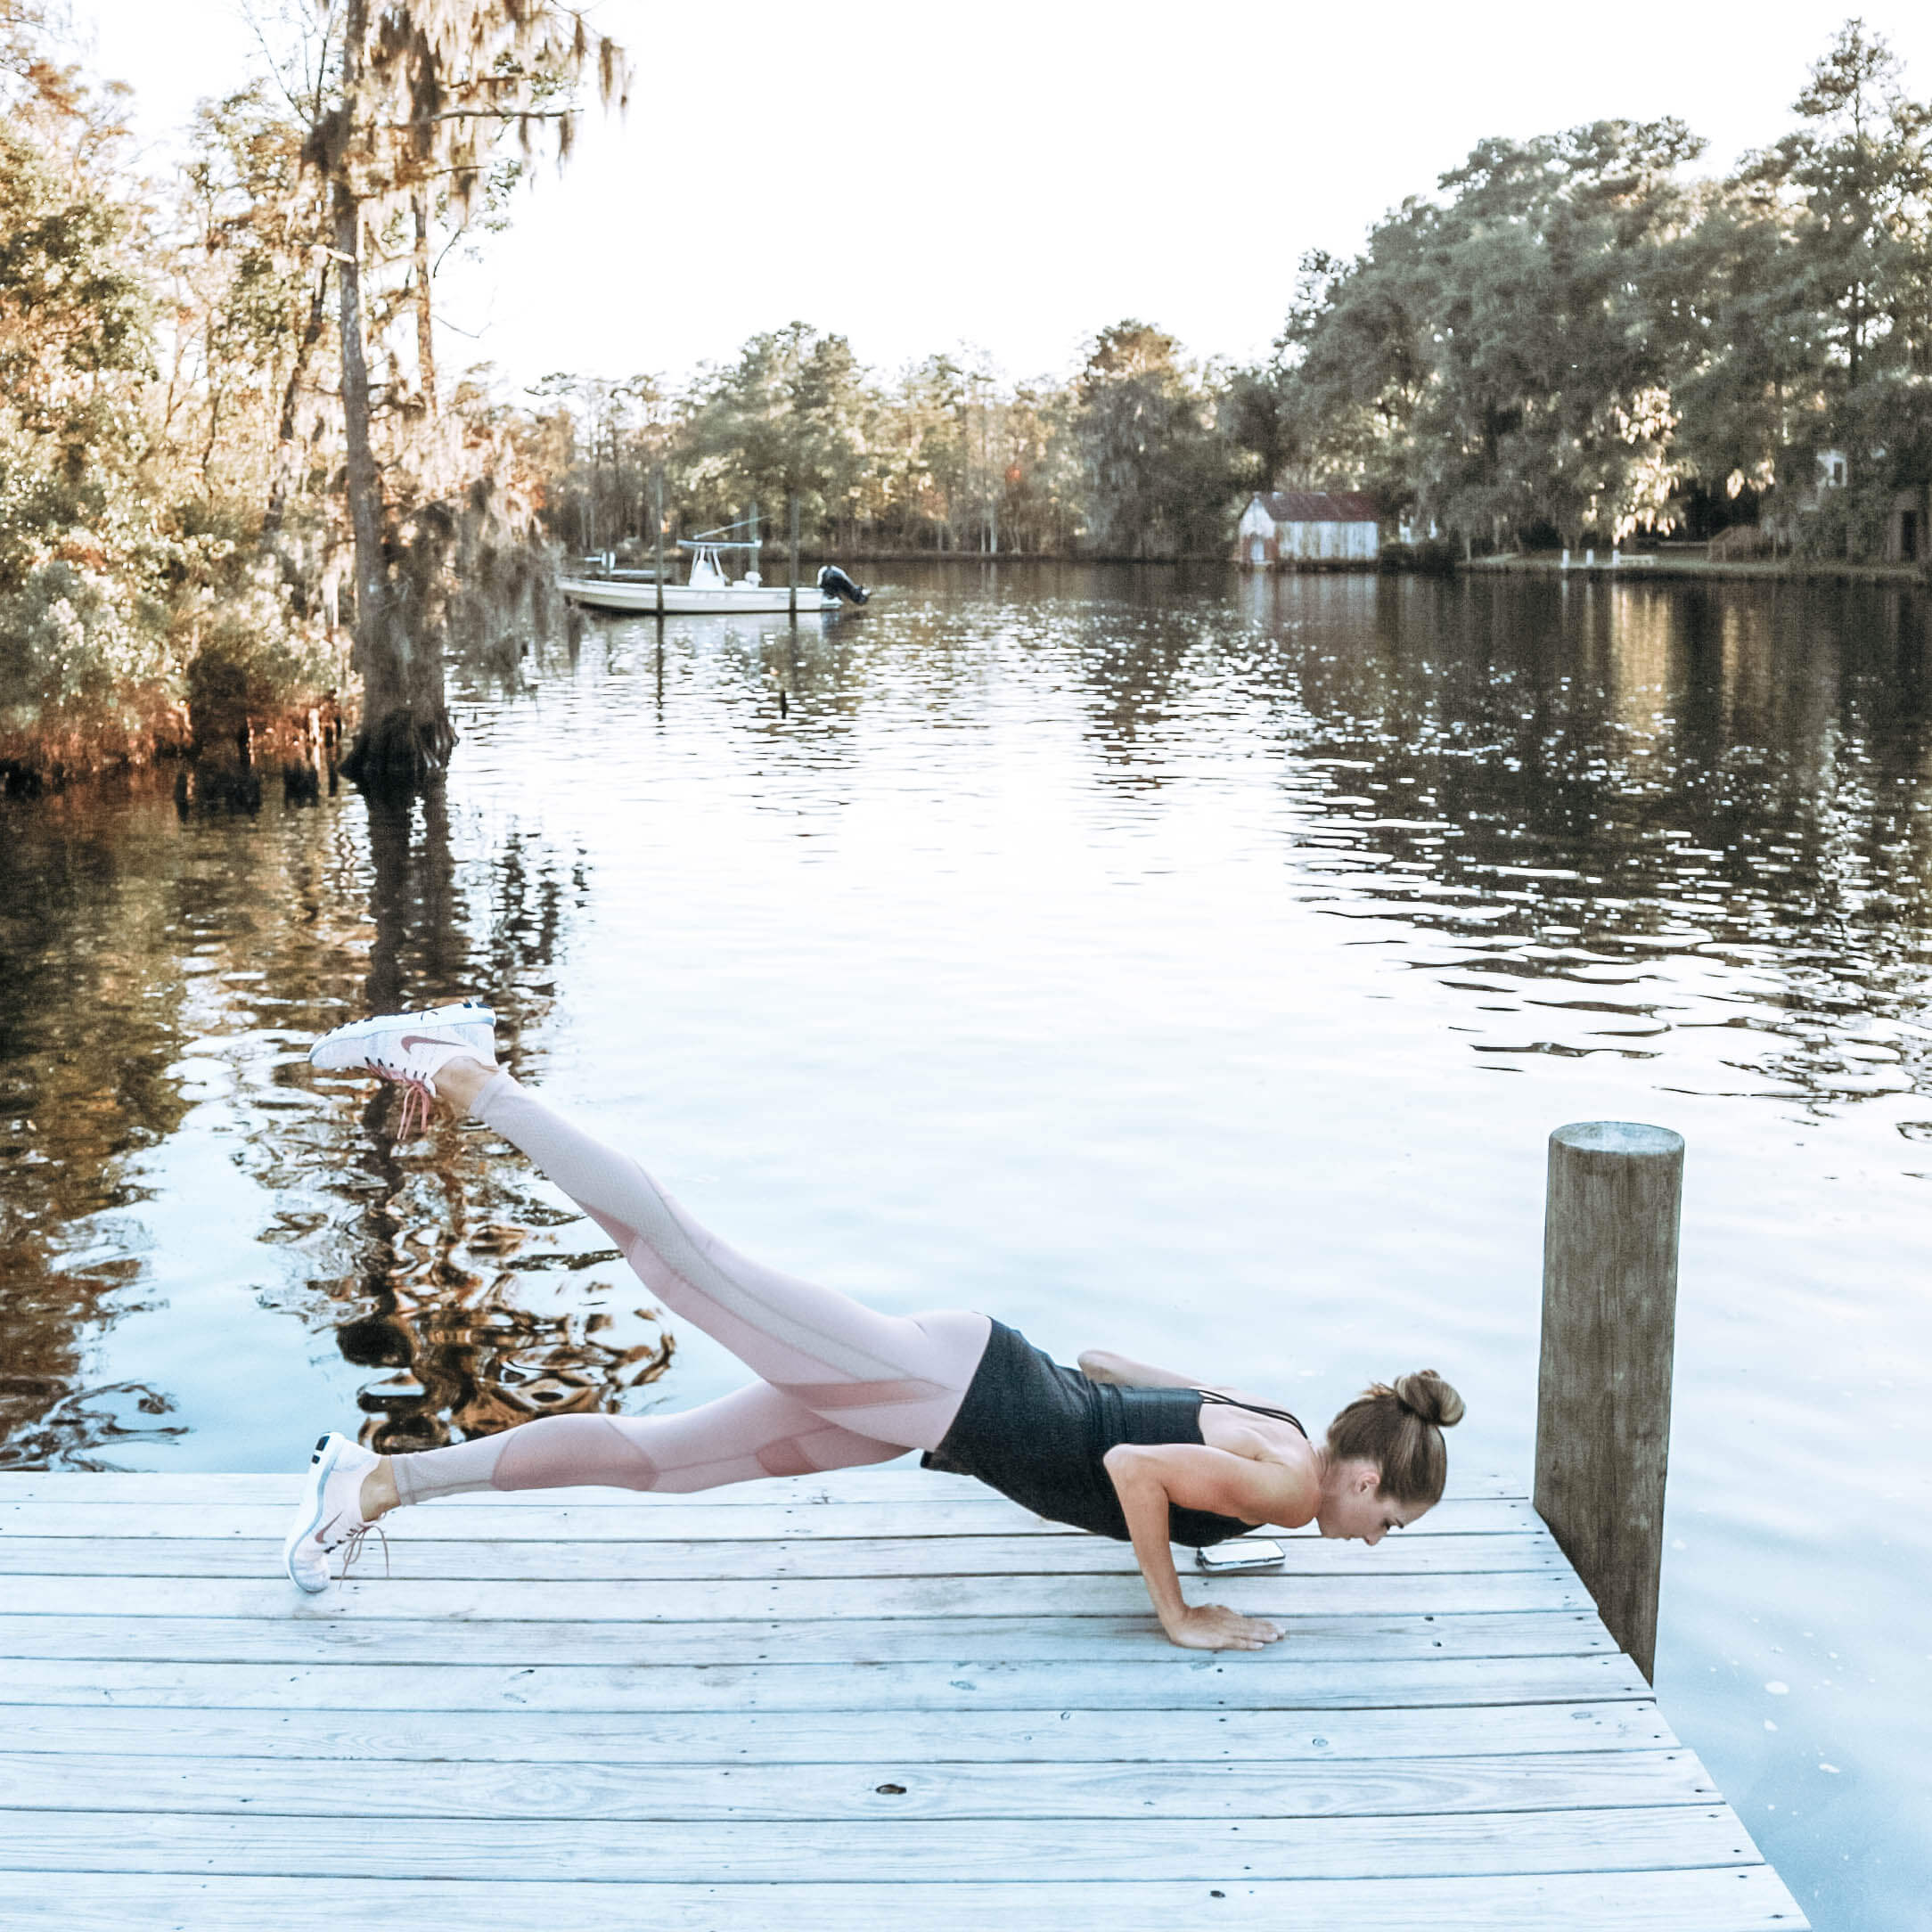
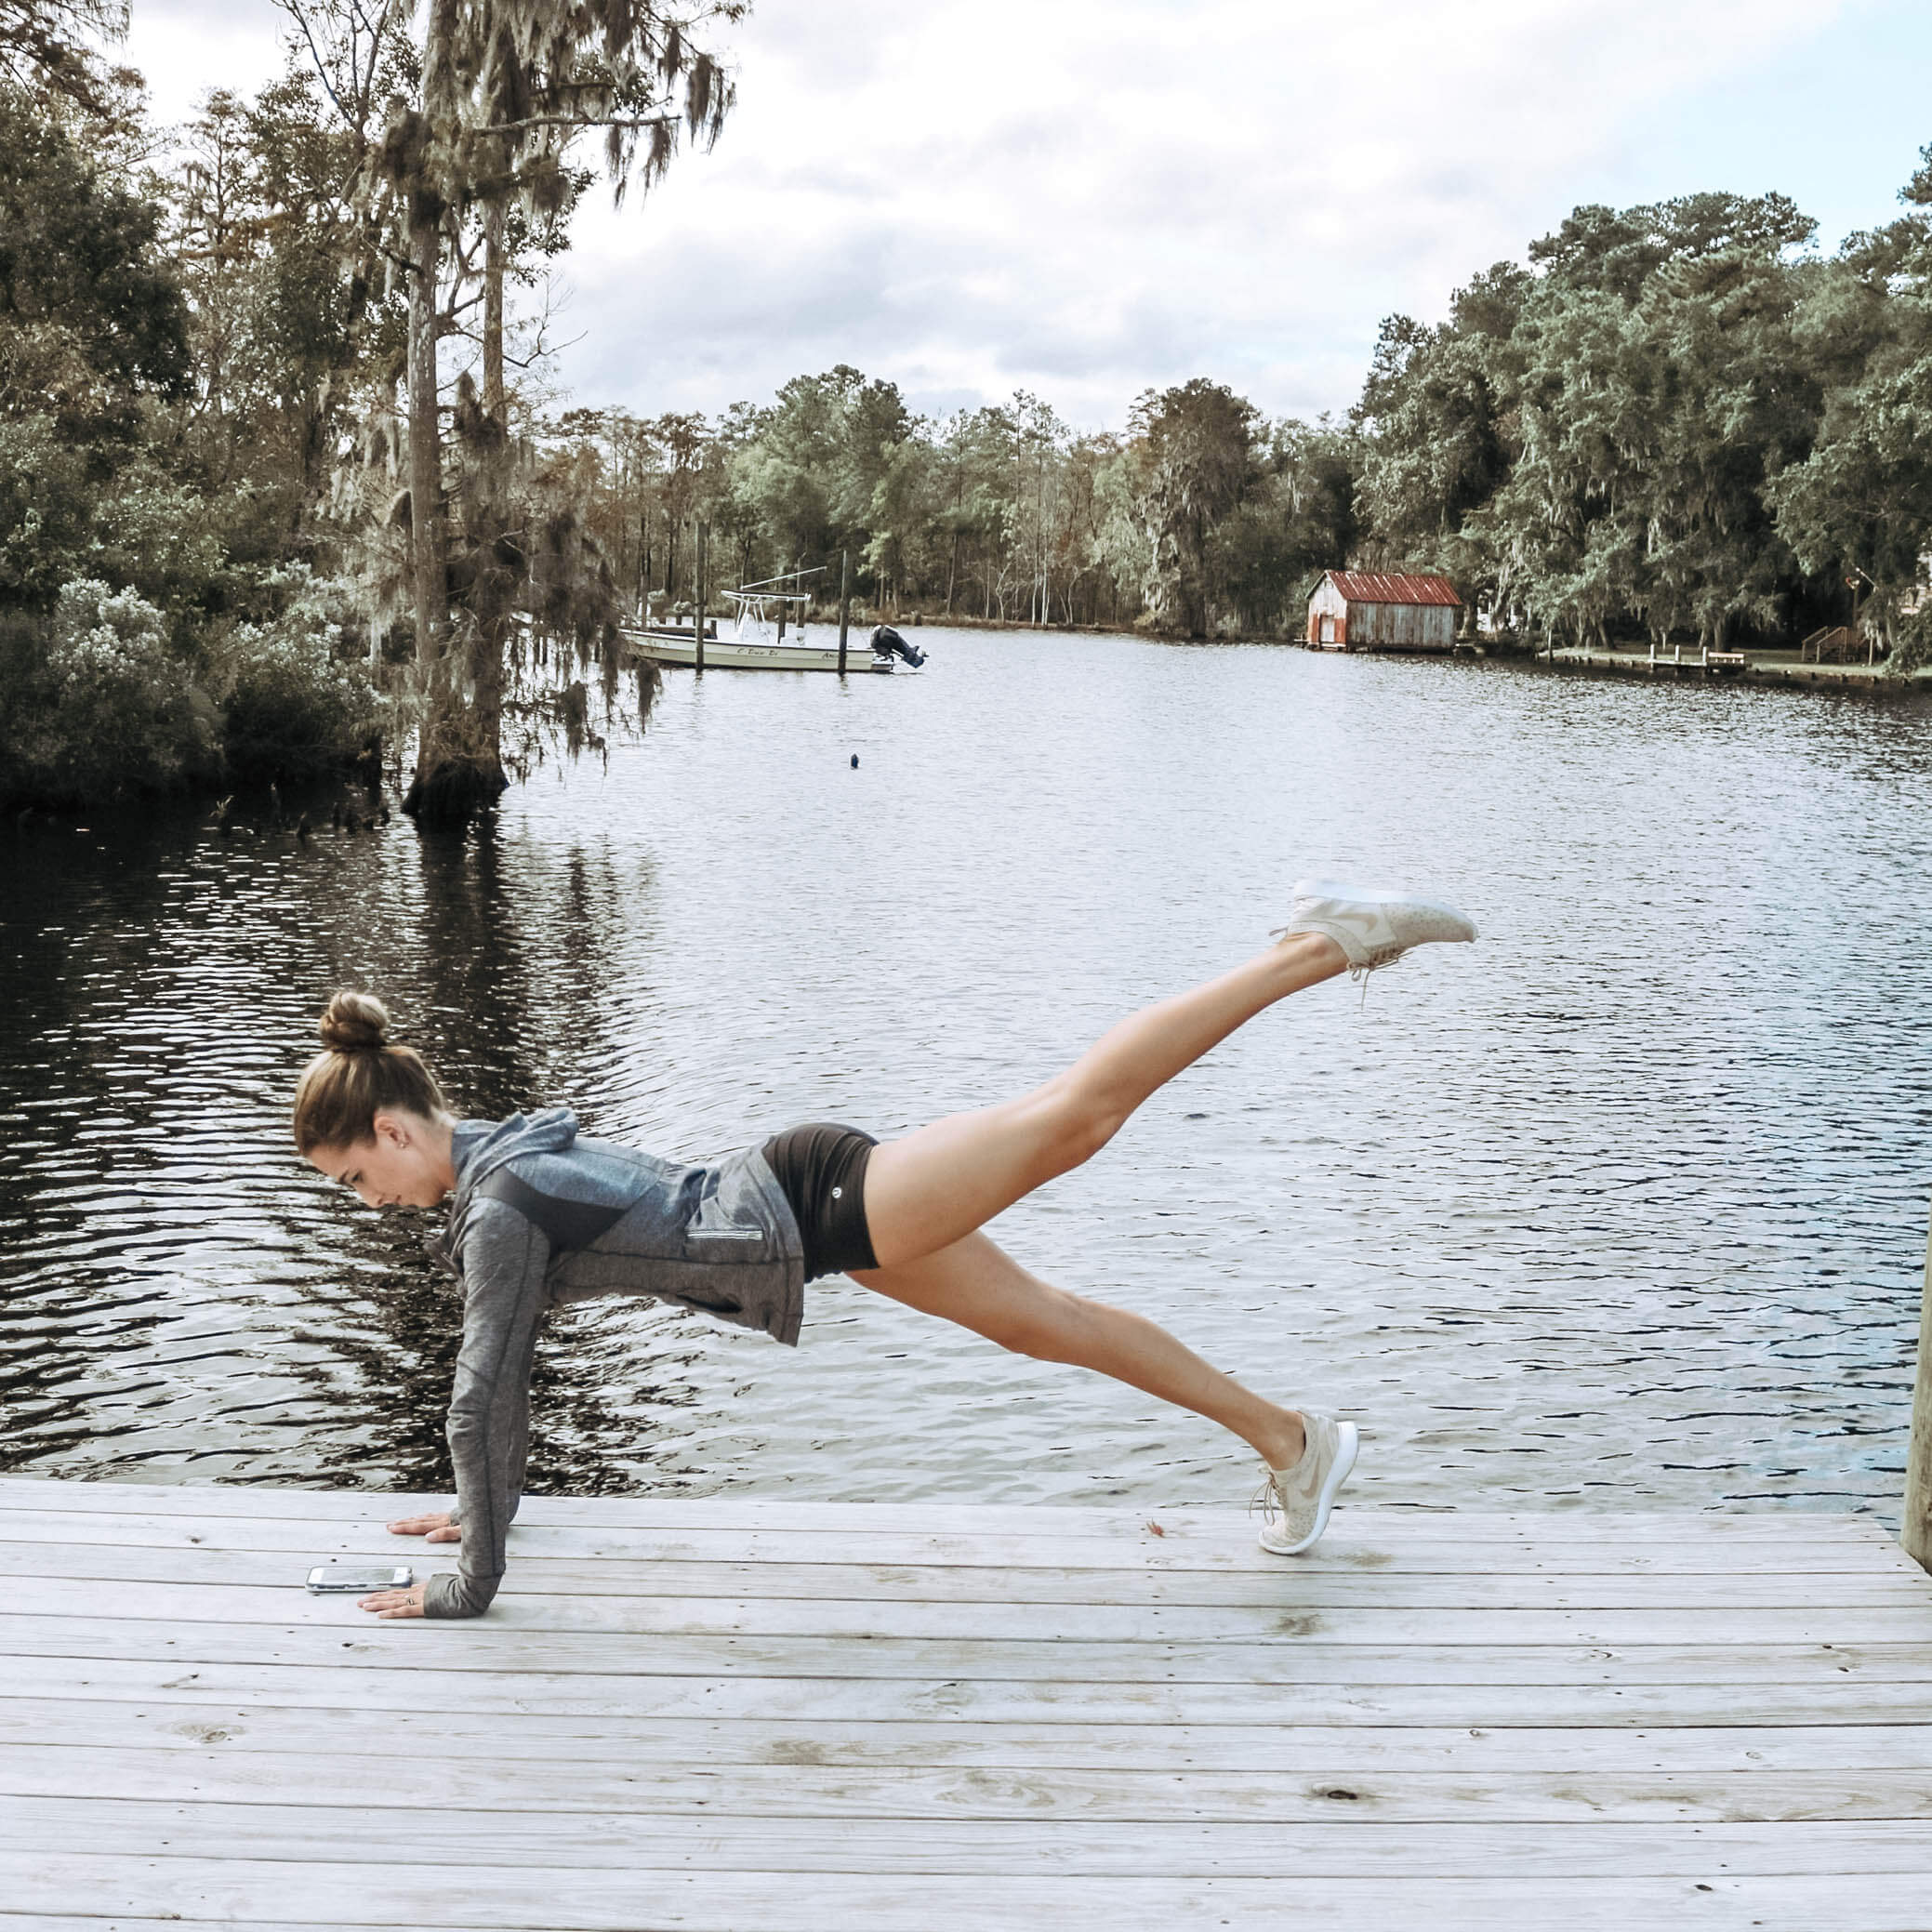
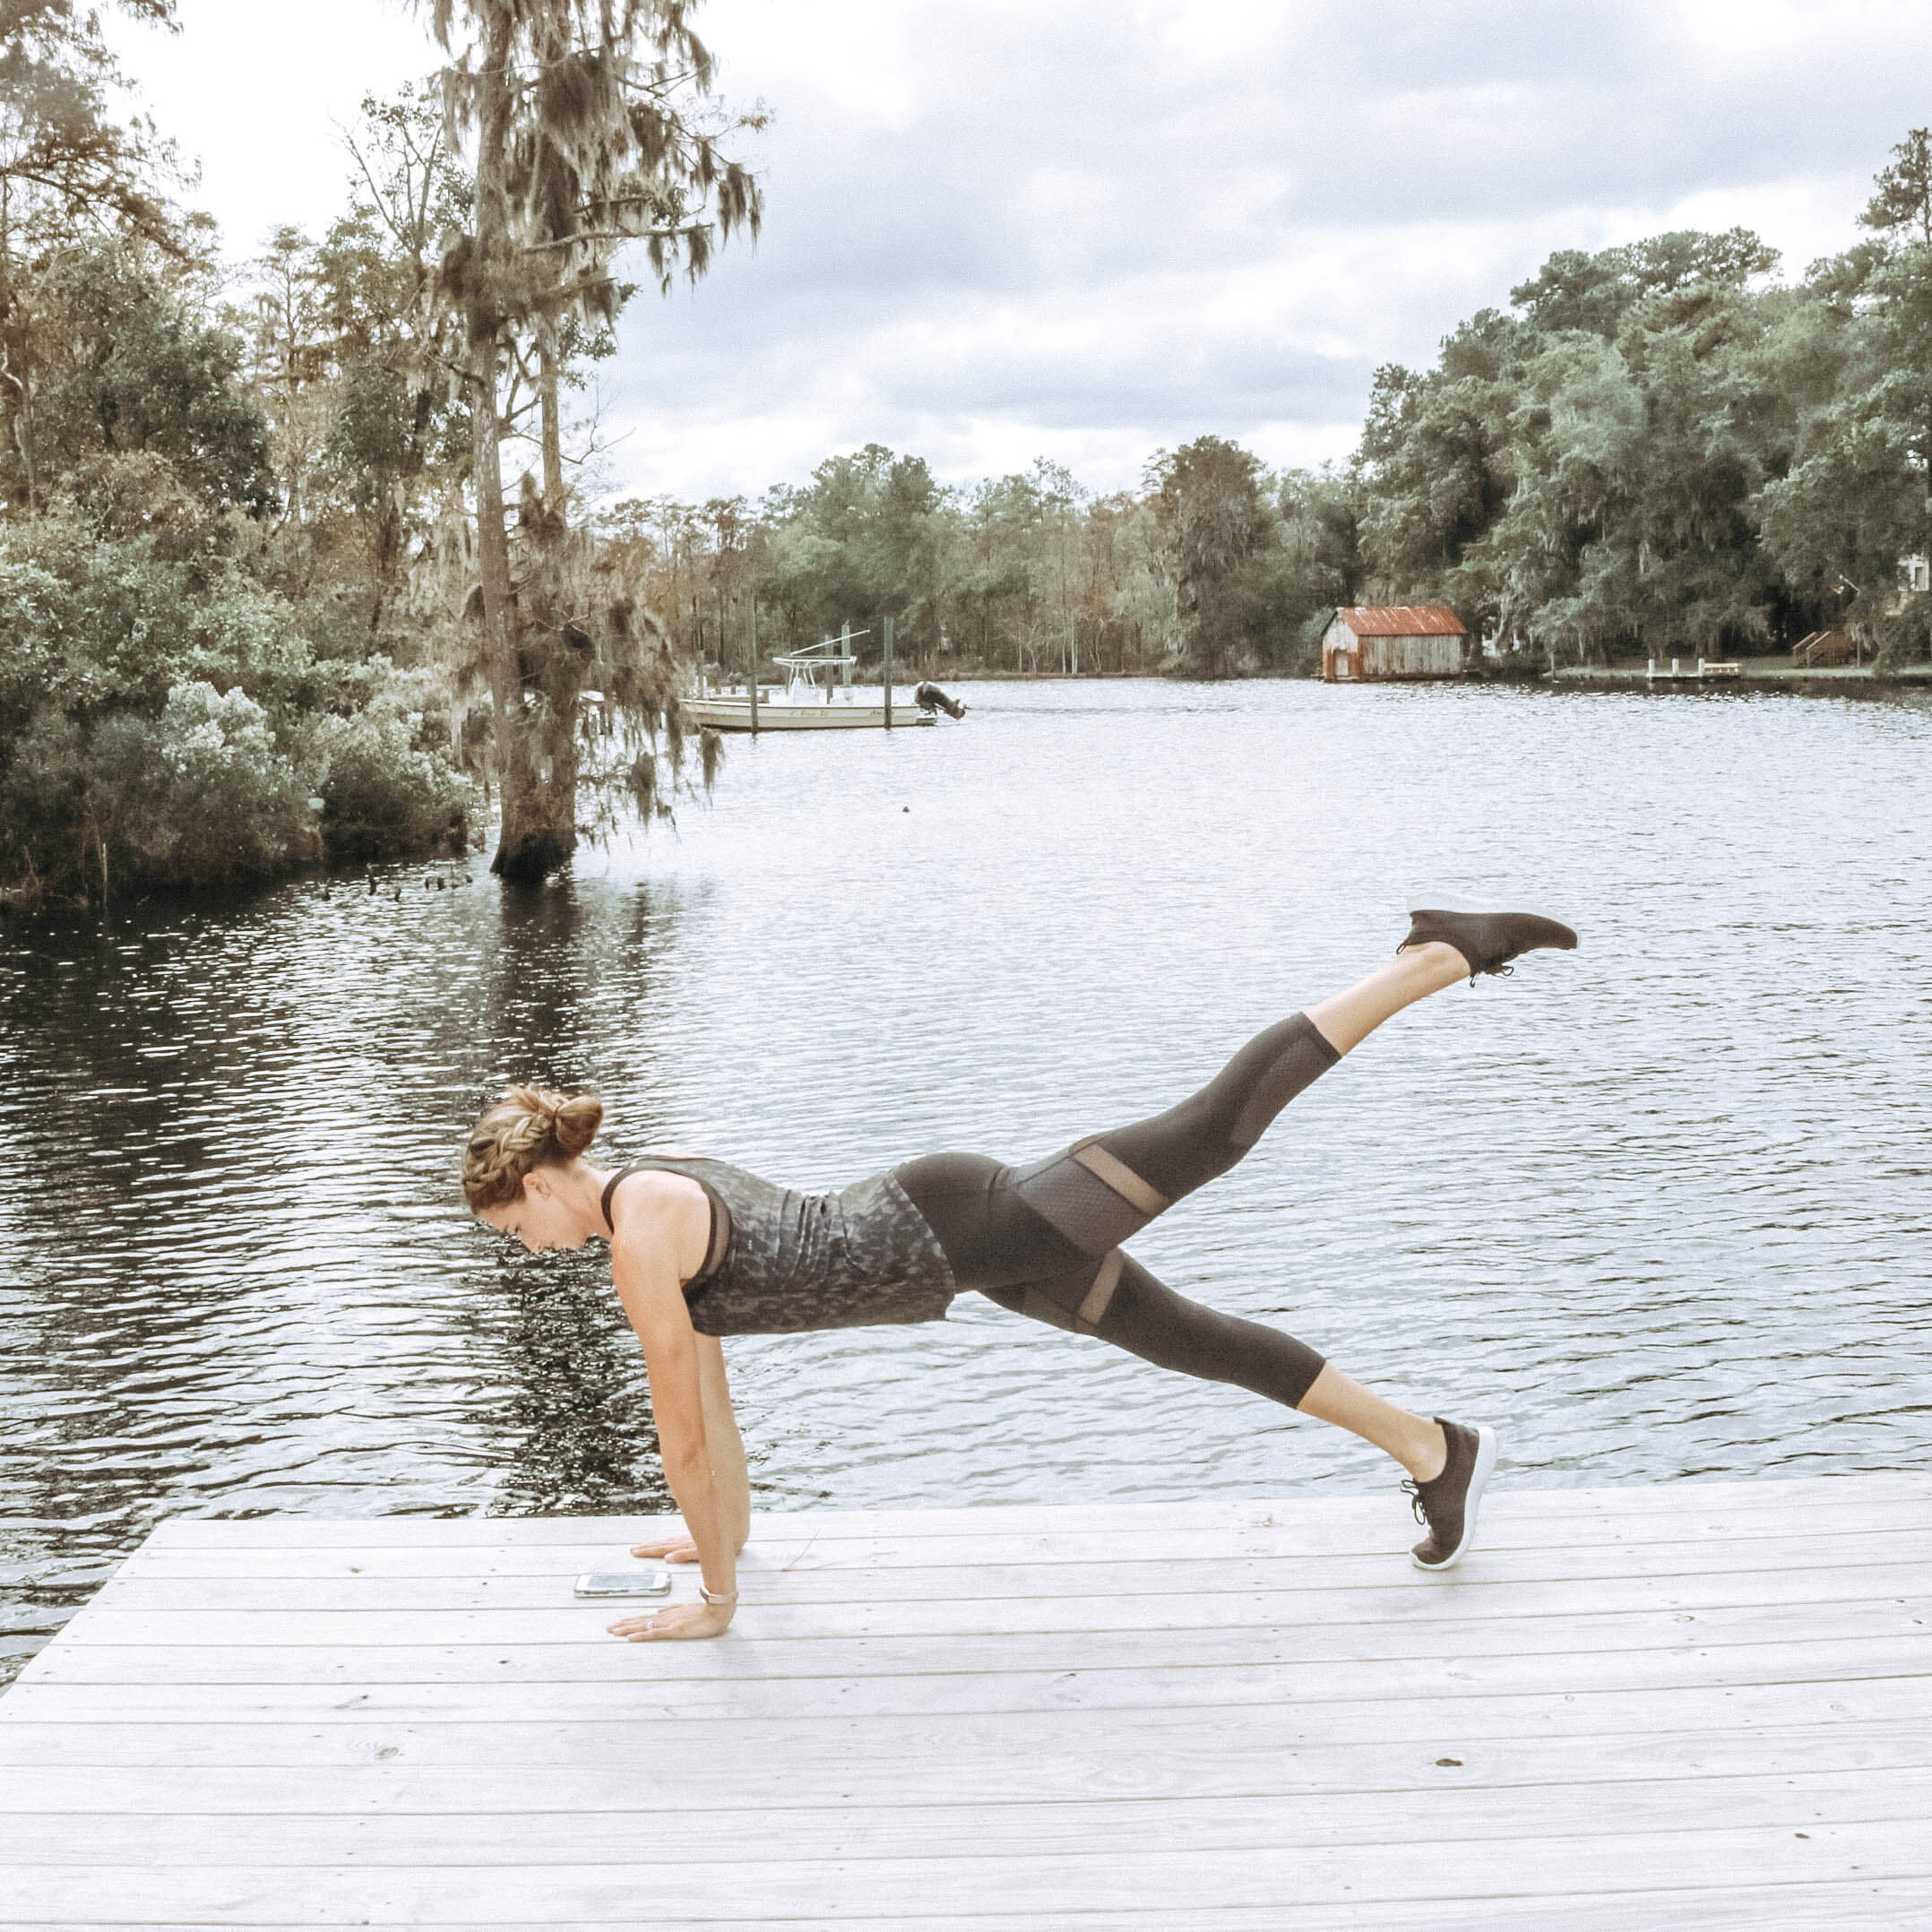
Single Leg Plank: Start in standard plank. Then lift one leg. You can stack one leg on top of the other or just lift it off the ground.
Why we LOVE it: By now you know that a #plank is great for your #core… but do you want an extra #bootylift? This is the plank for you! Pulse your raised leg, squeezing the glutes as you hold your plank!
Day 9
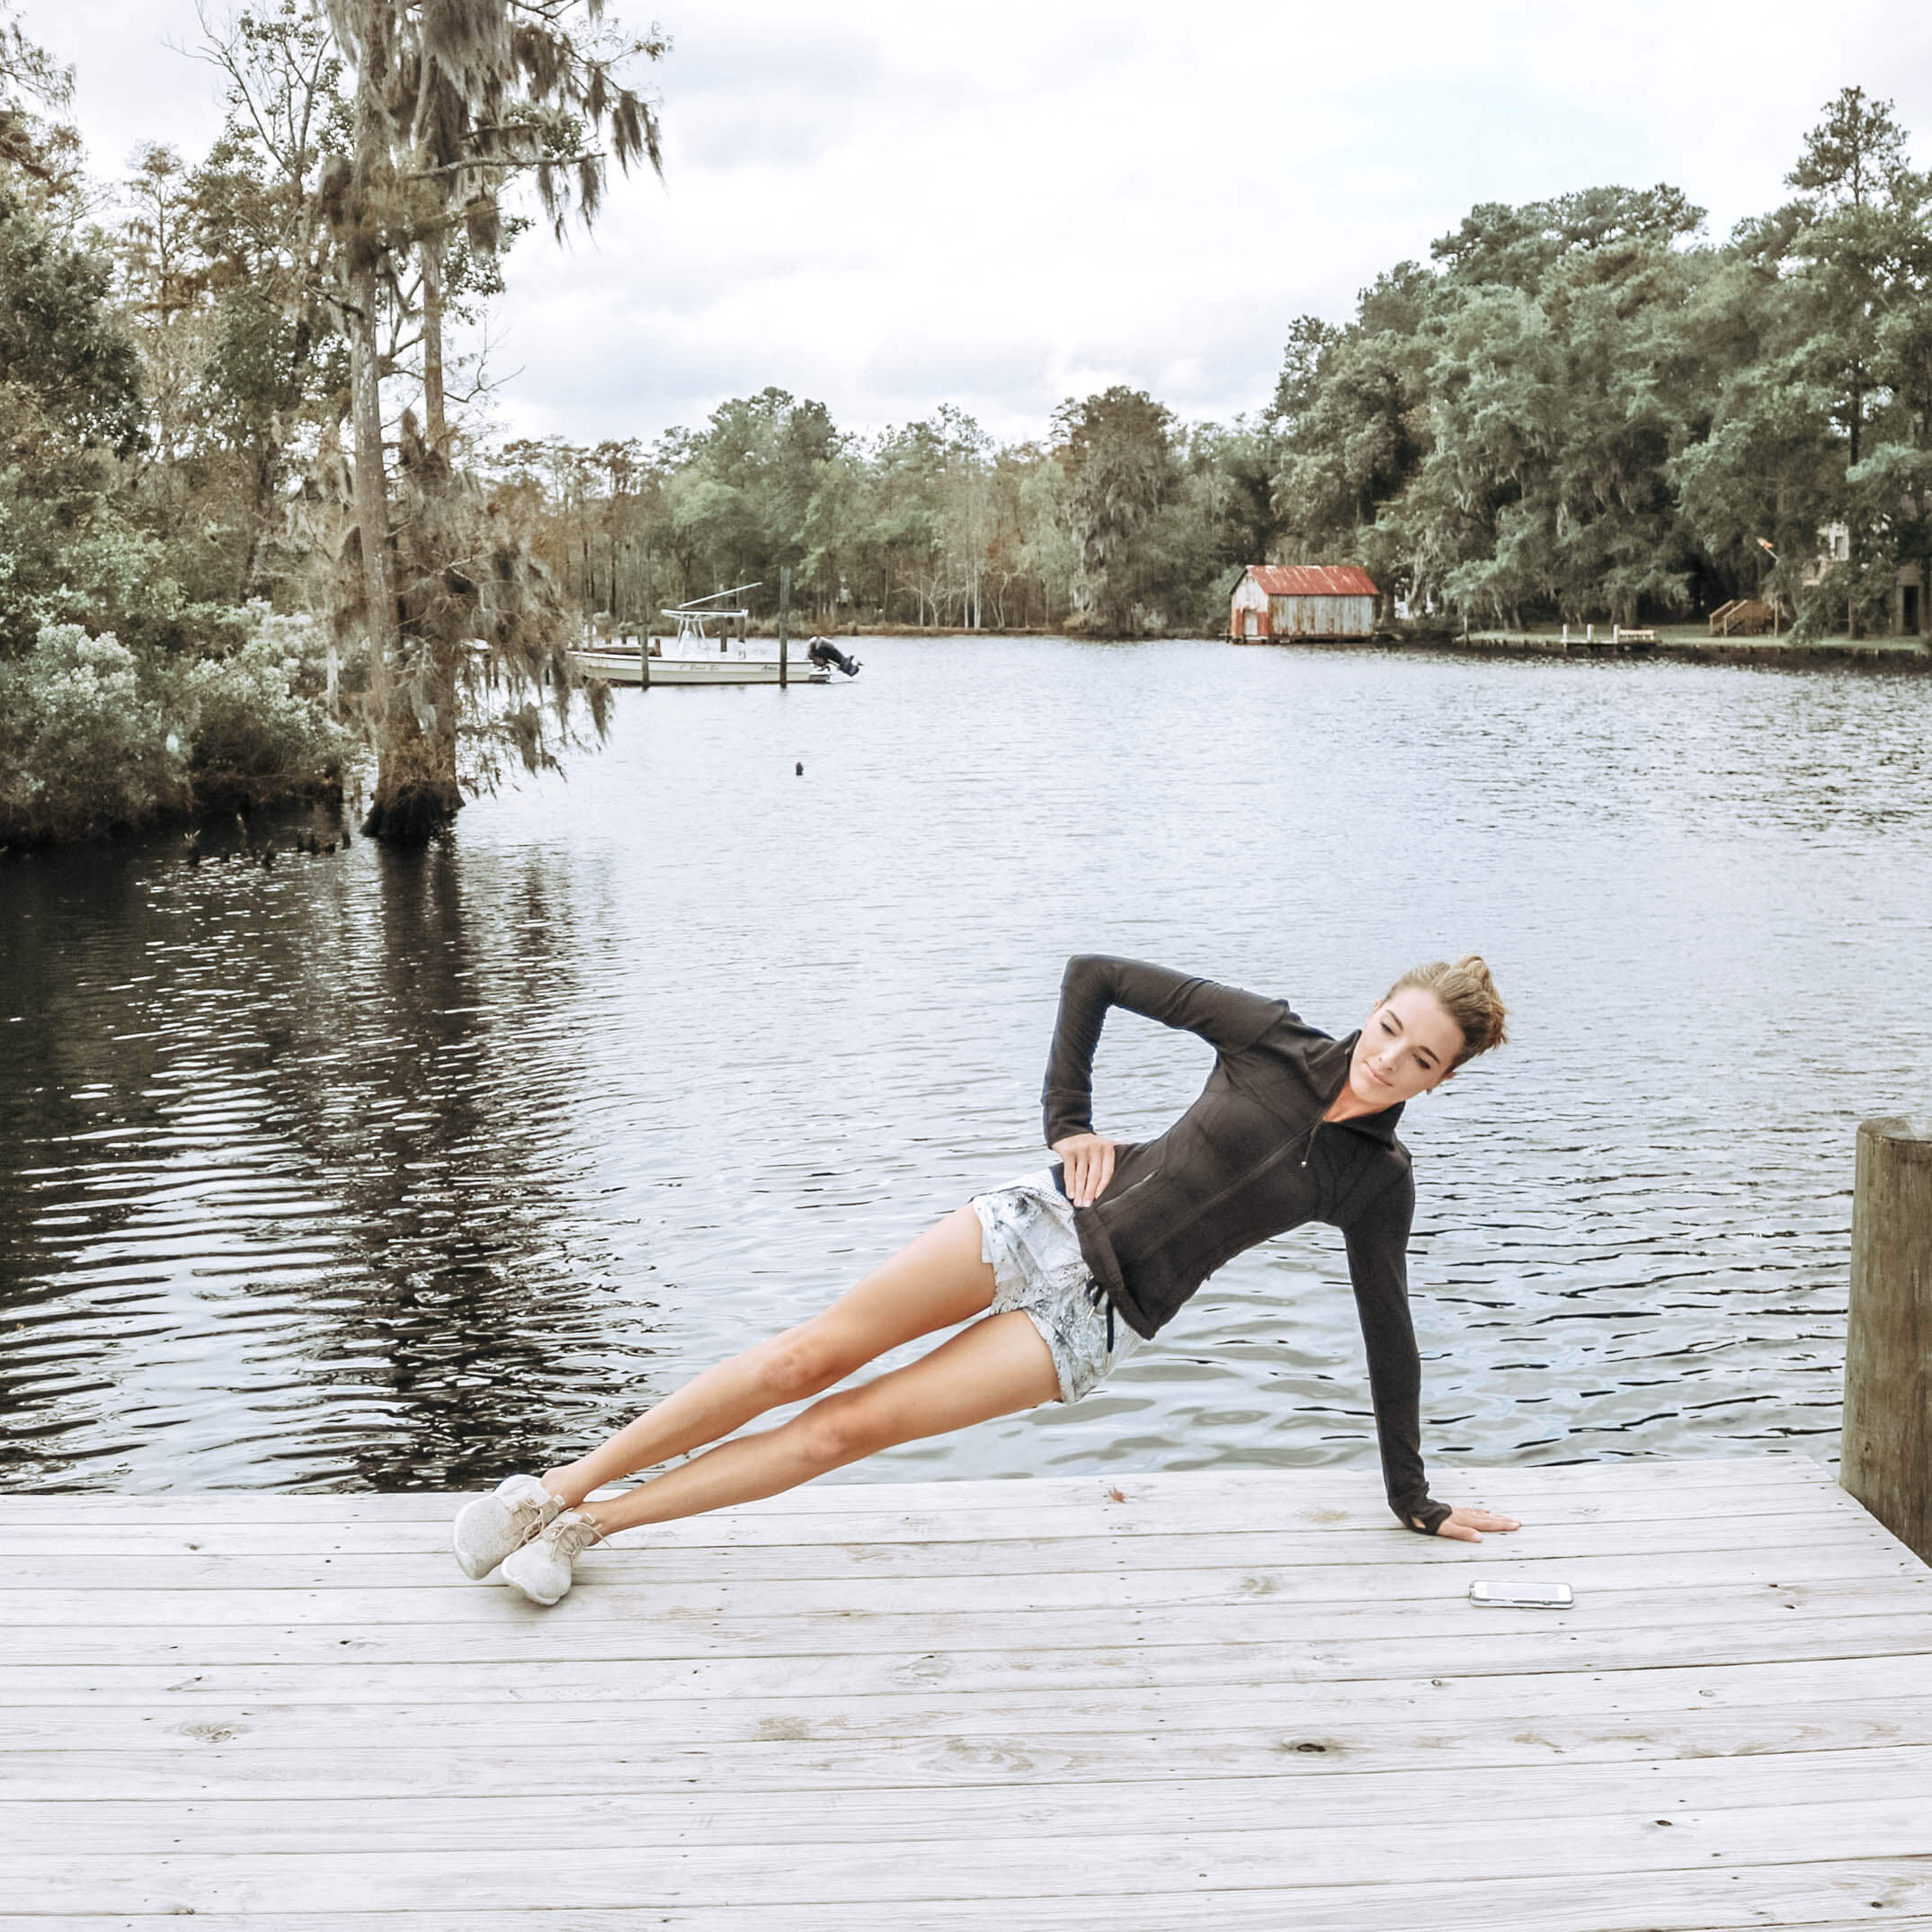
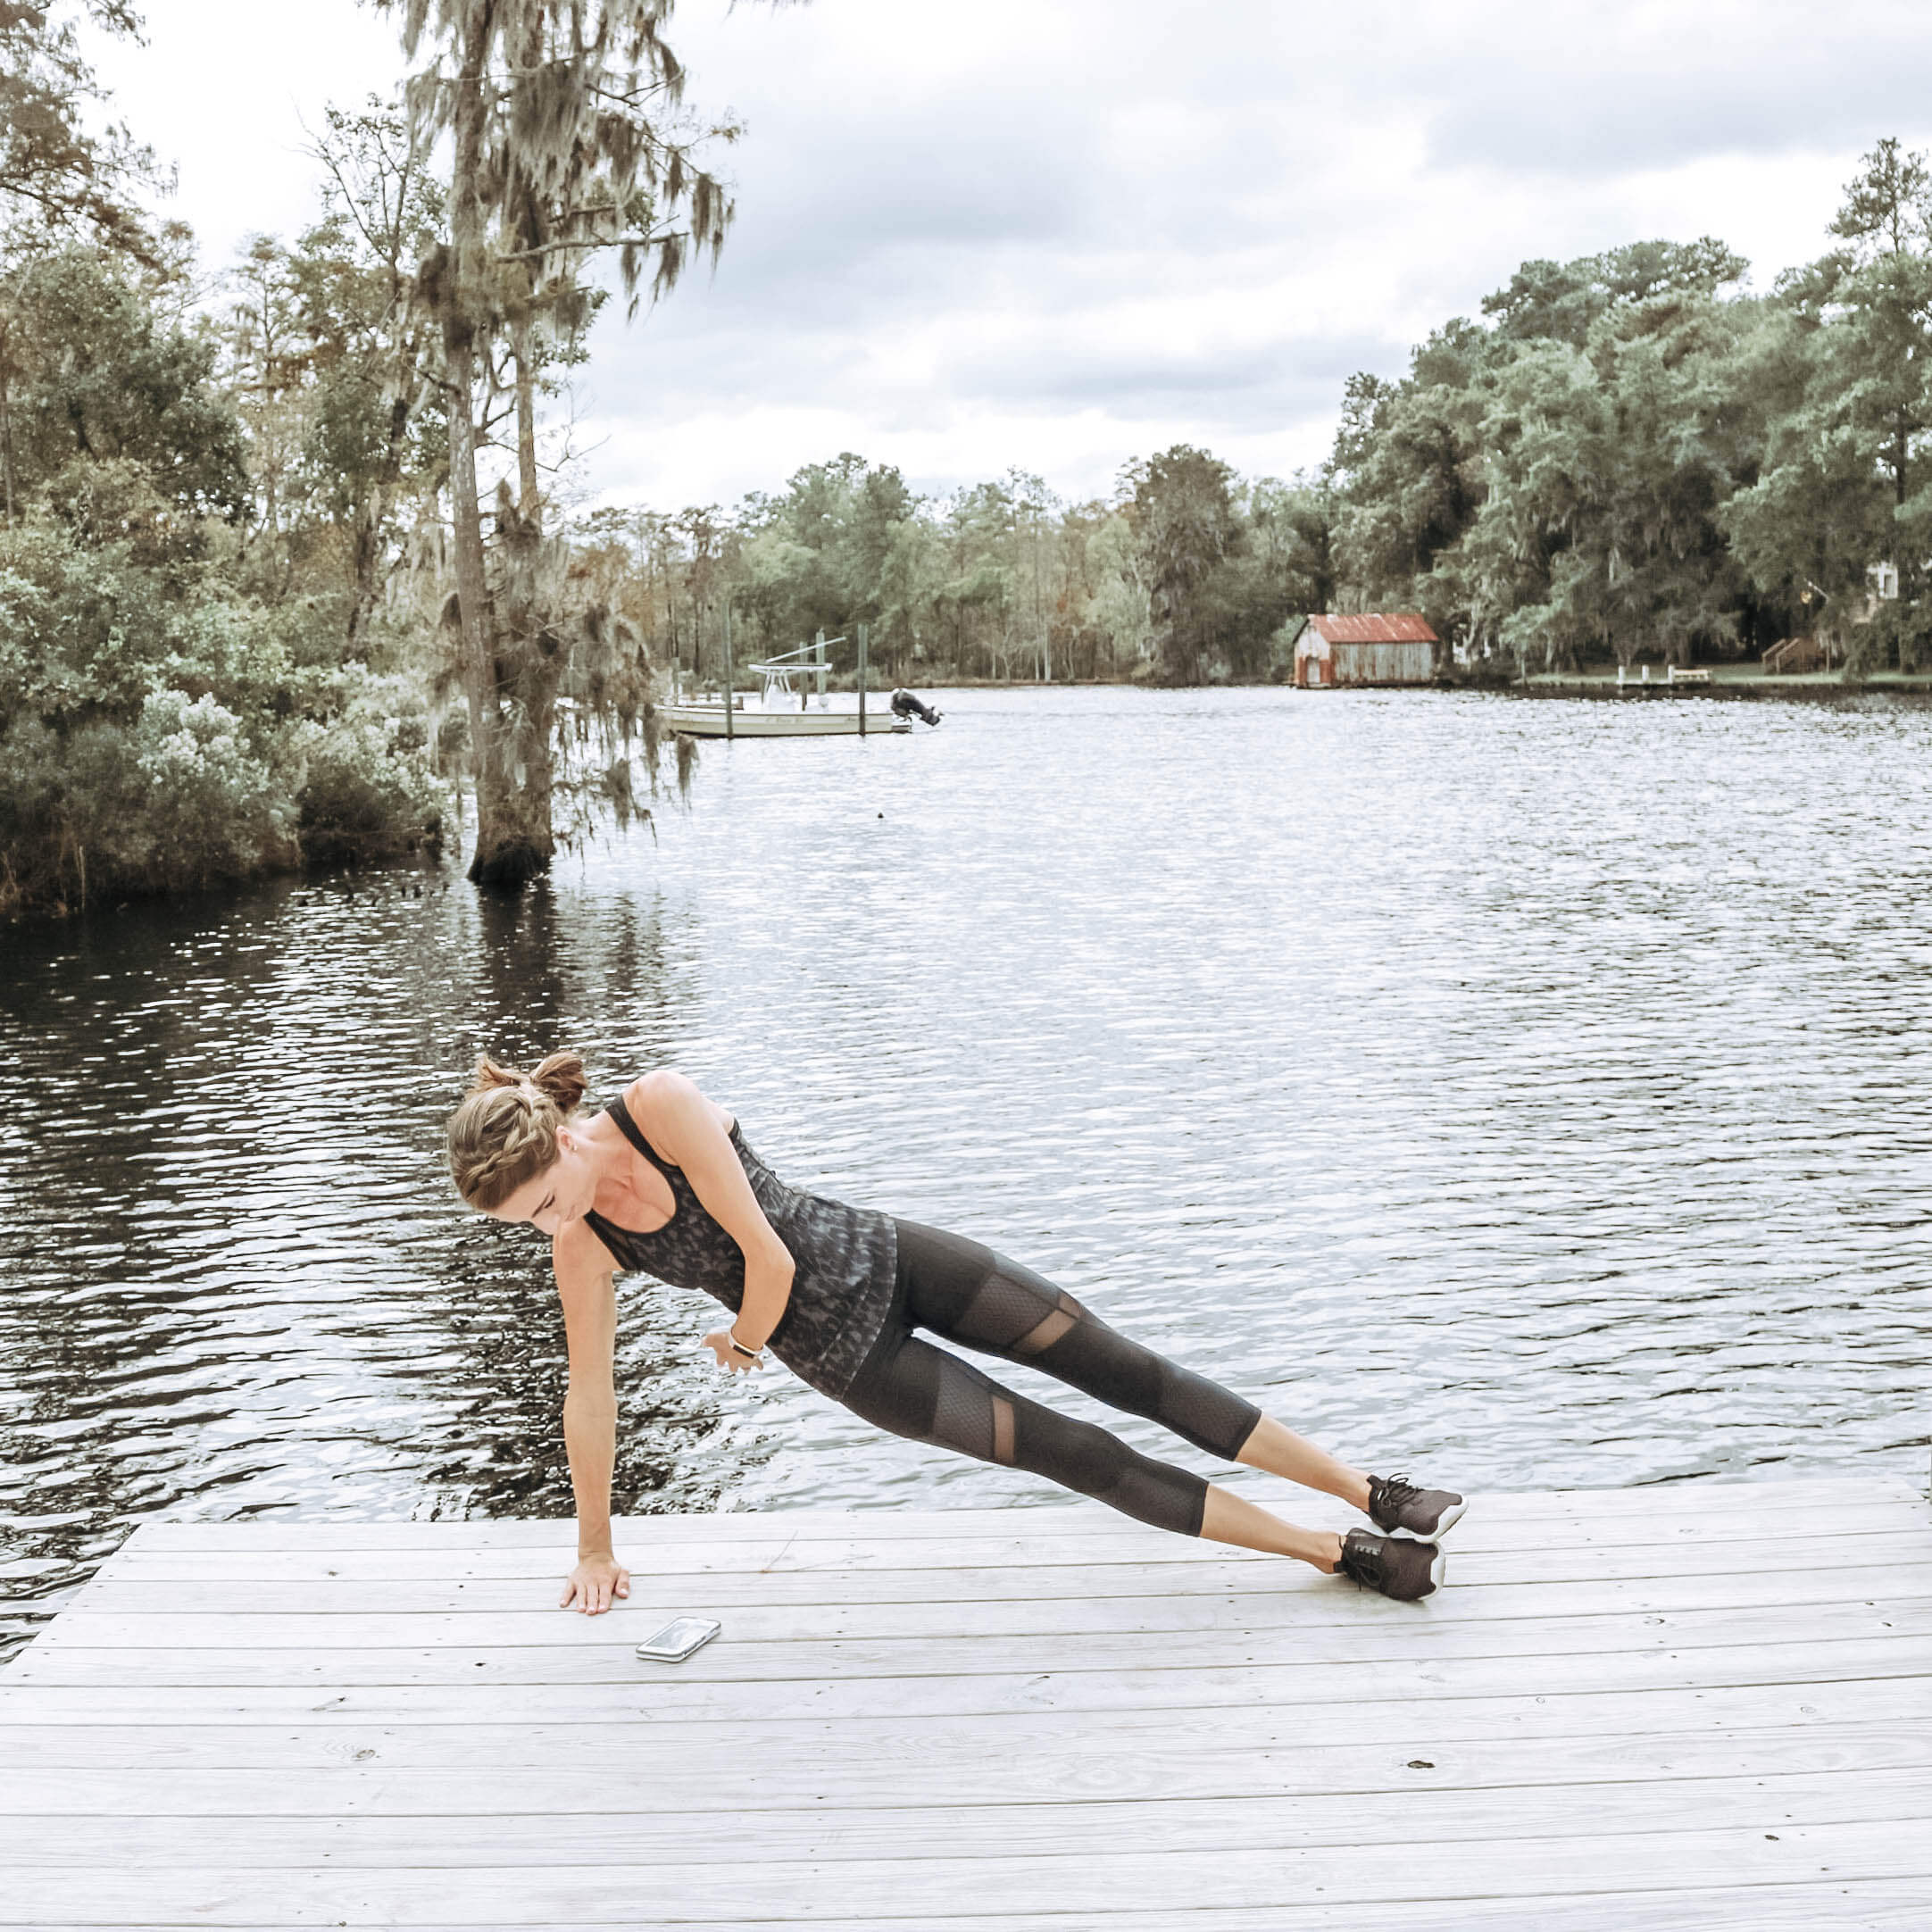
Side Plank: Starting in standard plank position, bring your legs together until your heels touch. Lean to your left while lifting your right arm up until you are balanced on one hand.
Why we LOVE it: The side plank works your entire core, but it particularly targets an often weak muscle called the quadratus lumborum.
The benefit: You’ll reduce your risk for lower back pain, become a better athlete, and look better than ever (think: smaller waist & tighter tummy!)
Day 10
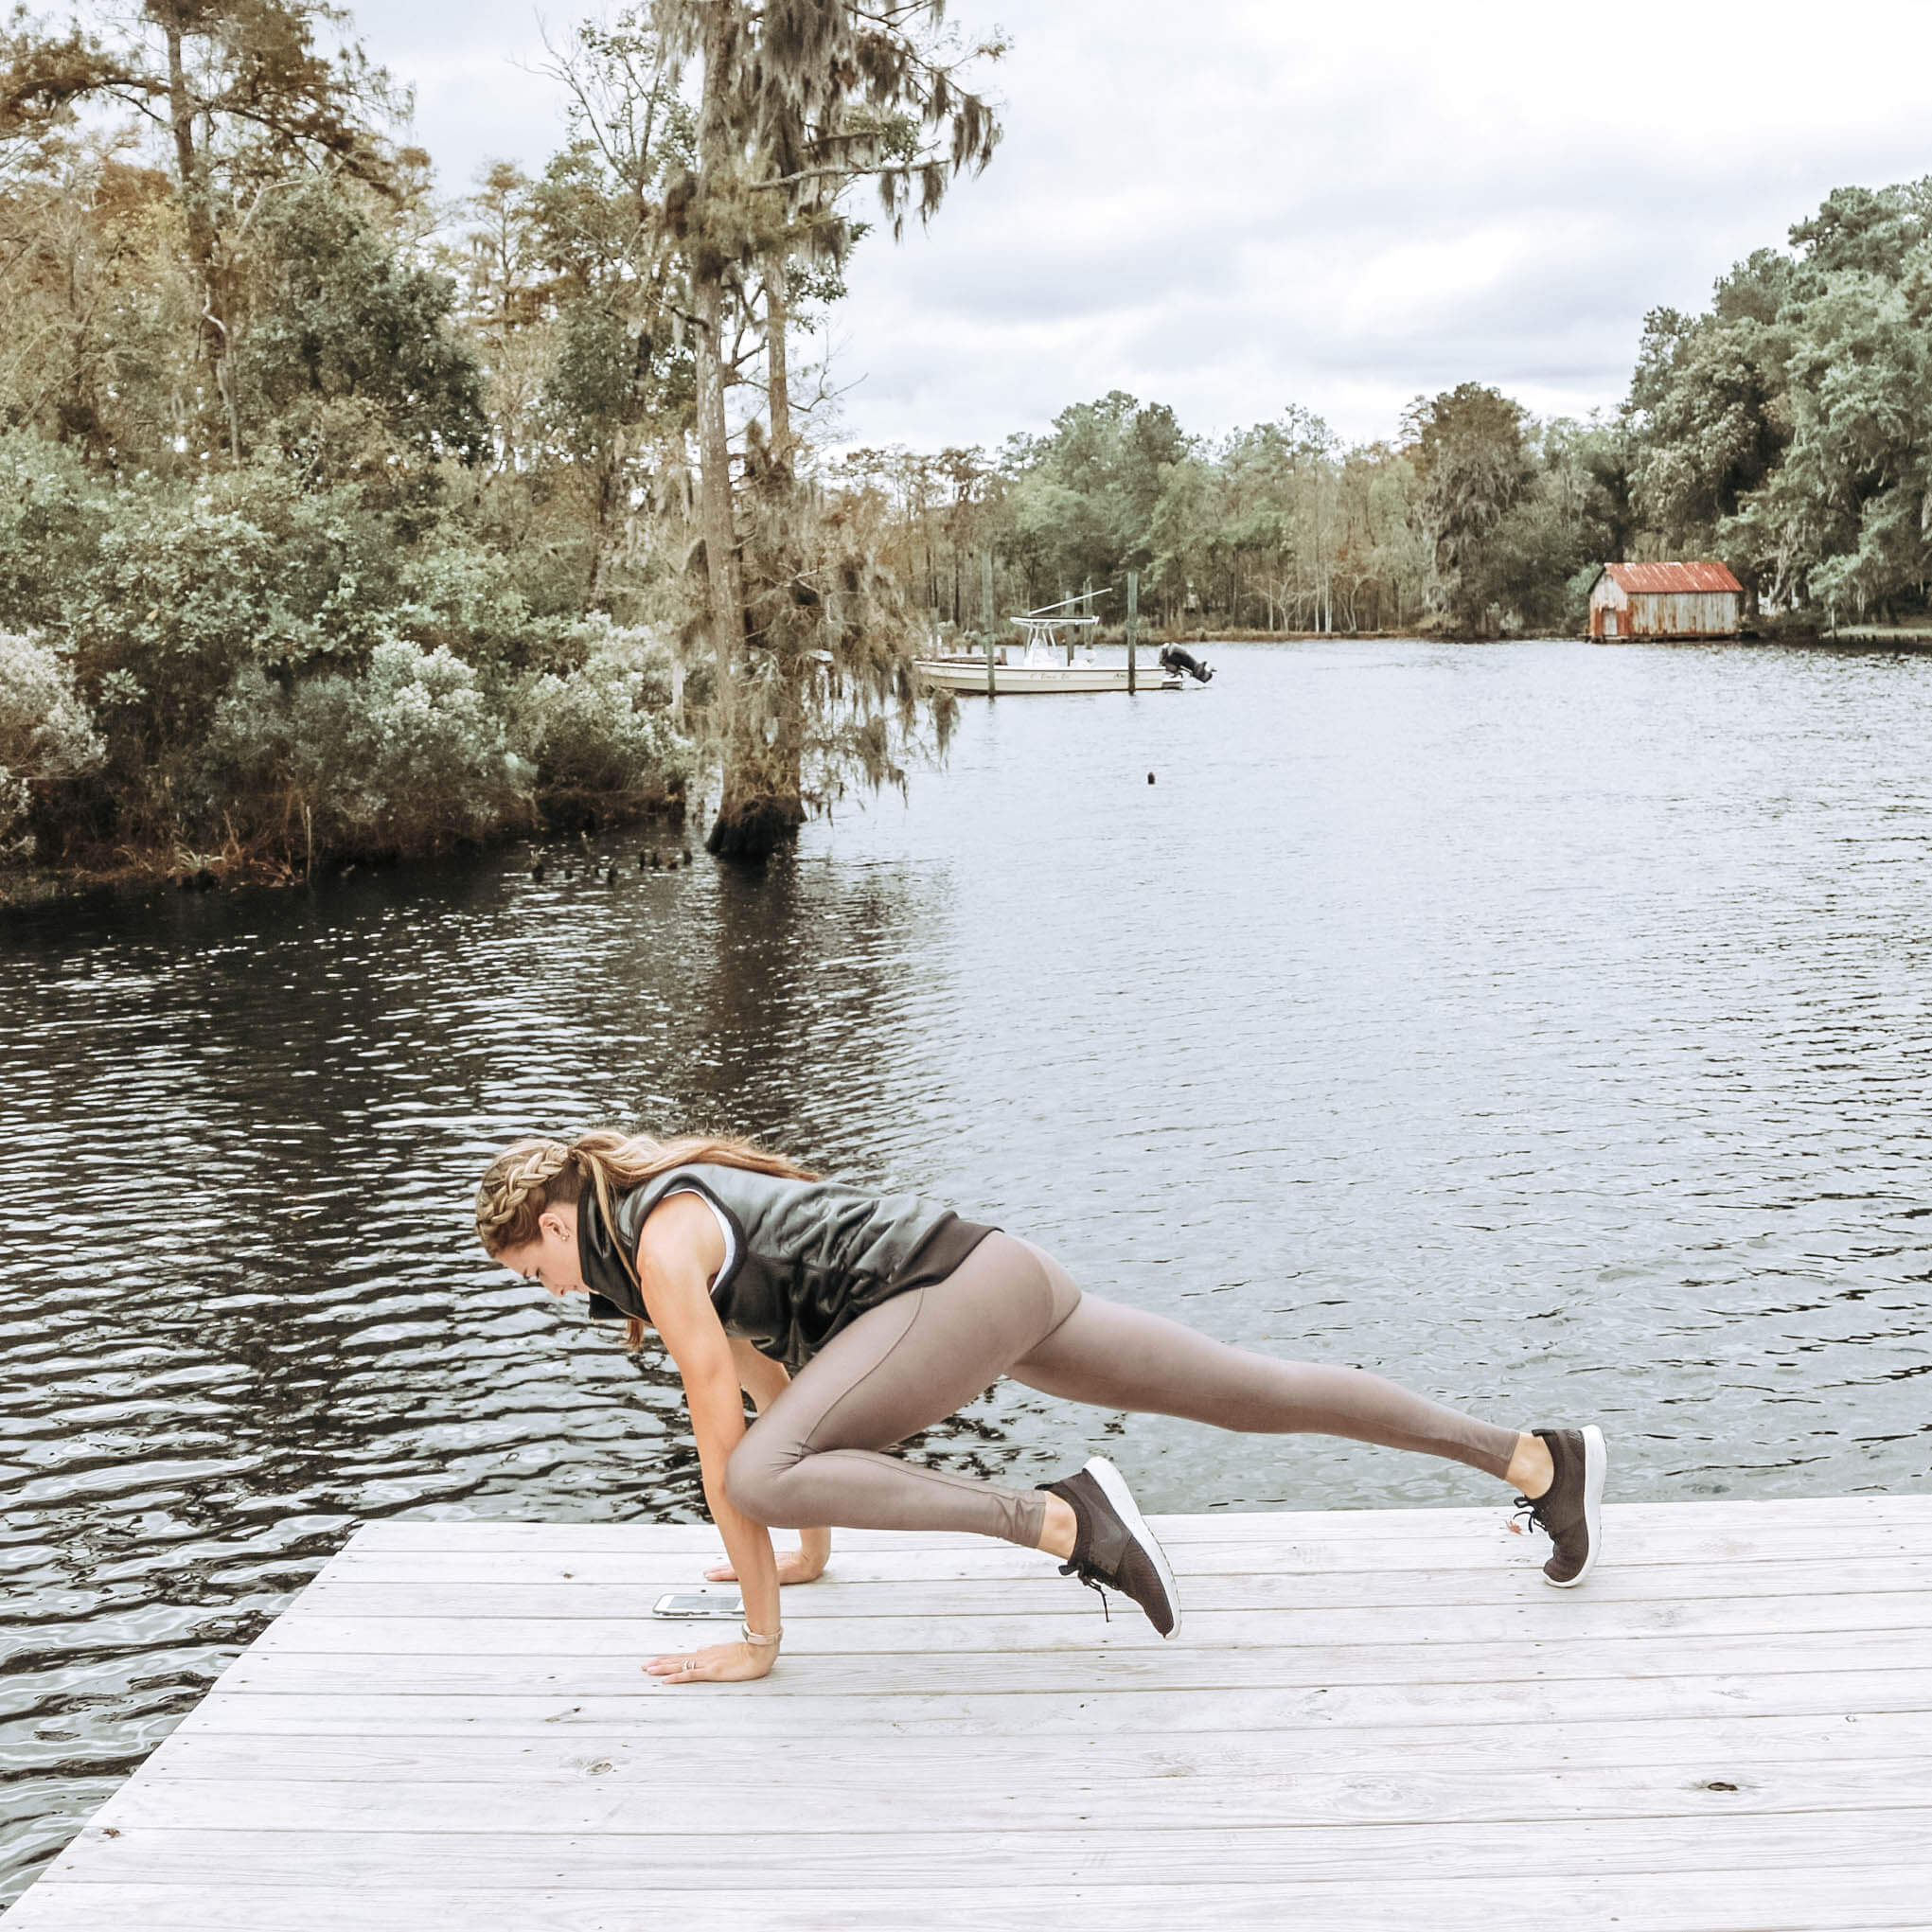
Knee to Outside Elbow Plank: Start with a standard plank. Slowly bring your right knee toward the outside of your right elbow. You’ll be tempted to look back to see how close your knee is—don’t do it! It will make you round your shoulders and drop your hips. Just get it as close as you can without losing your form. If you can get it all the way to touch, you get extra credit! Repeat on the other side.
Why we LOVE it: The plank with knee to elbow is a more difficult progression from a standard plank. The exercise targets the core, specifically the obliques, to build strength and increase stability.
Day 11
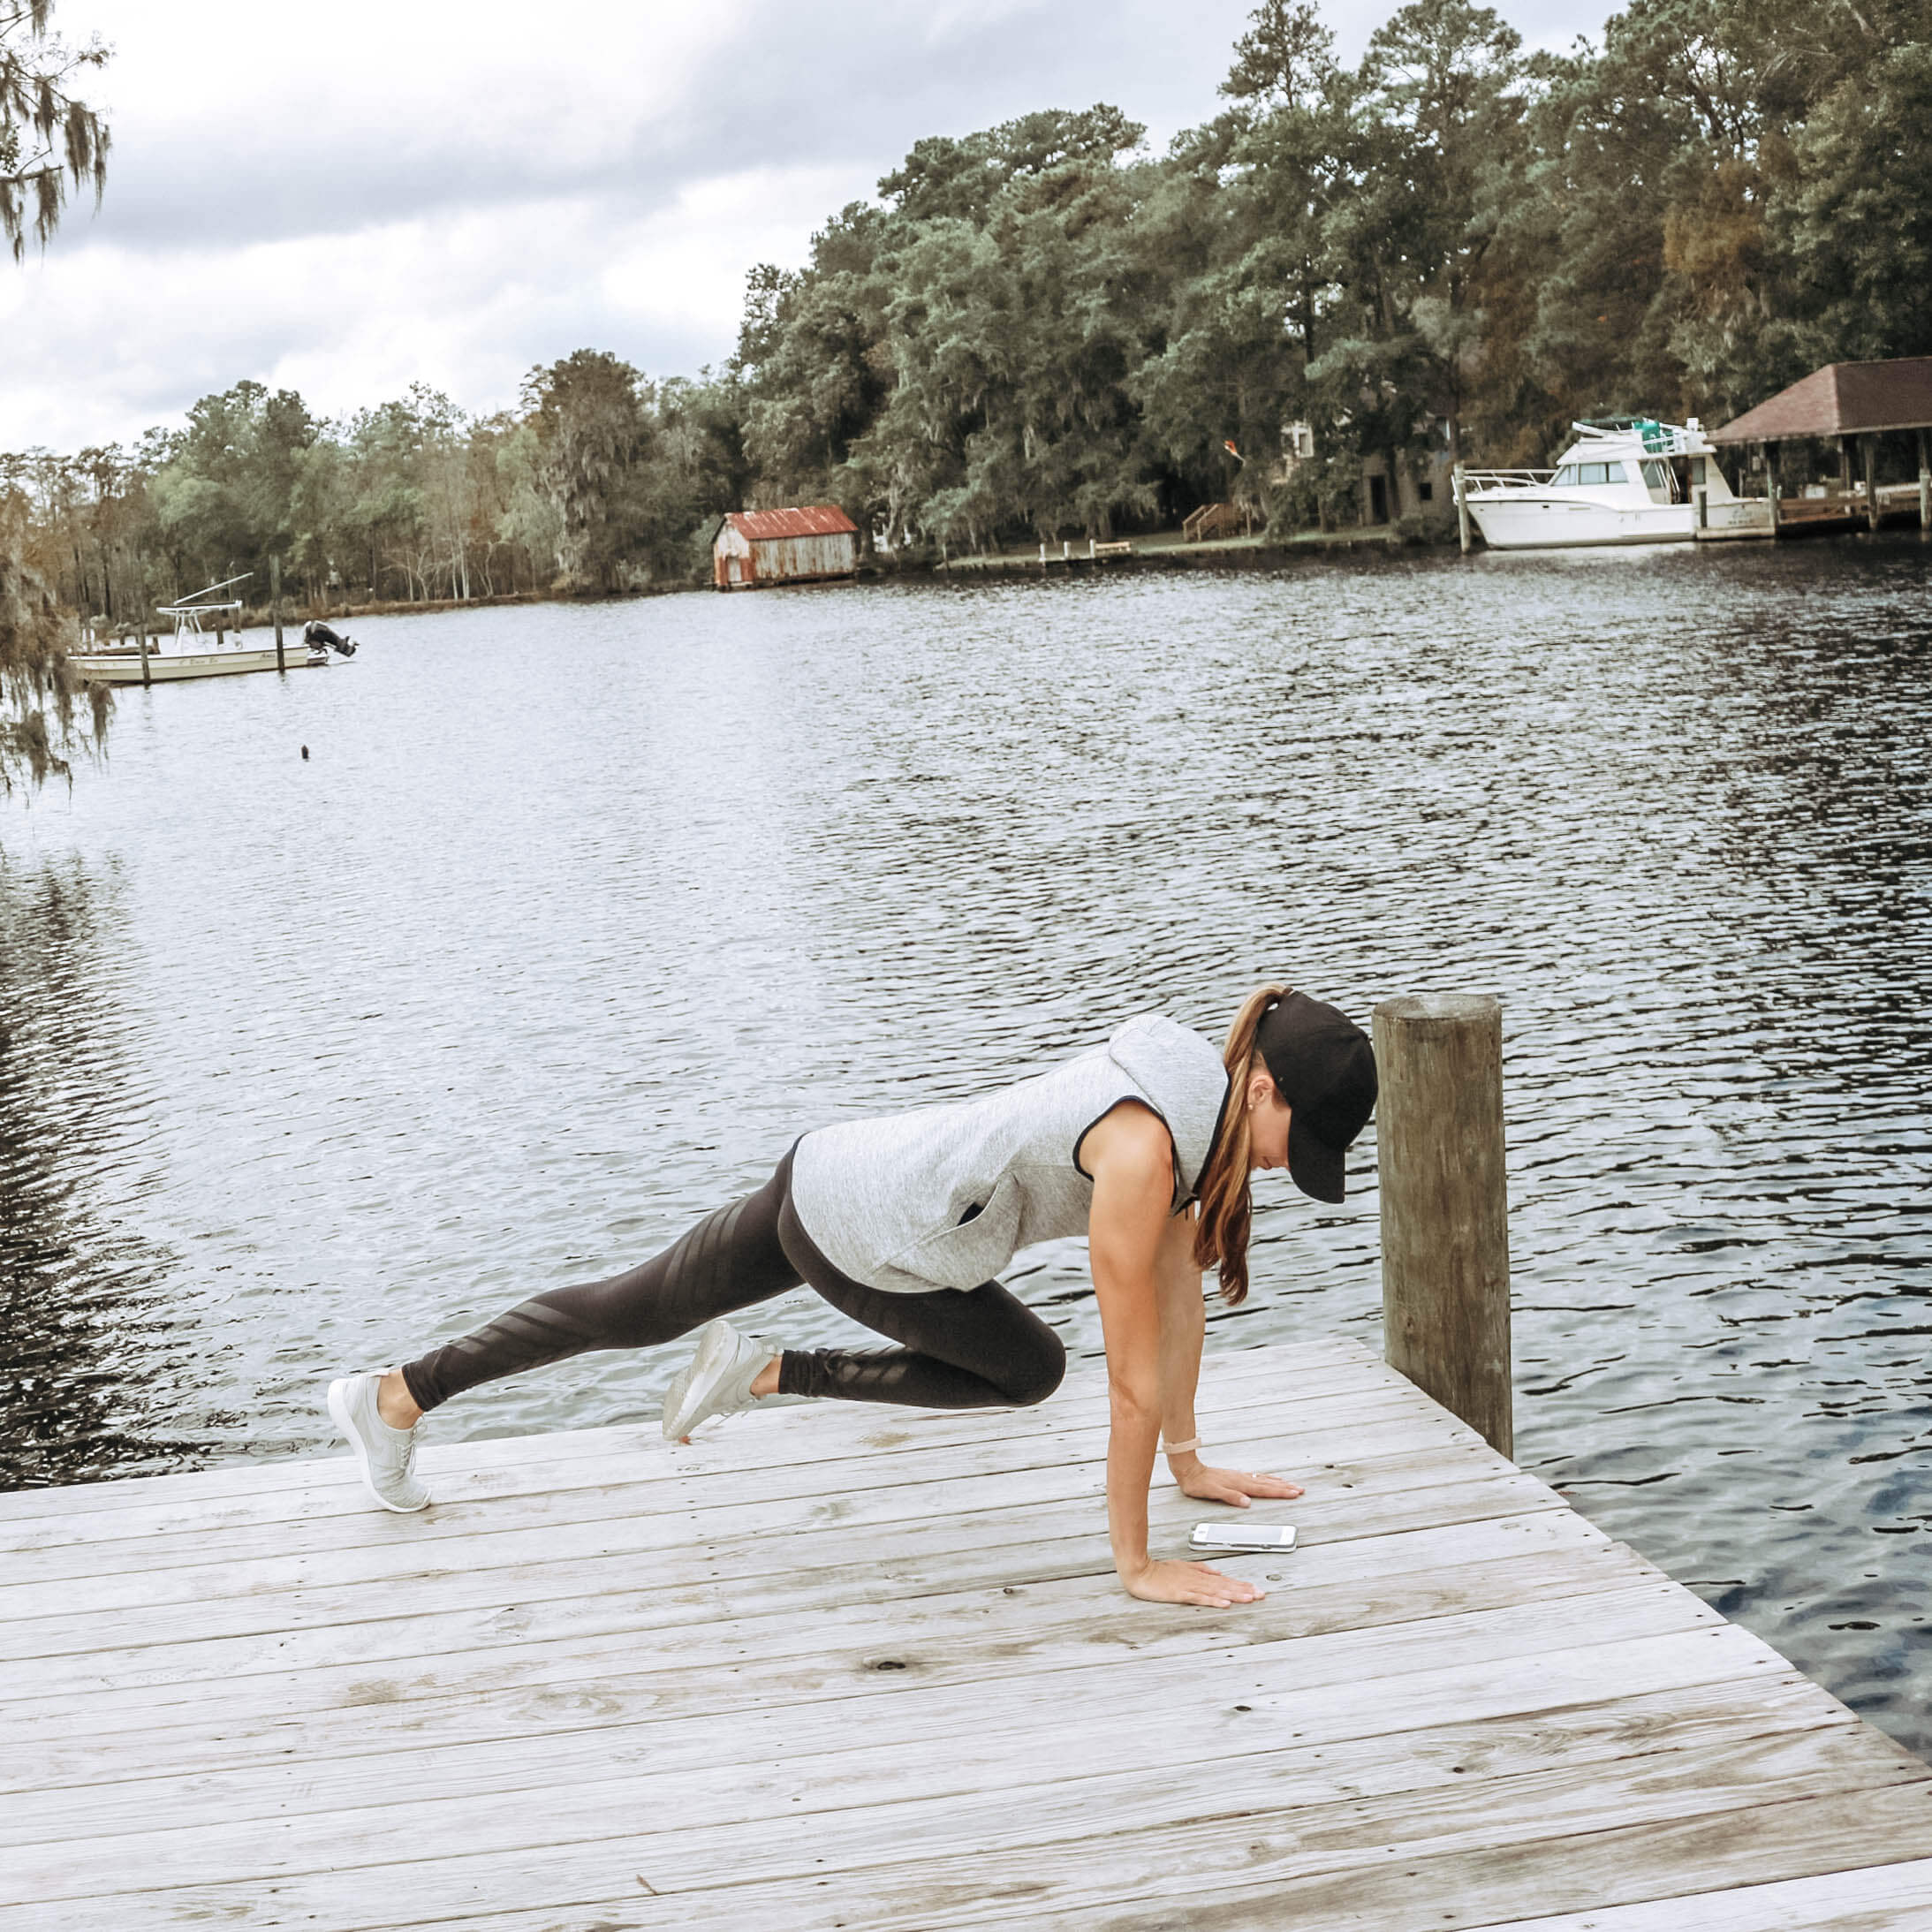
Knee to Inside Elbow: Internal obliques turn! Begin in standard plank. Then take your knee to the INSIDE elbow. Switch sides after 30 seconds.
Why we love it: just like yesterday’s plank, this plank with knee to elbow is a more difficult progression from a standard plank. The exercise targets the core, specifically the obliques, to build strength and increase stability.
Day 12
Plank Hip Dips: Begin in forearm plank & alternate taking your hips toward the floor. Keep your core tight!
Why we love it: This move is great for strengthening your core- with an extra emphasis on those obliques- as well as your upper body as you hold your shoulders up and drop your hips.
Day 13
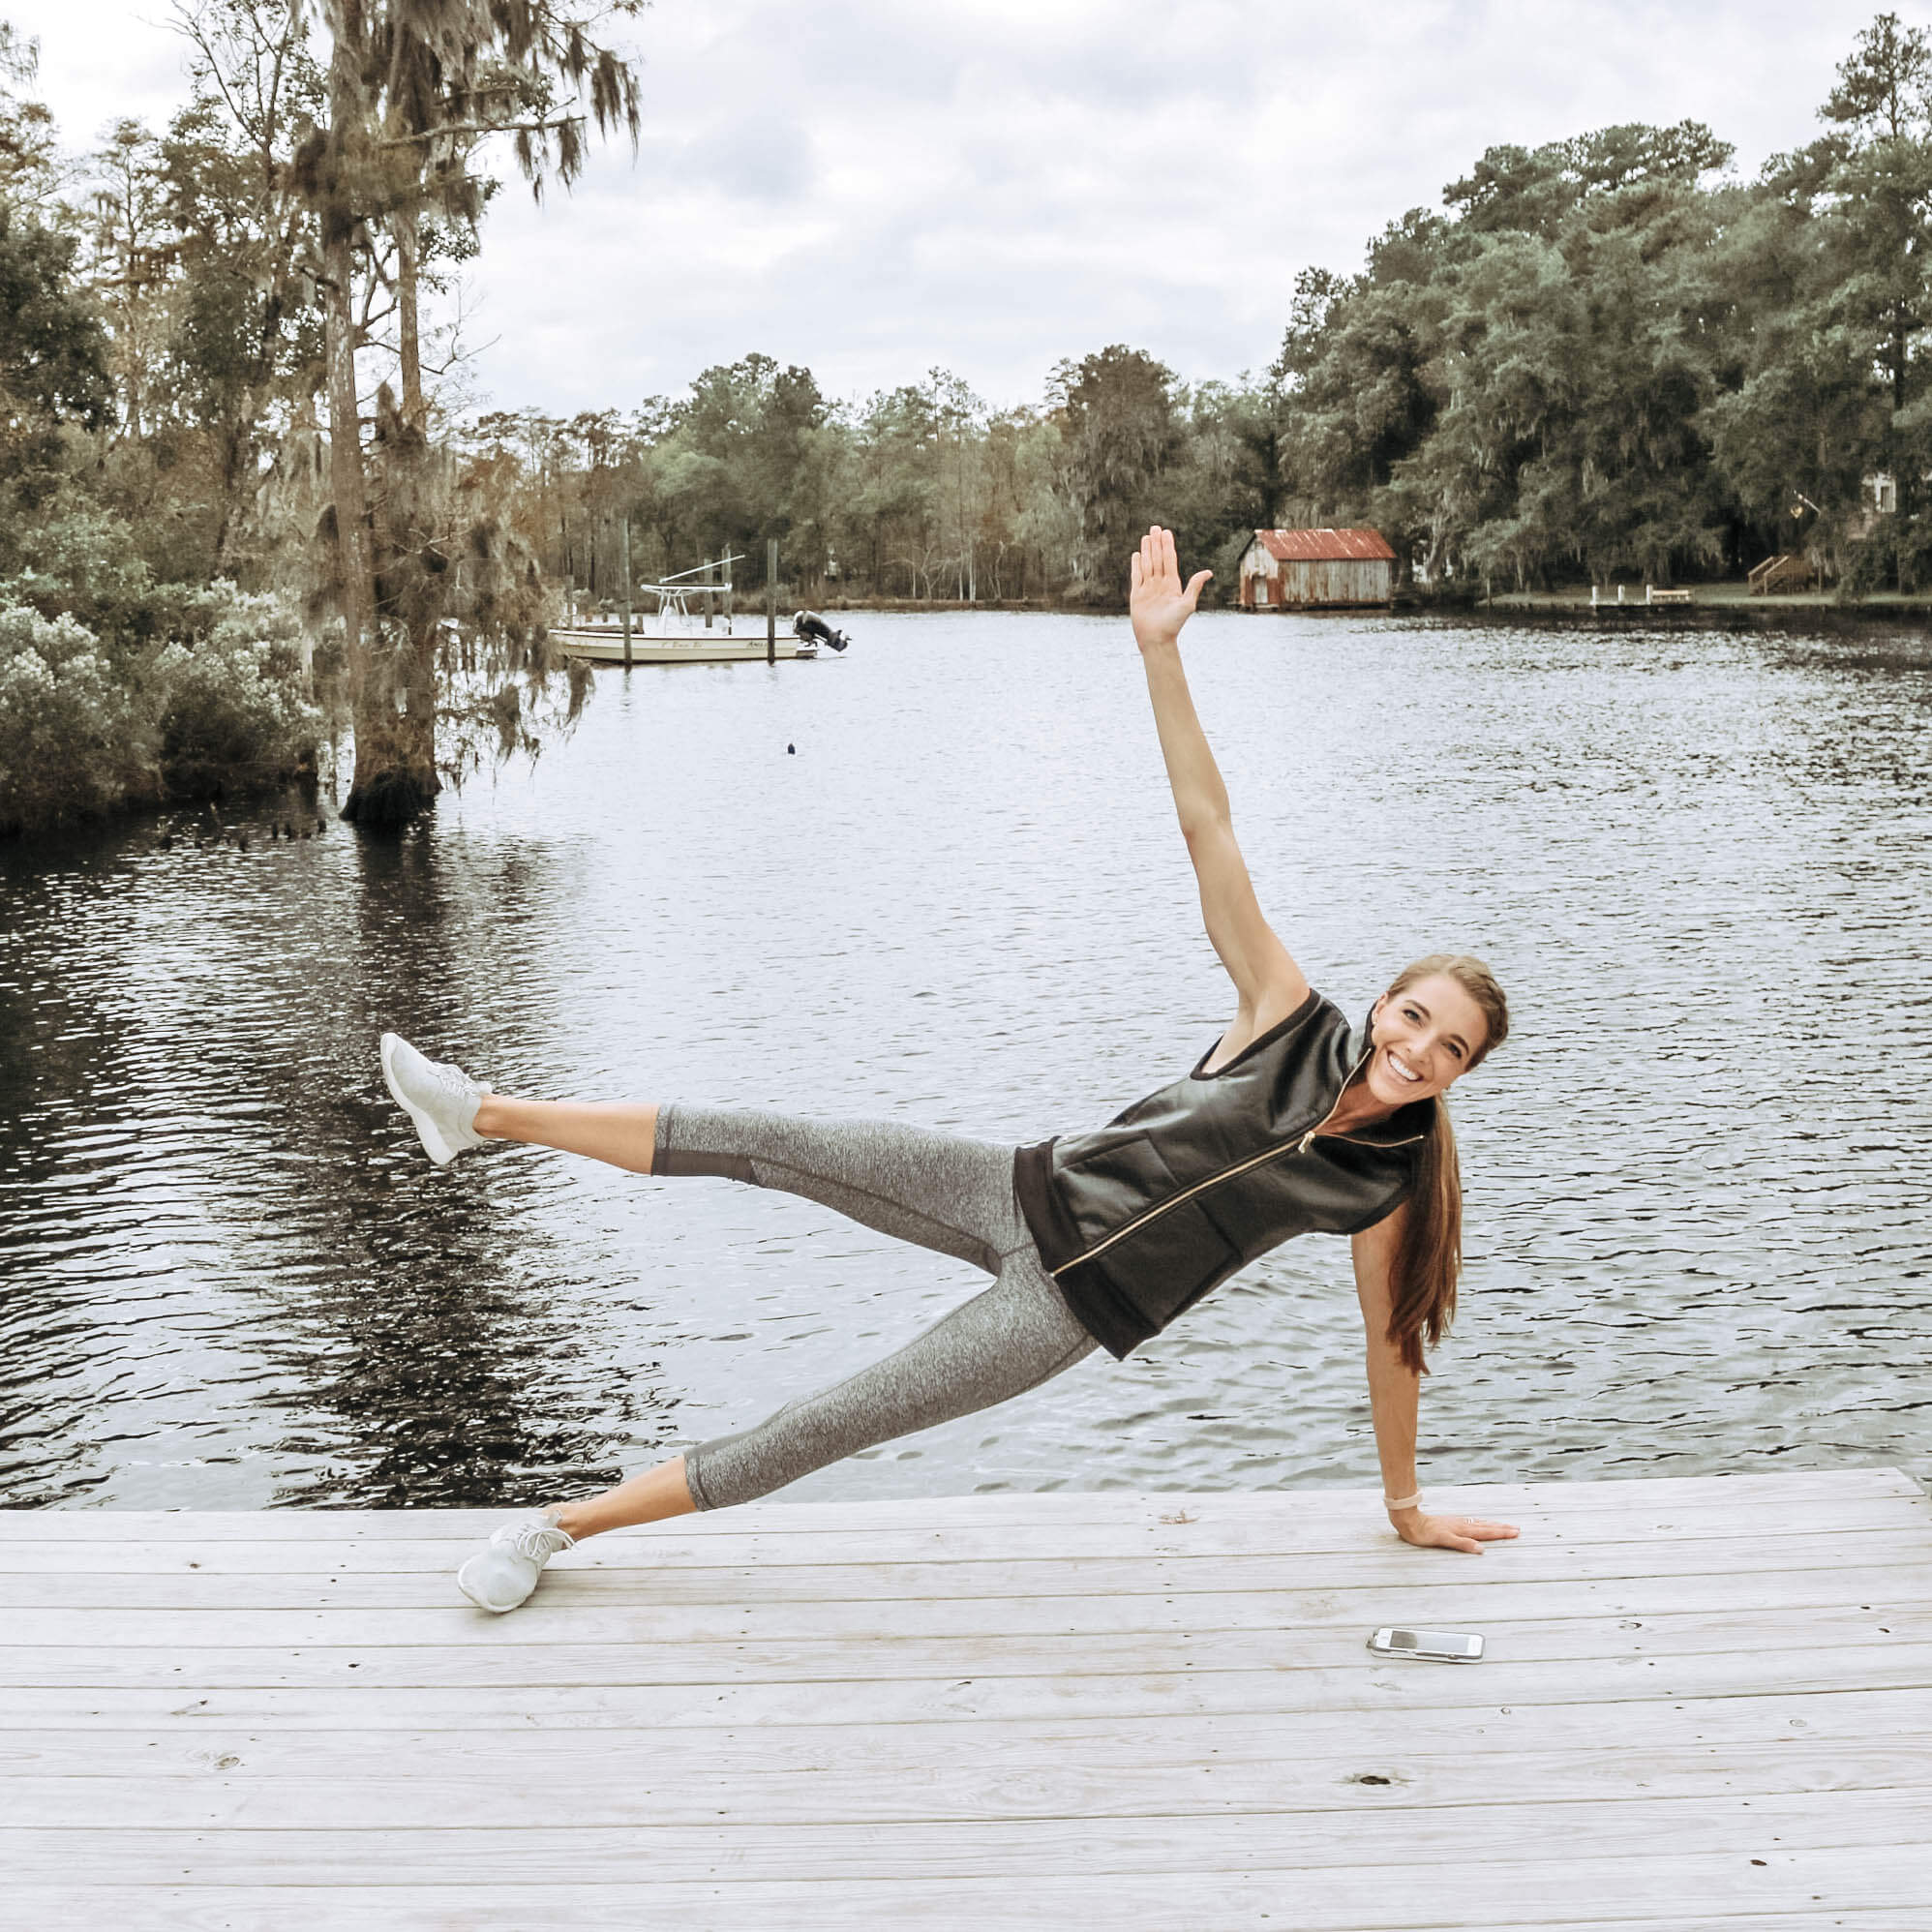
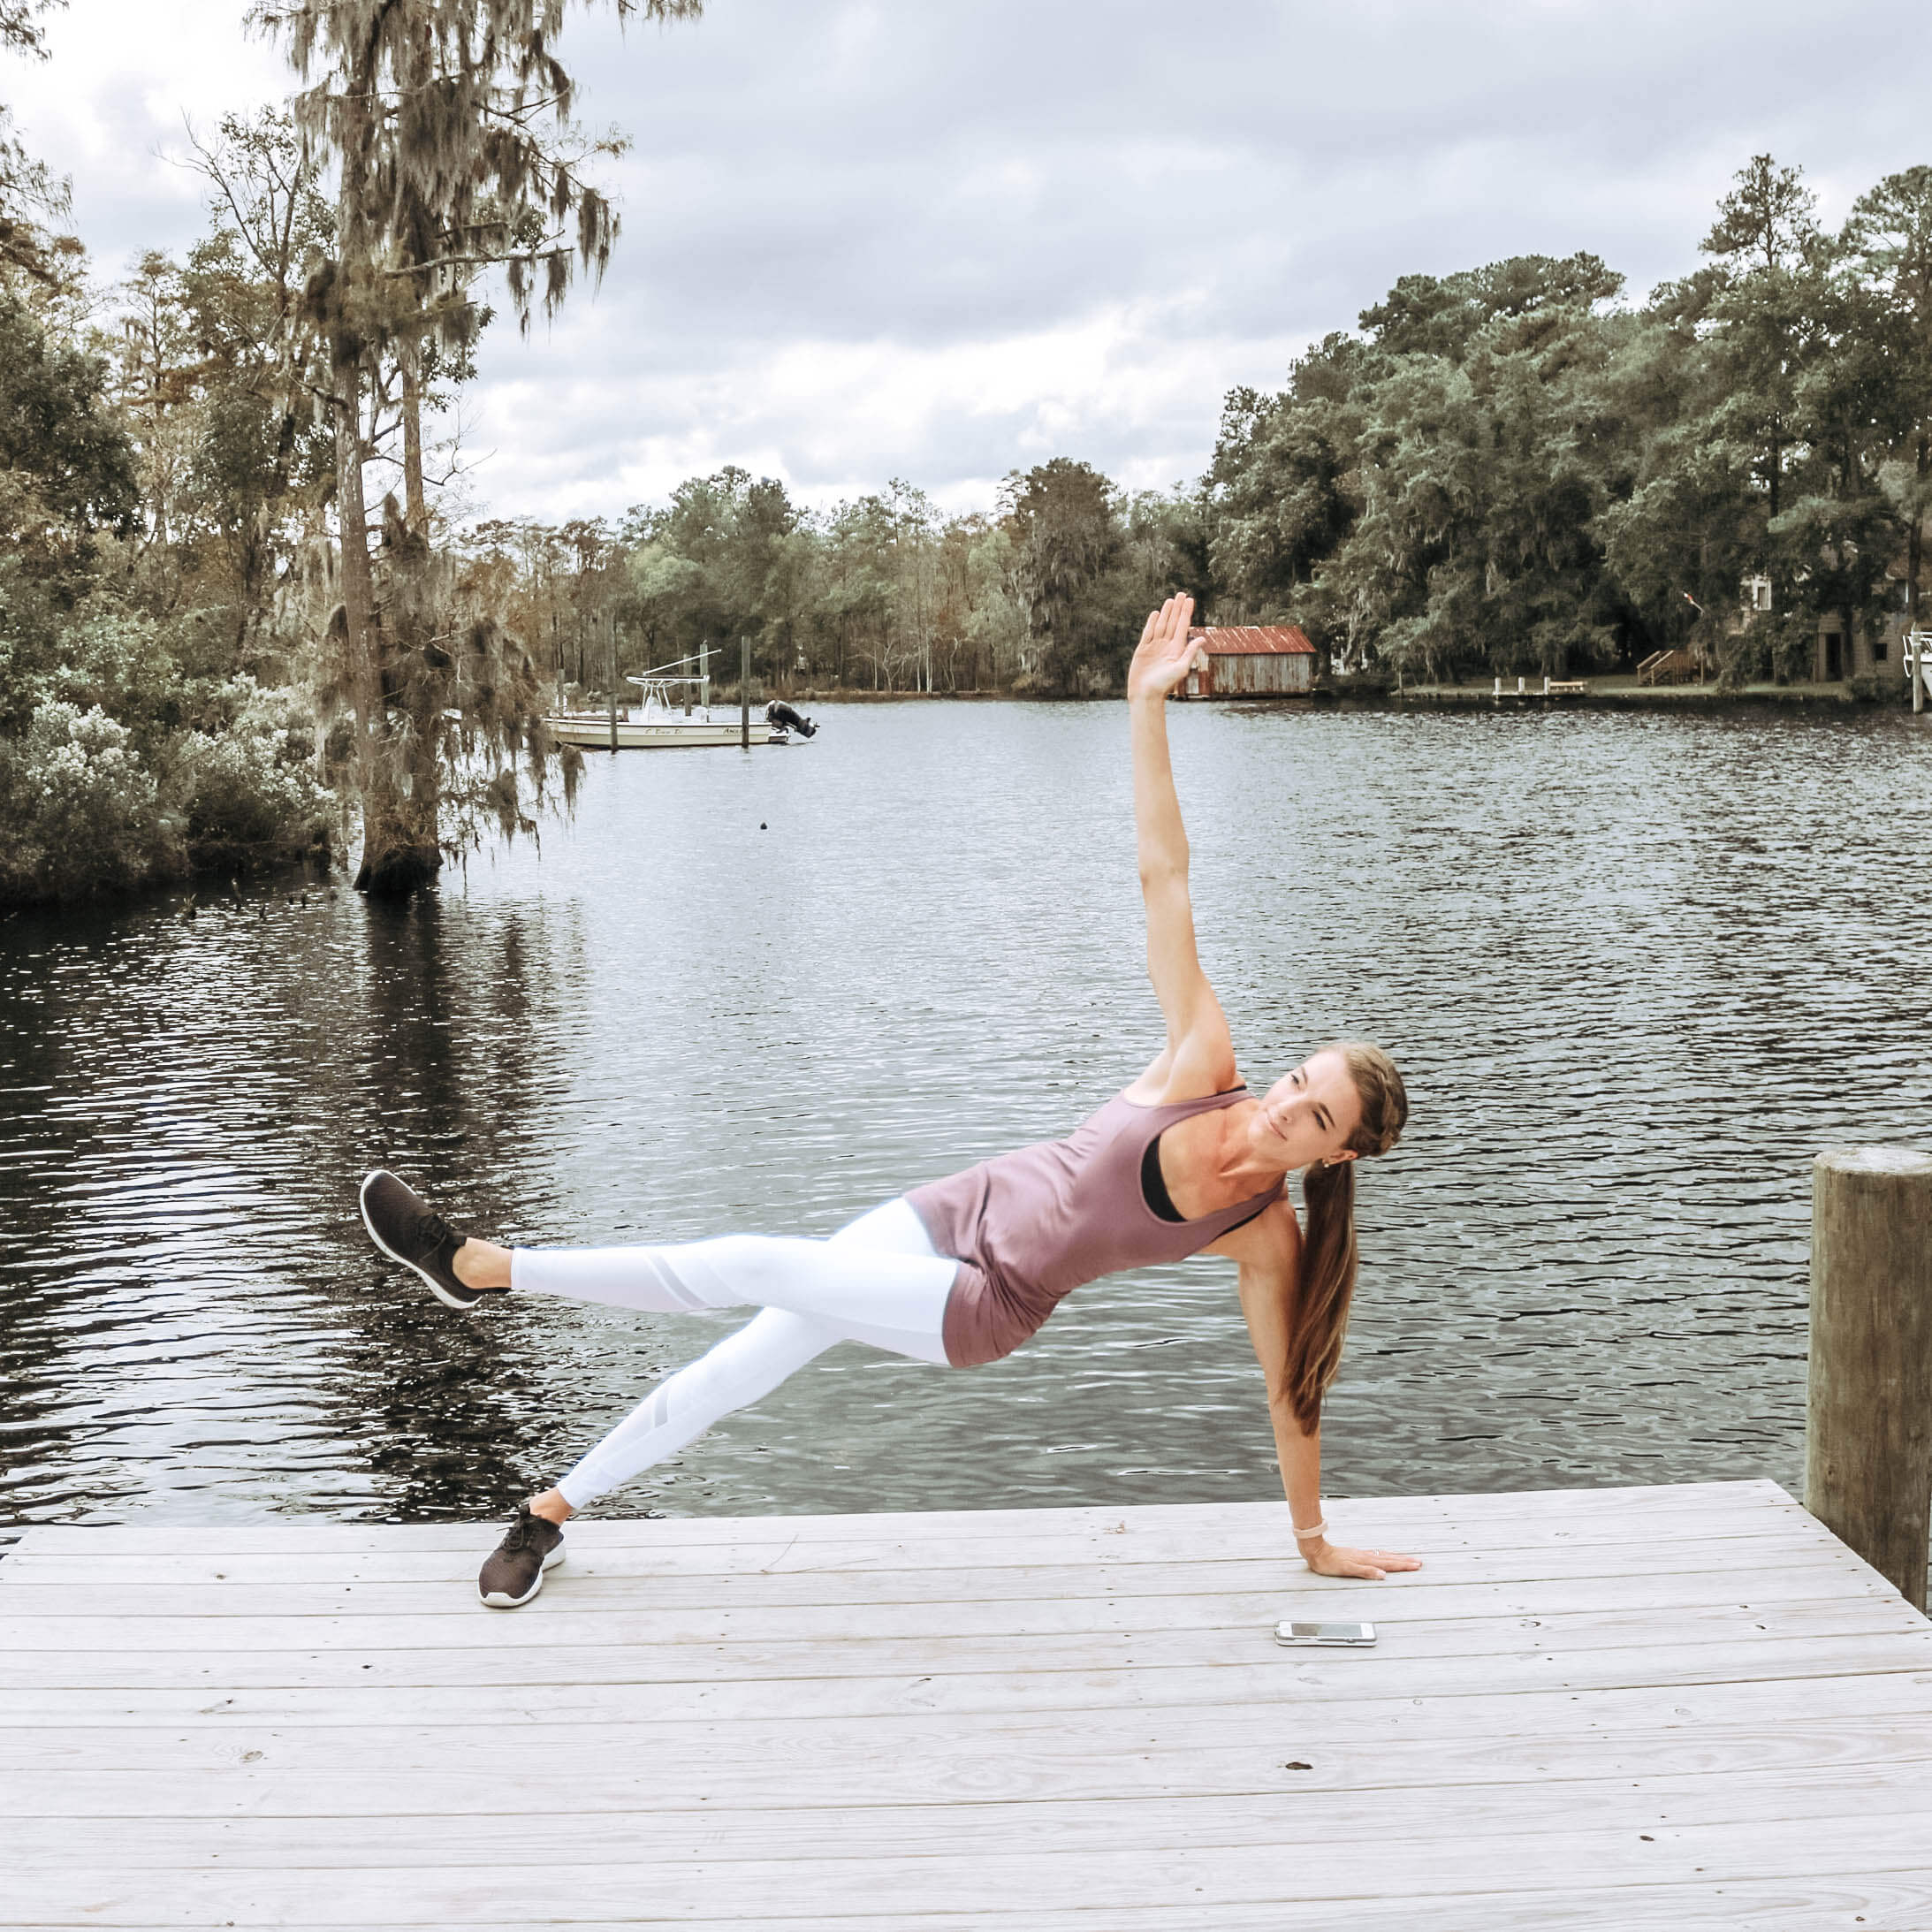
Side Plank with Leg Lift: Starting in standard plank position, bring your legs together until your heels touch. Lean to your left while lifting your right arm up toward the ceiling until you are balanced on one hand. Lift the top leg and hold.
Why we love it: This move is great for strengthening your core, and if you squeeze your glutes as you lift your upper leg, you’ll get a great lower body burn as well!
Day 14
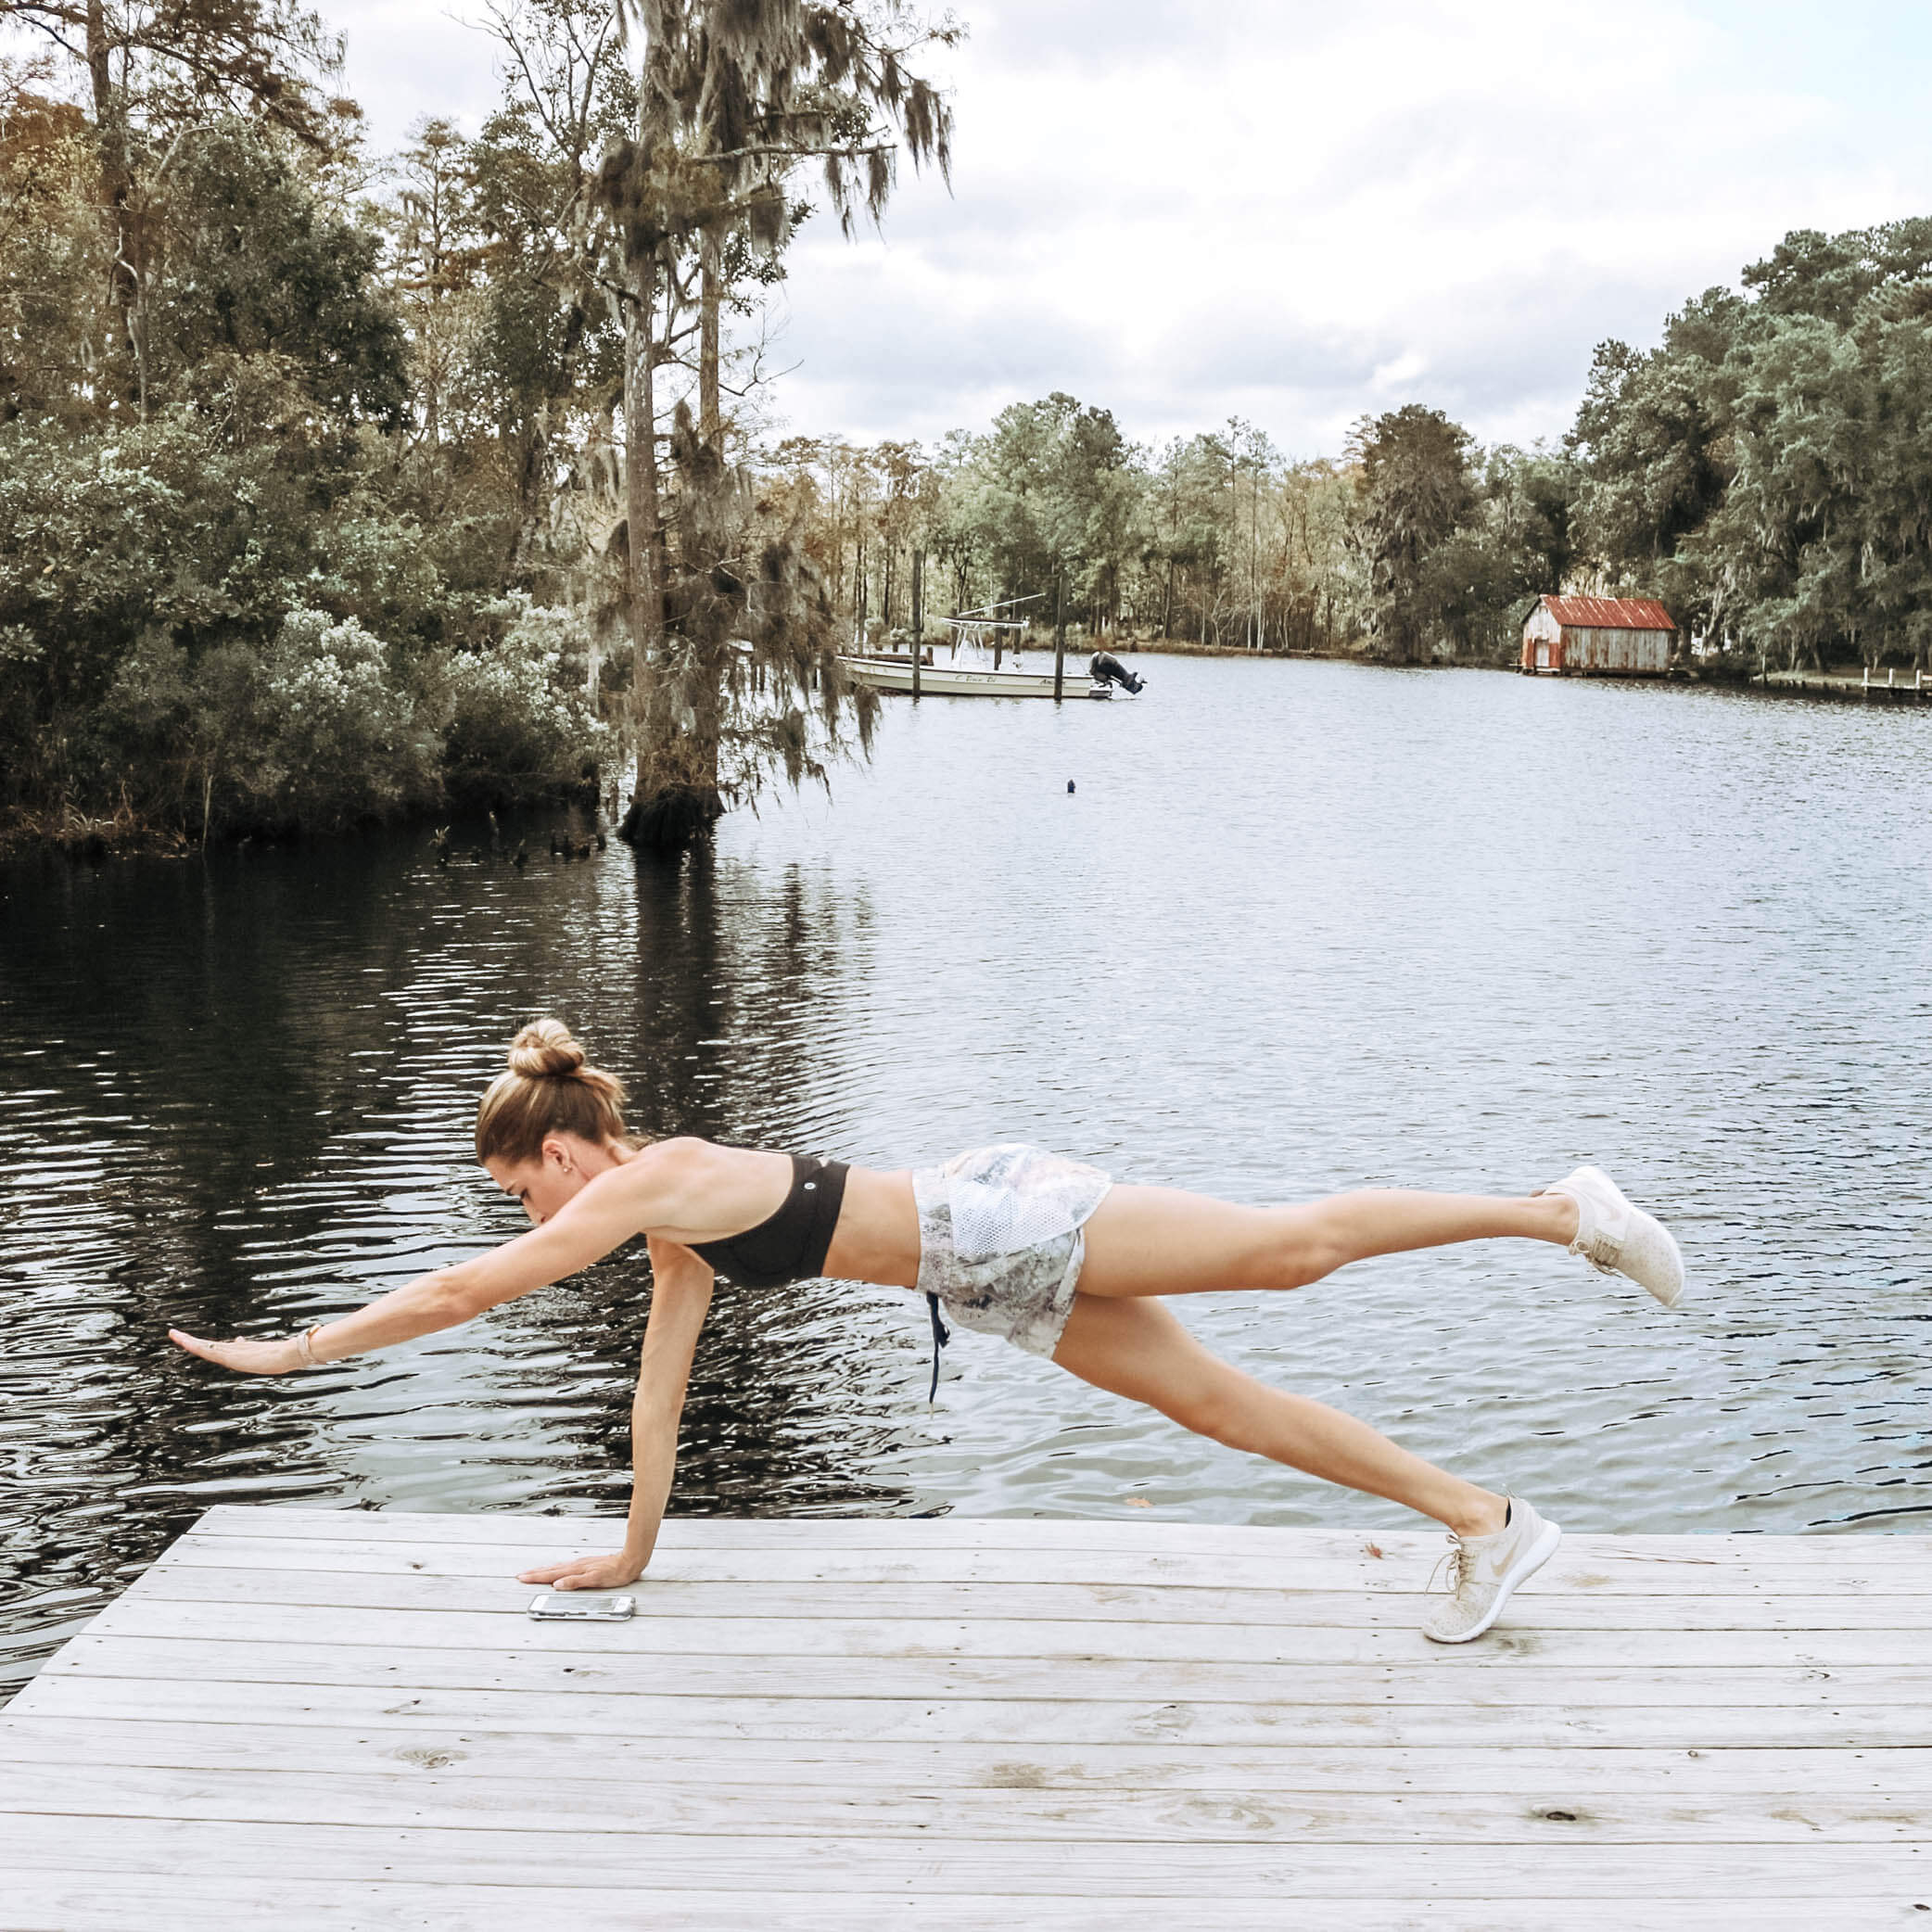
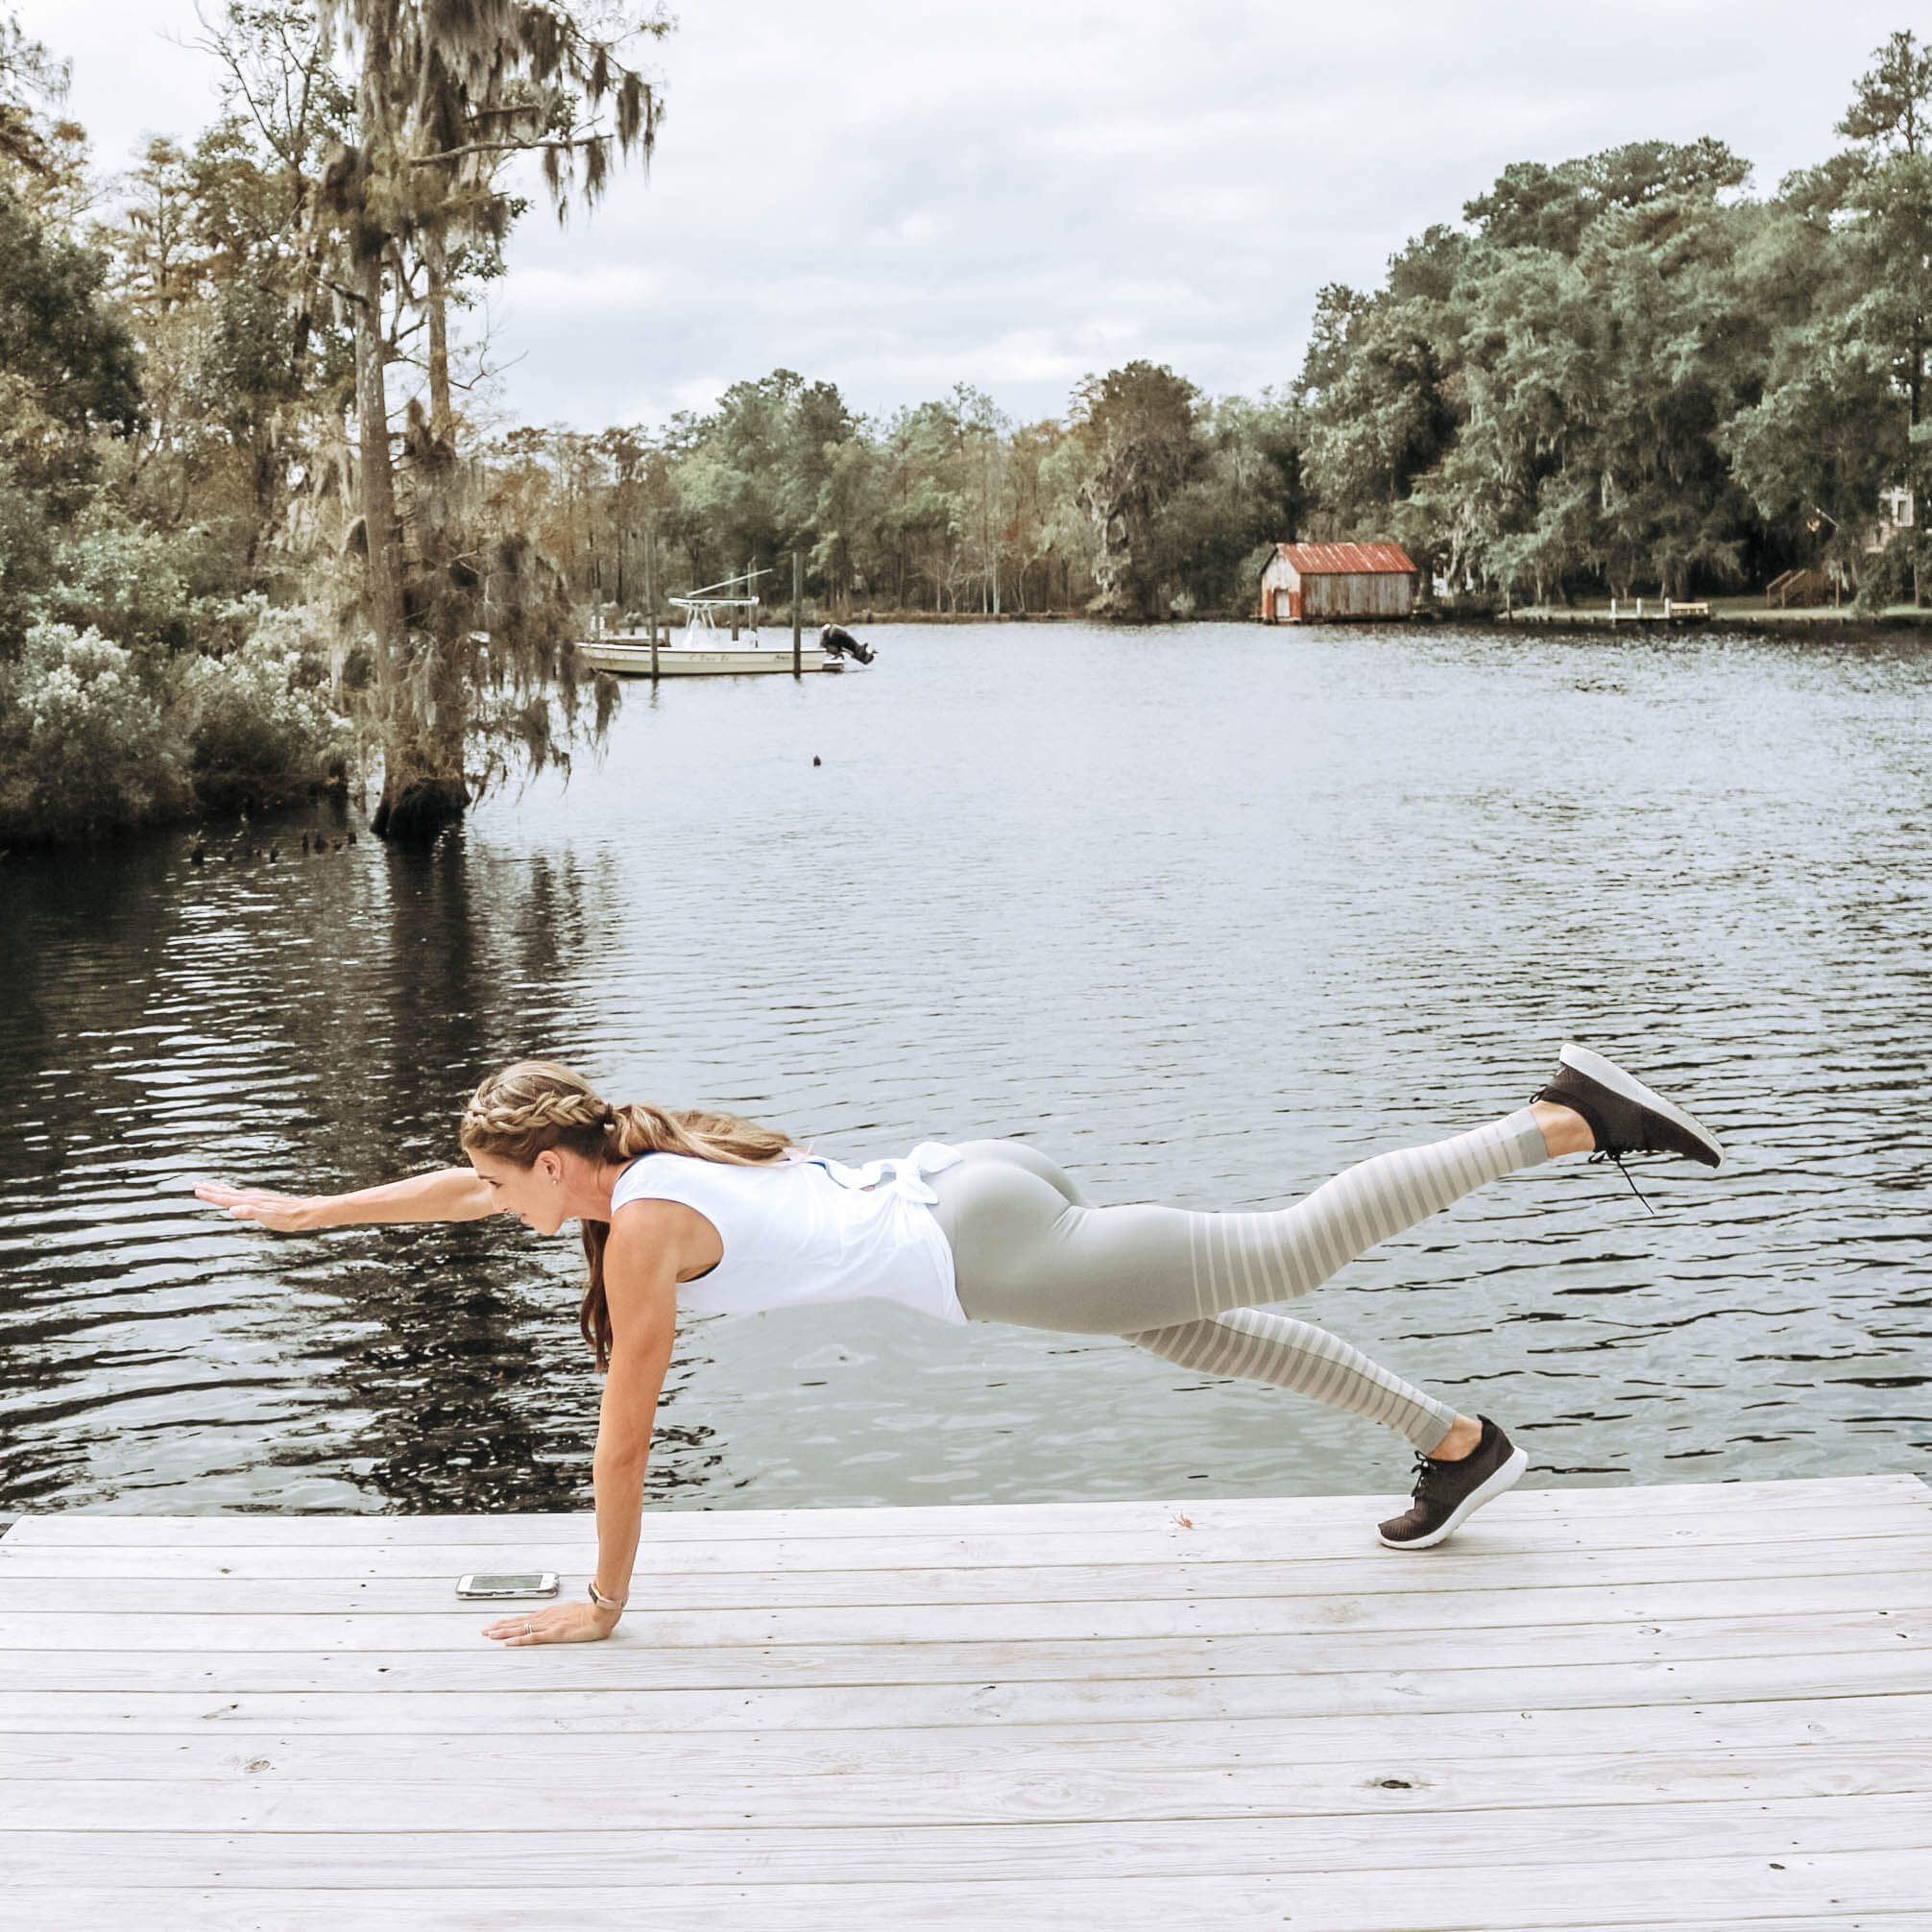
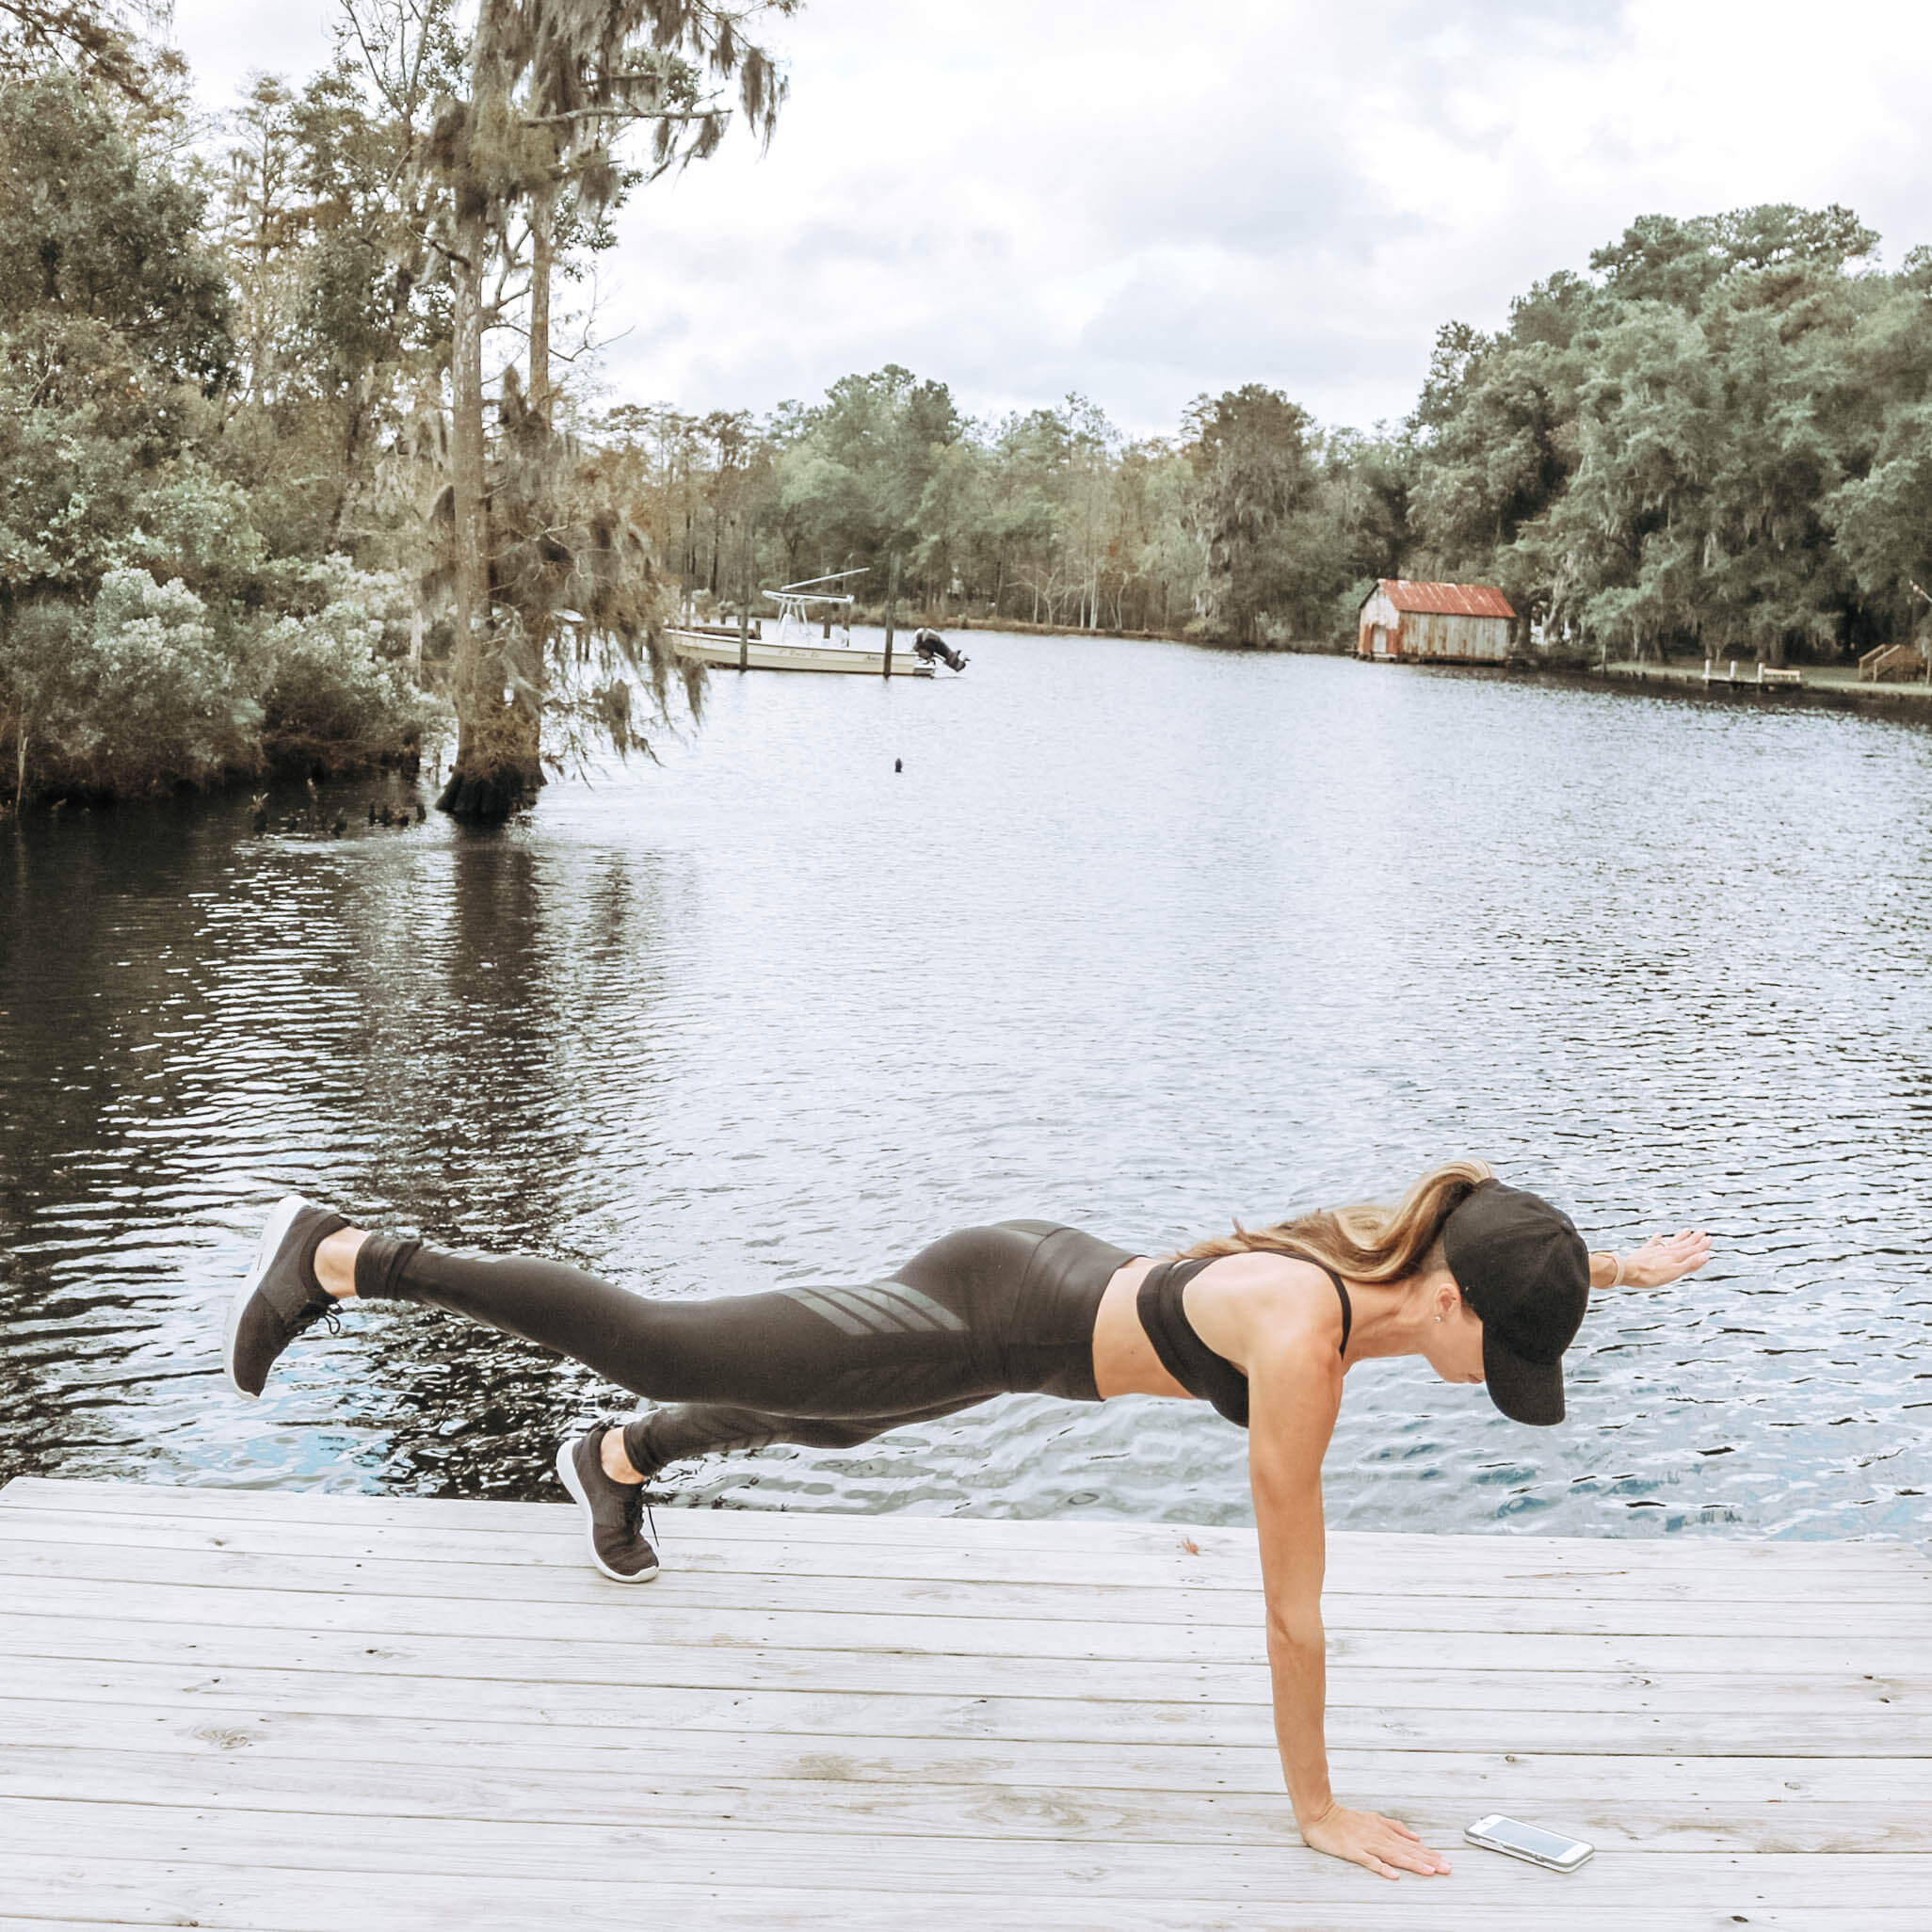
Bird Dog Plank: Embrace your inner pointer dog today! Begin in standard plank, and then lift opposite arm & opposite leg, making as straight a line as possible with your extended limbs and core. Swap sides after 30 seconds.
Why we love it: Aside from the awesome name… we love the bird dog plank for the sheer challenge of this move!
Day 15
Plank Jacks: Begin in standard plank. Then jack your feet in and out. If that’s too easy, throw a push-up in the mix as you jump out with your feet. Hello, heart rate!
Why we love it: In addition to being a GREAT core strengthener, these plank jacks bring in a metabolic condition (aka metcon) component to our Planksgiving. Metabolic conditioning moves are great for #fatloss because they’re short in duration and high in intensity!
Day 16
Fingertip Plank: This one is exactly what it sounds like, so don’t overthink it. Also, don’t break your fingers. Or my fingers, for suggesting you try this.
Why we love this: Same great benefits of the standard plank- just a fun variation to see how long you can hold on your fingers!
Day 17
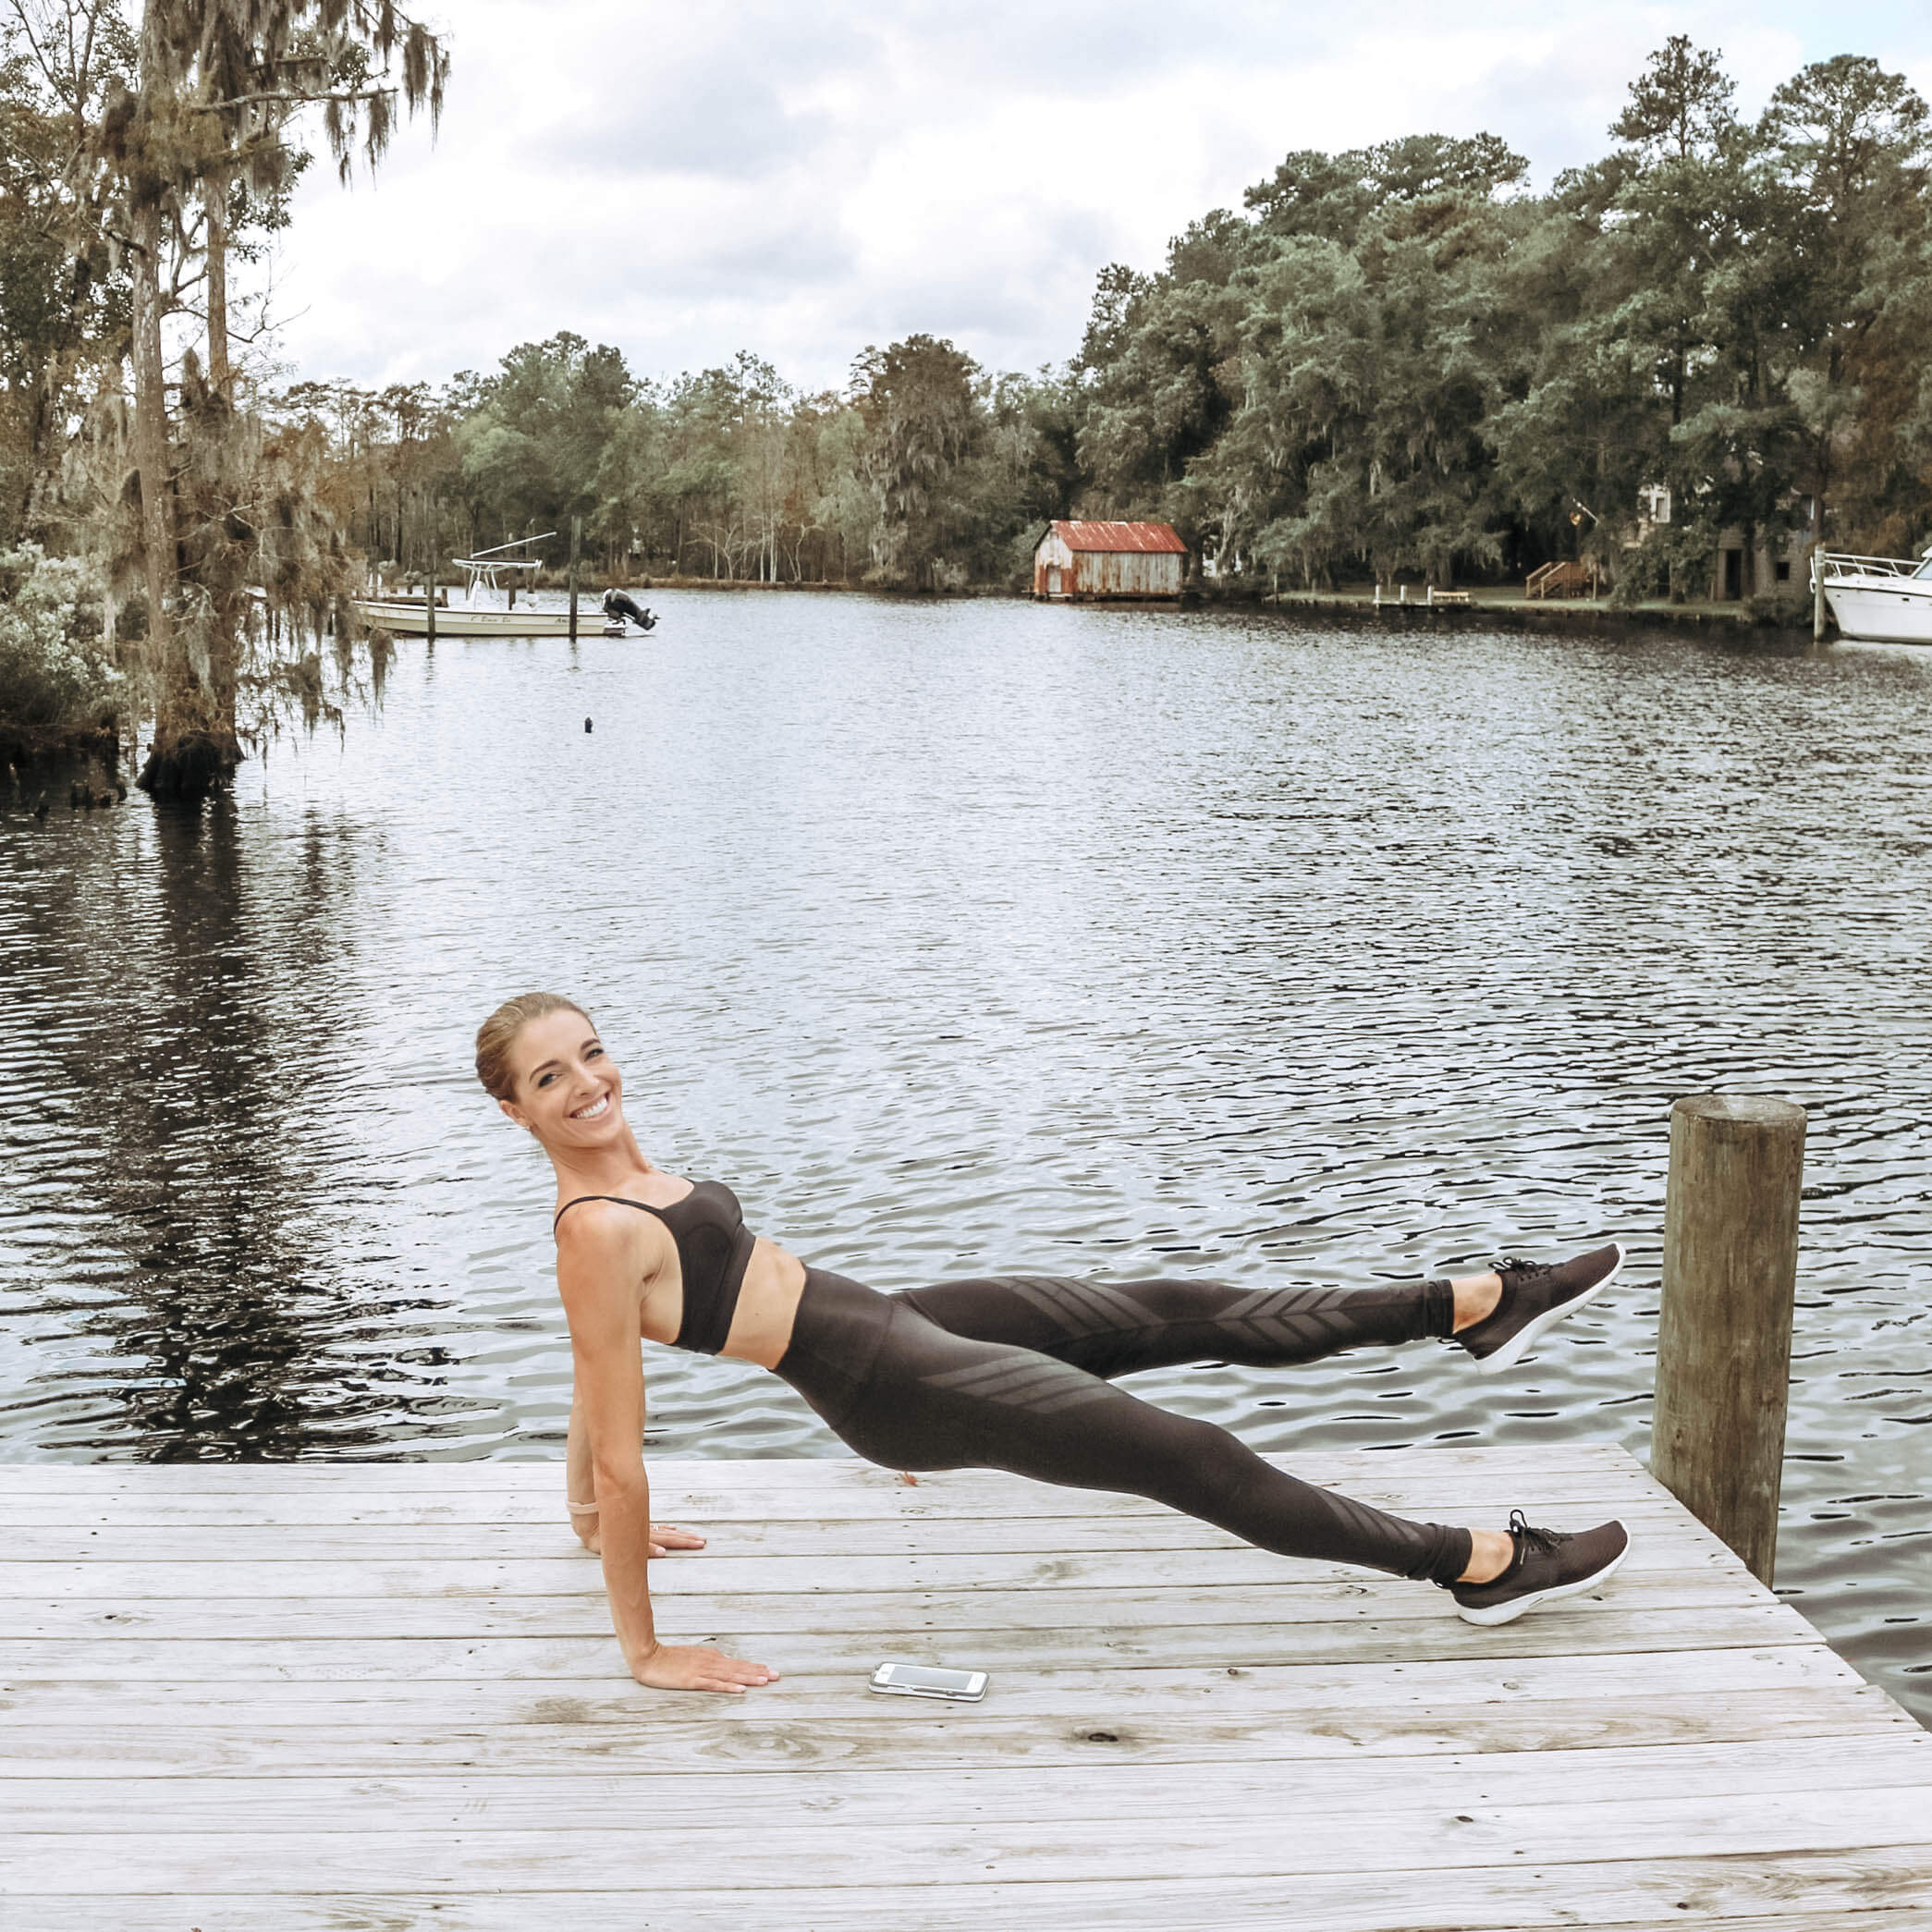
Reverse Plank with Leg Lift: Begin in reverse plank (from Day 4) & lift one leg. Switch legs after 30 seconds.
Why we love it: This move is great to strengthen your core, as well as your shoulders and glutes!
Day 18
Chaturanga with Leg Lift: Begin in chaturanga plank (from Day 5)) & lift one leg. Switch legs after 30 seconds.
Why we love it: This move is great to strengthen your core, as well as a killer move for your TRICEPS!!
Day 19
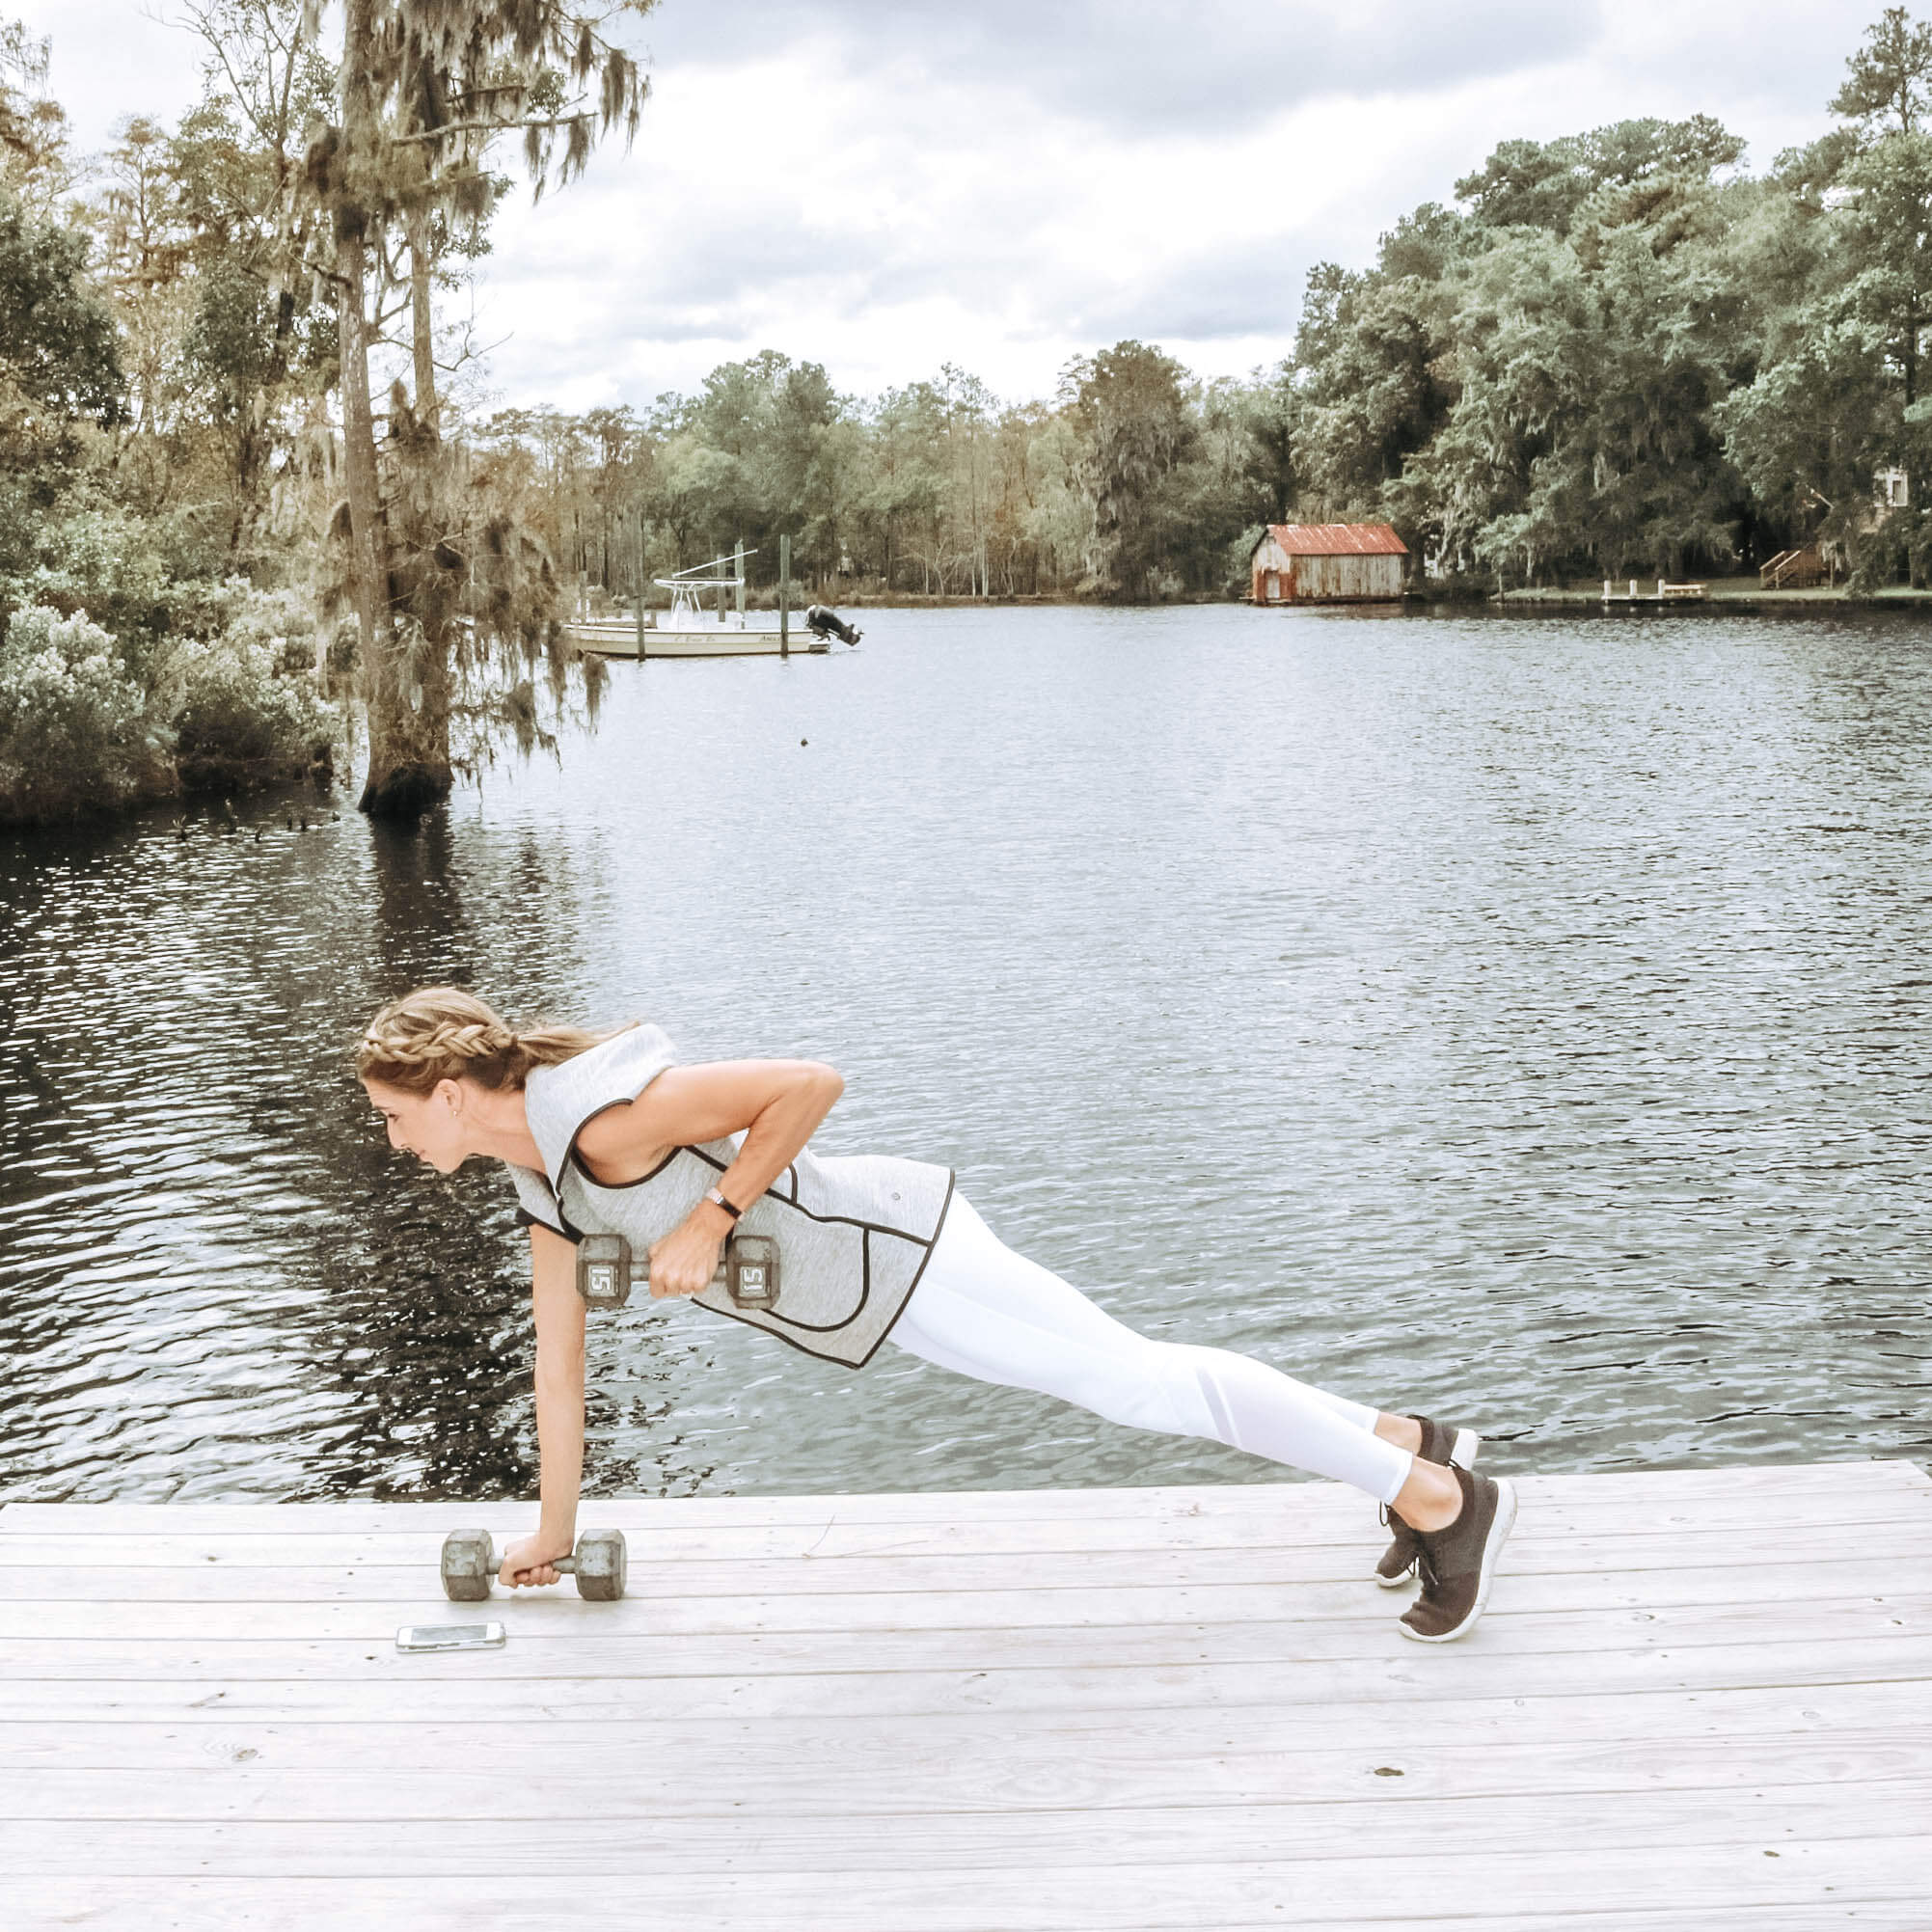
Rowing Planks: Hold standard plank position with weights in your hands. Alternate rowing each weight.
Why we love it: This move is great to strengthen your core, as well as your shoulders and back!
Day 20
Side Plank Thread Through: Begin in side plank. Lift left arm to the sky and stagger the feet. Sweep your top arm toward the mat and “thread” it under your body, reaching for the back of the mat. Rotate your body back to a side plank. Don’t forget both sides!
Why we love it: This is an active plank- so instead of remaining static throughout the plank hold, you are moving for the entire minute. This movement is great for opening up your chest and stretching shoulders, as well as strengthening your core.
Day 21
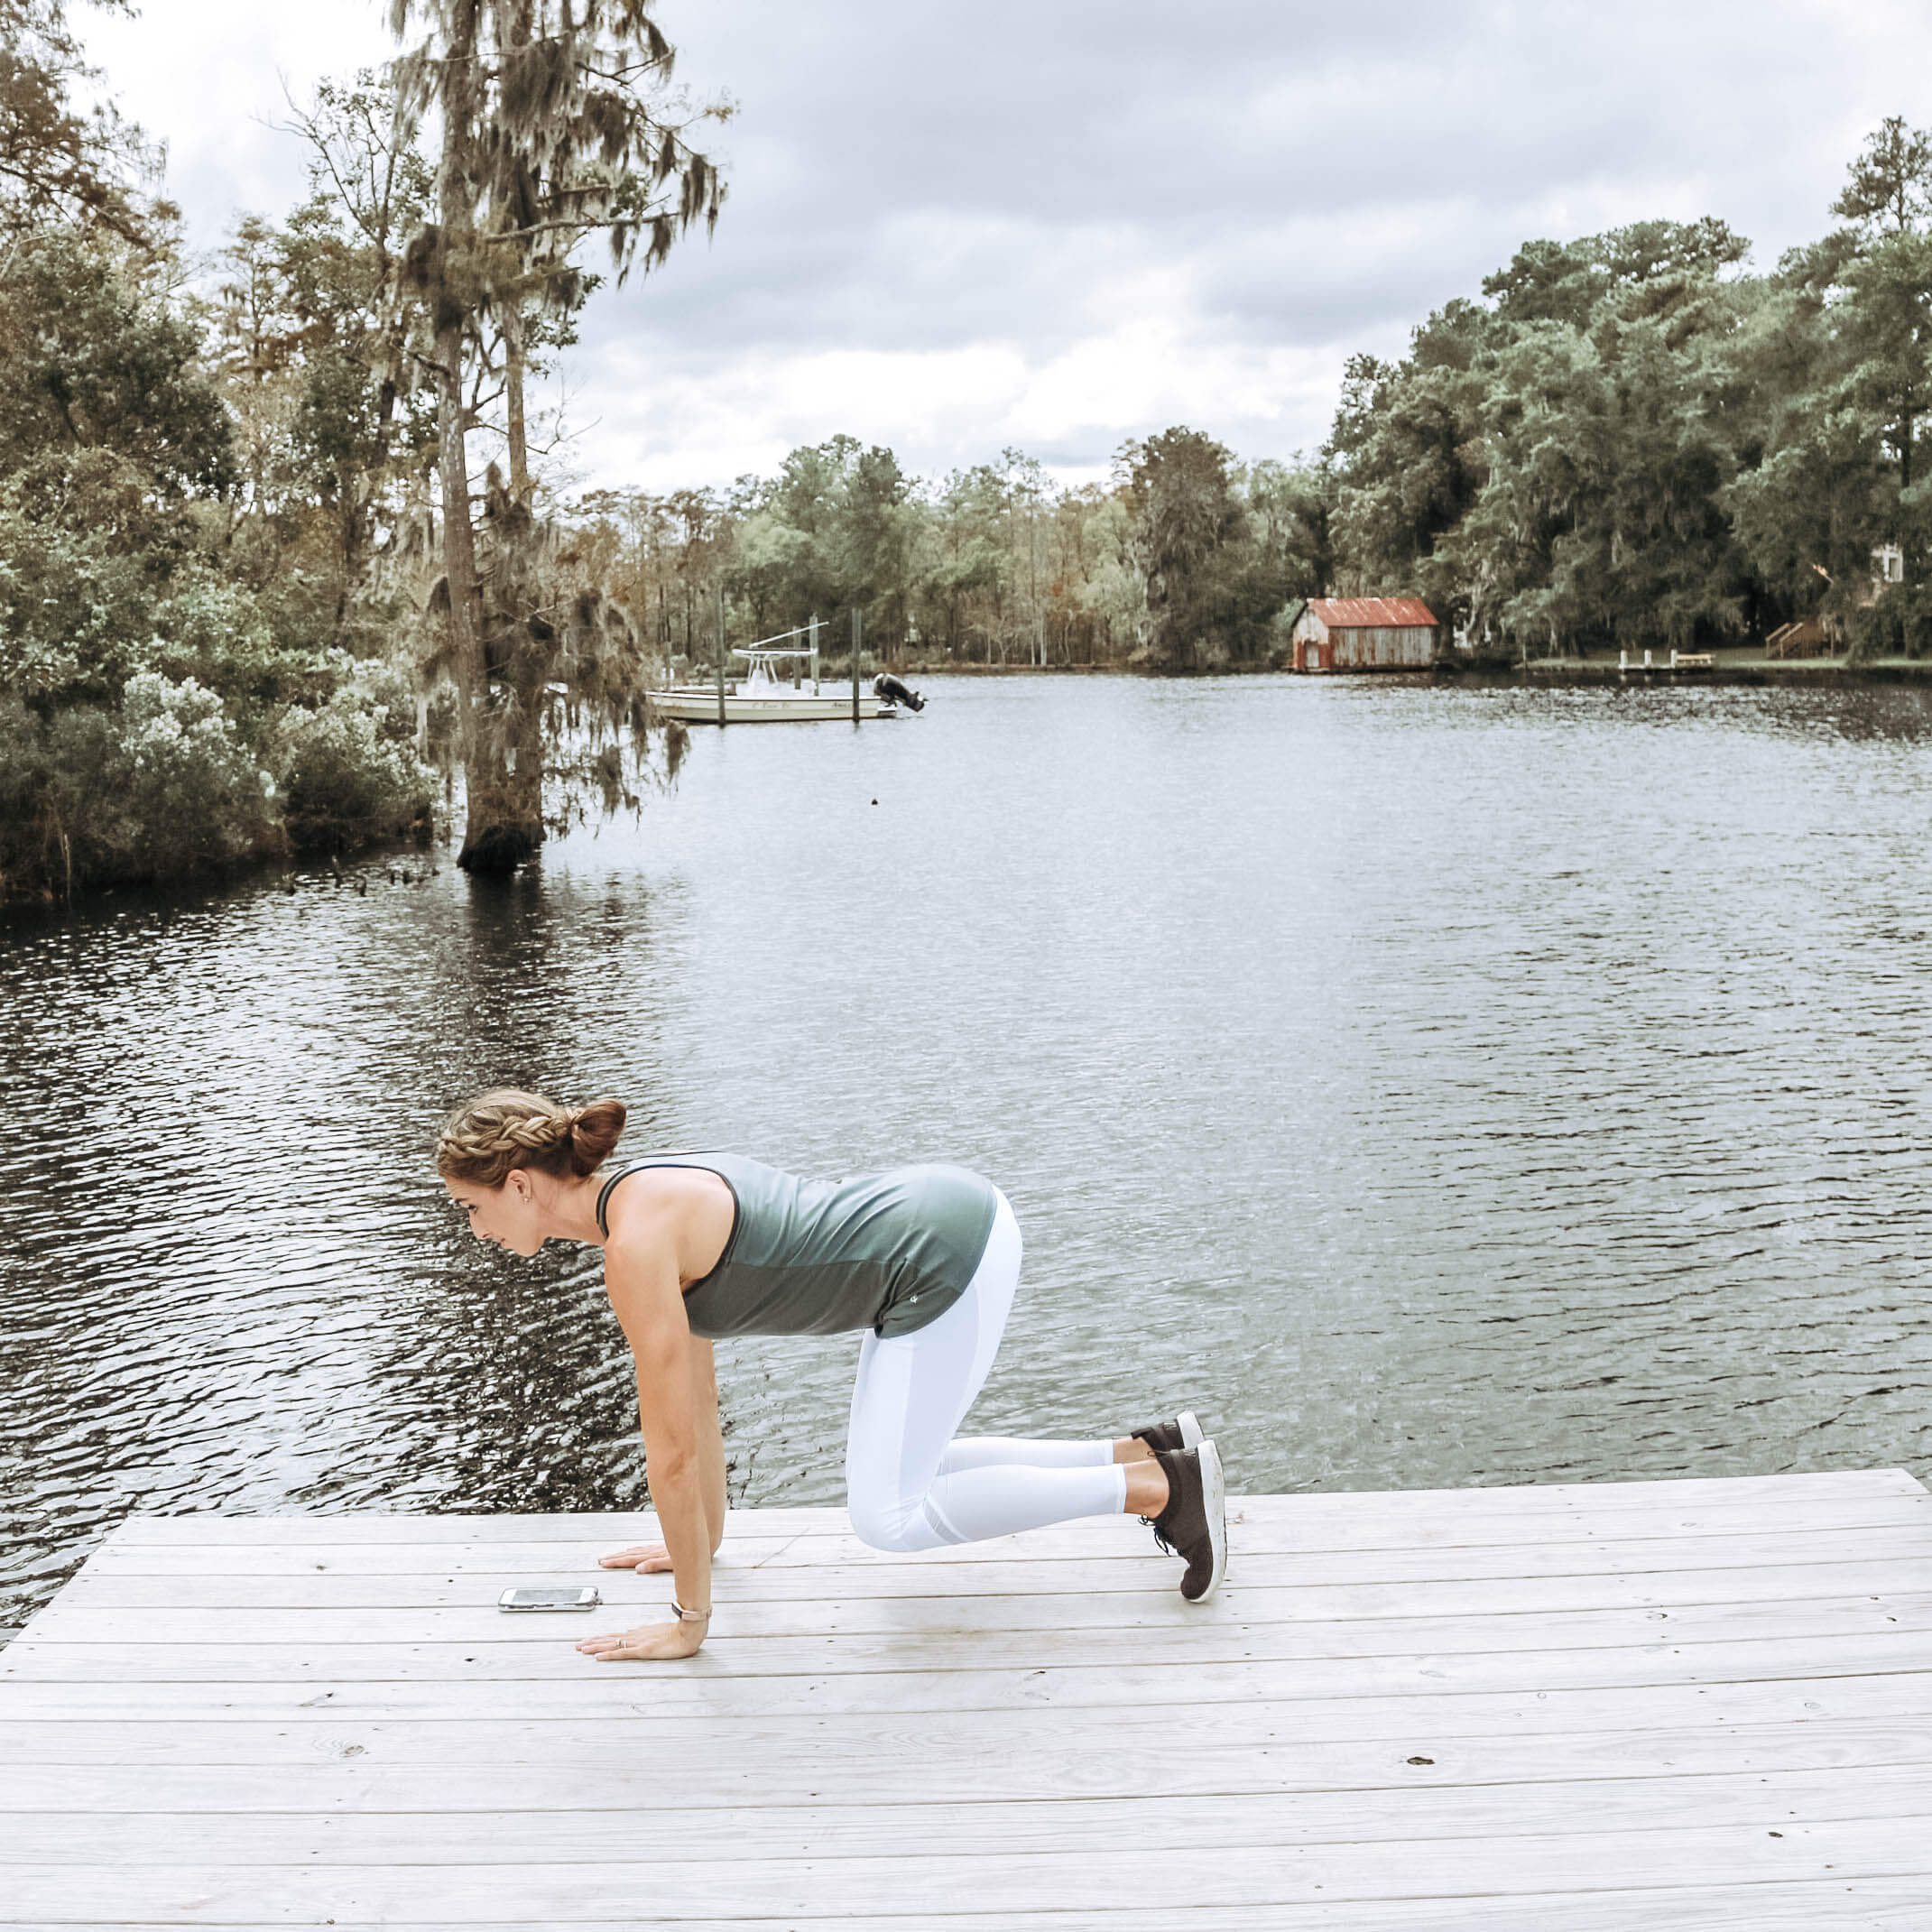
Crouching Hover Plank: Get on all fours with hands right underneath shoulders. Lift your knees 1-2 inches off the ground and hold. Keep your core super tight!
Why we love it: This plank is the ultimate core + BALANCE move! How long can you hold it? Anyone brave enough to try for TWO minutes?
Day 22
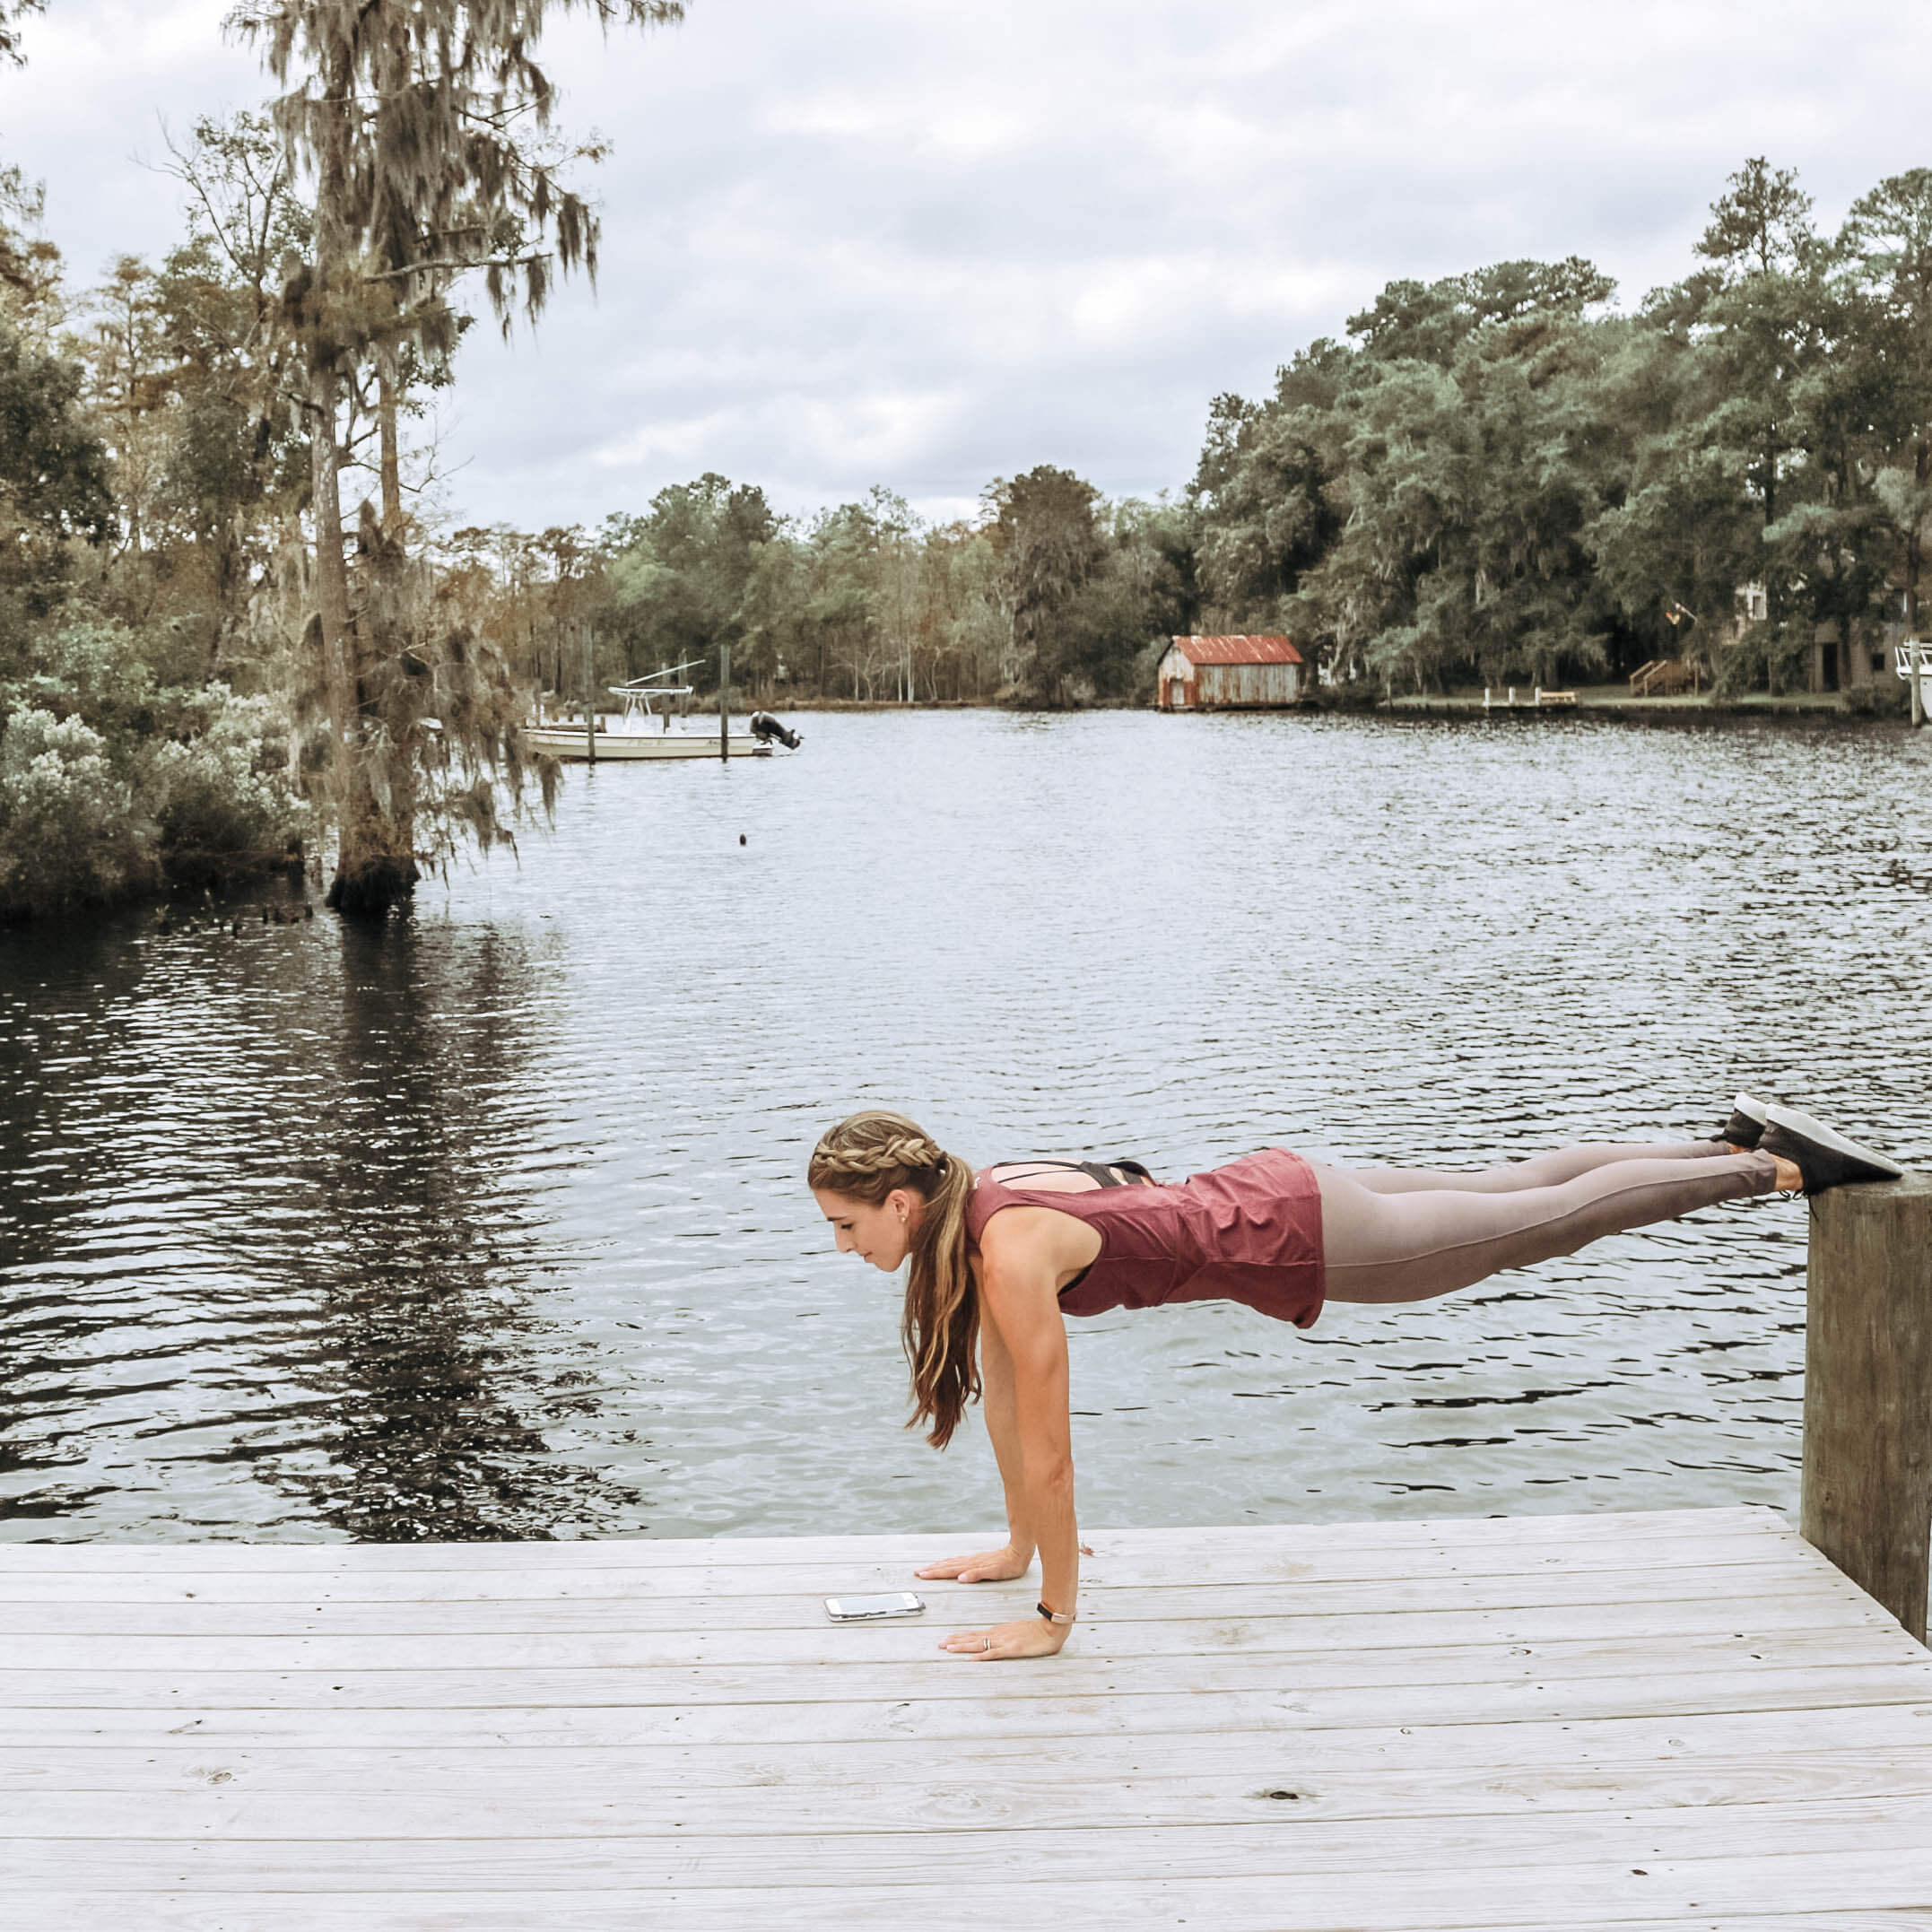
Stability Plank (use a ball, couch, rocker, table, etc) Planks: Place your feet on the _____ (fill in the blank with whatever you have available) and hold! Keep your core tight & add some push-ups if you feel like getting crazy.
Why we love this: Holding a plank on a stability ball (or ANYTHING that elevates your feet) adds a fun level of intensity to the standard plank and will have your core burning in no time!
Day 23
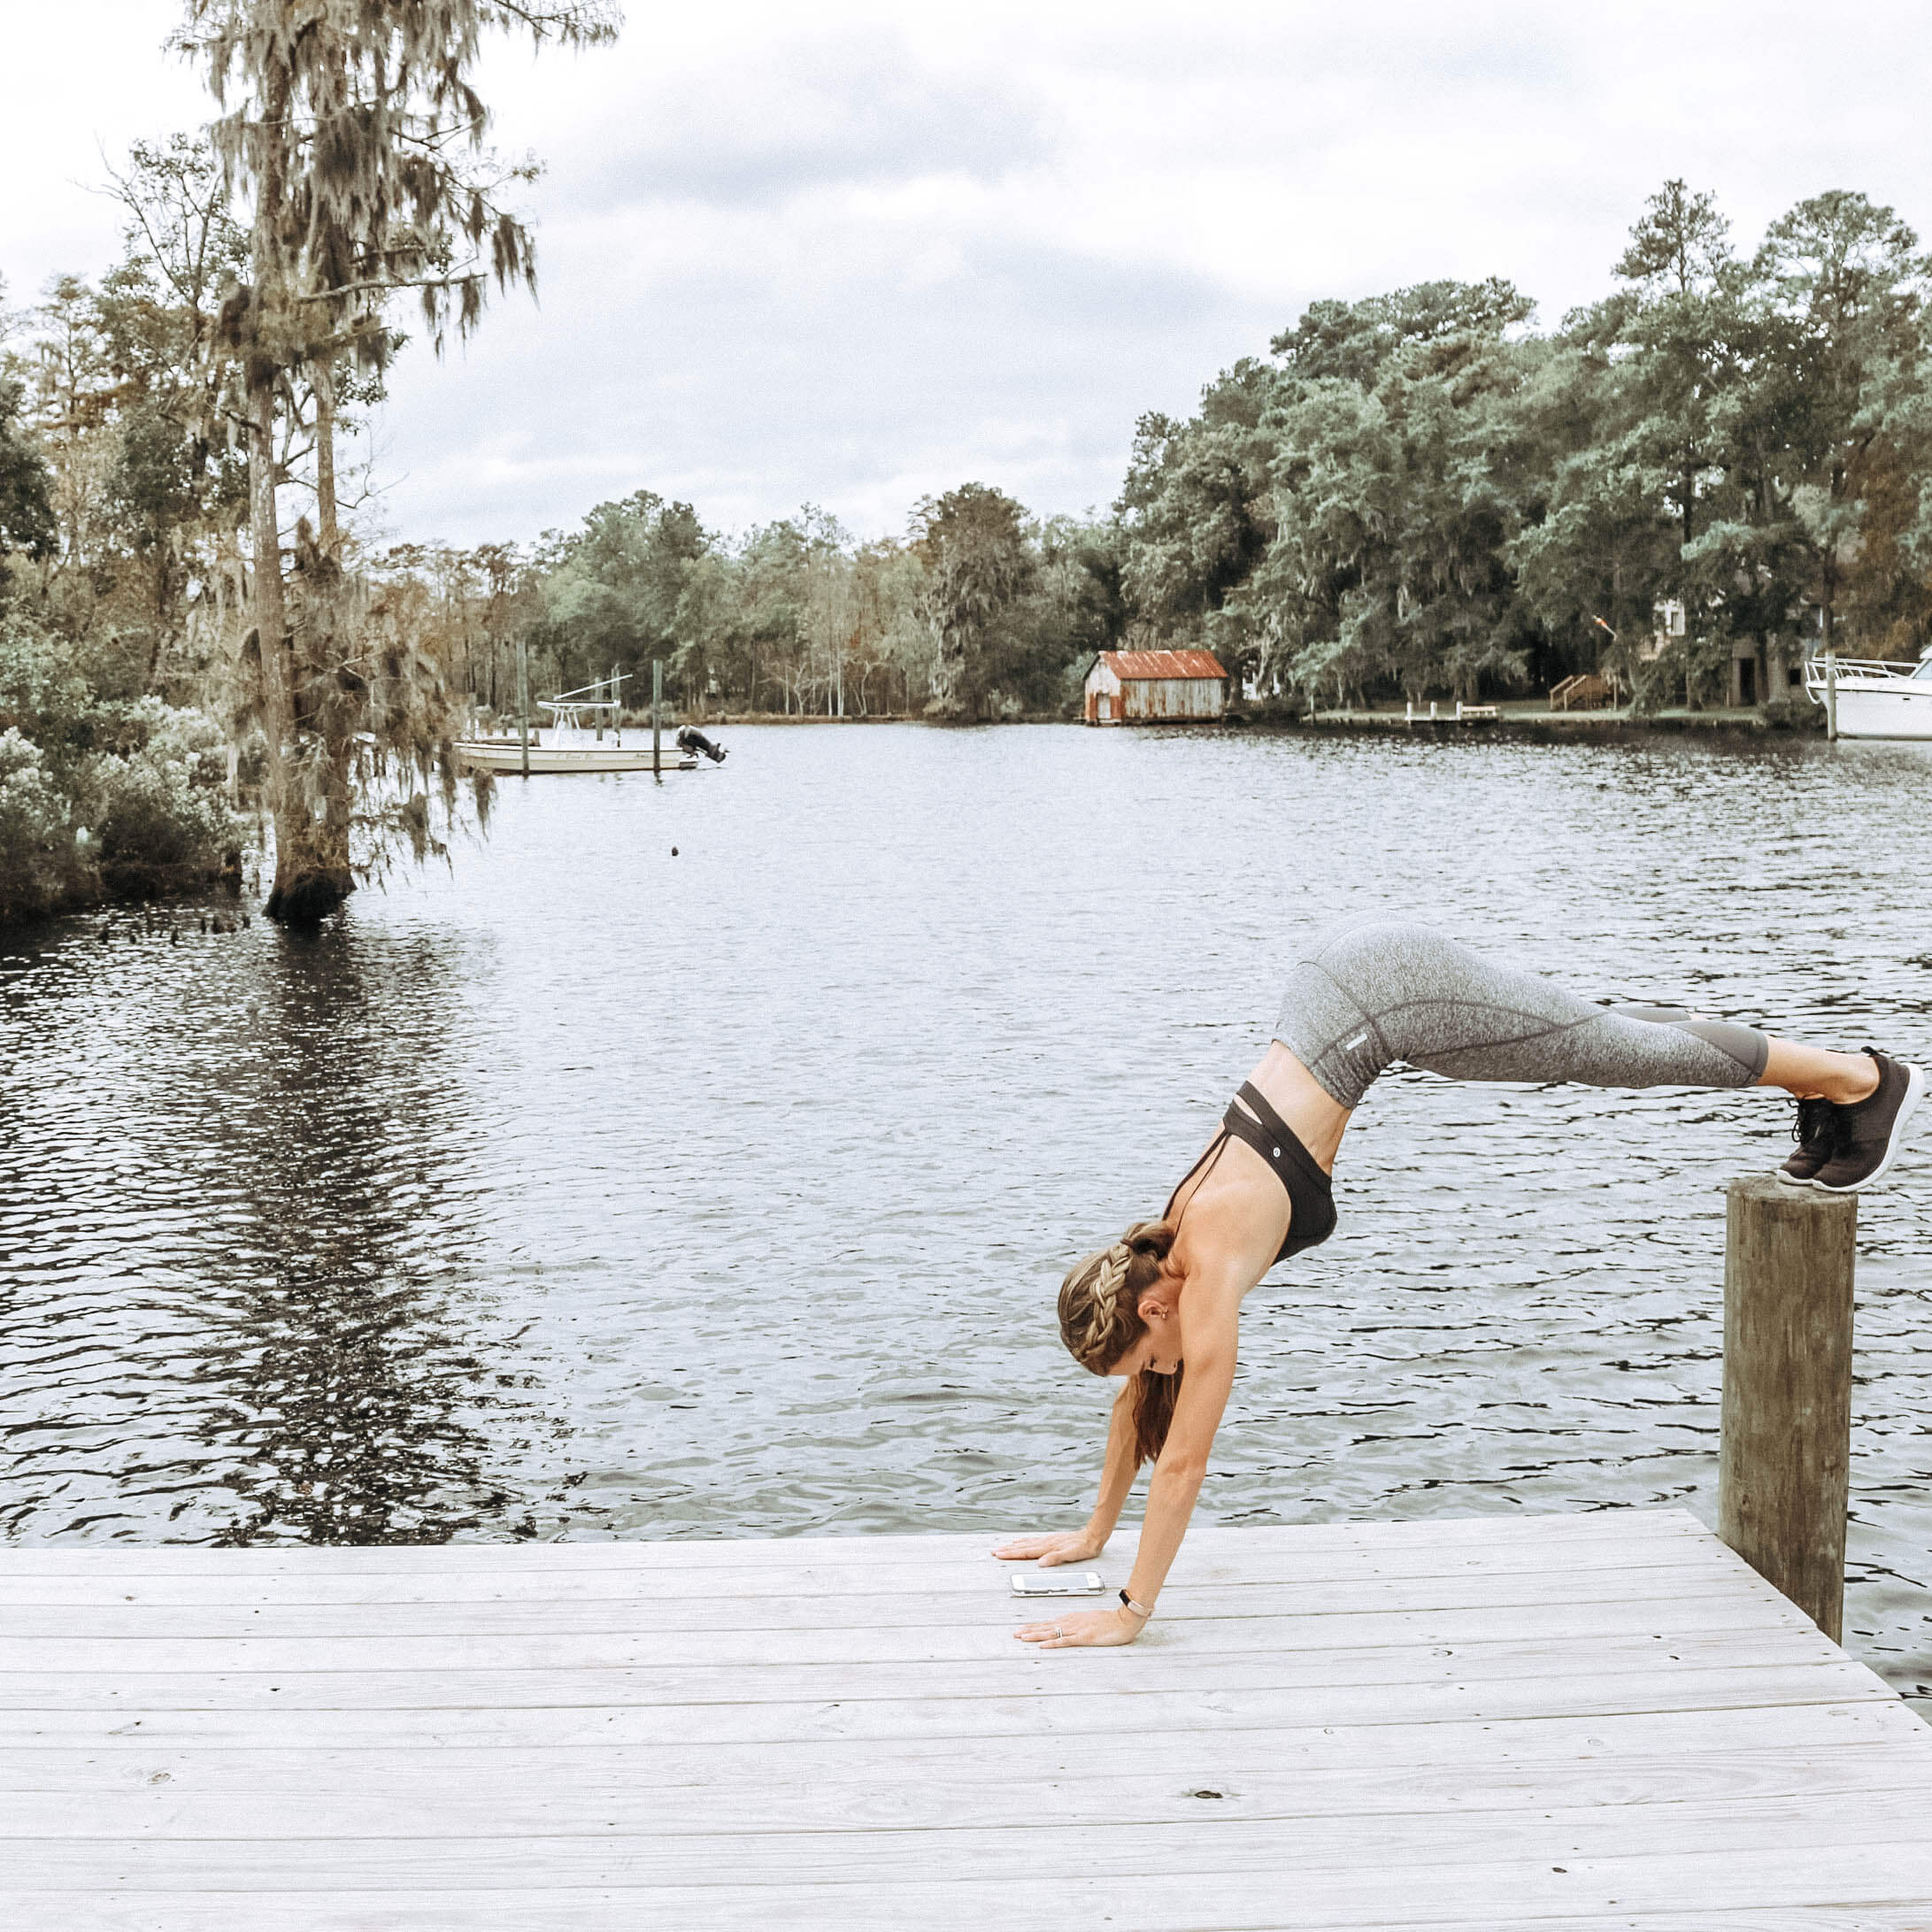
Plank Pike-Ups: Start in a push-up position with your legs up on the stability ball (or couch, rocker, table, etc). Lift your hips up by contracting your upper abs. Raise your body up to a V or until your feet are in the middle of the stability ball. Lower back to starting position.
Why we love this: Holding a plank on a stability ball (or ANYTHING that elevates your feet) adds a fun level of intensity to the standard plank and will have your core burning in no time! Adding a plank pike-up takes this move to the next level…. give it a try!
Day 24
Extended Plank: Get into standard plank & then position your hands 6-8 inches in front of your shoulders. The farther your hands are out, the more challenging the exercise!
Why we love this: In addition to a great core workout, this move is a great way to strengthen as well as stretch the upper body!
Day 25
Walking Plank: Alternate between forearm plank and standard plank. Lead with a different hand each rep. I promise you’ll feel this one!
Why we love it: Alternating from forearms to standard planks adds a great balance challenge… hold your core tight with each switch.
Day 26
Side Plank with Bottom Leg Lifted…. It’s that simple. Position yourself in side plank, and lift the bottom leg. Don’t forget to do both sides!
Why we love this: In addition to a great core workout, this move is a great way to practice balance… pulse your lifted foot by bringing it down to the ground and then back up to the sky to get an added inner thigh workout!
Day 27
Extended Bird Dog Plank: Get into standard plank & then position your hands 6-8 inches in front of your shoulders. The farther your hands are out, the more challenging the exercise! Now, lift alternating limbs.
Why we love this: In addition to a great core workout, this move is a great way to work on balance!
Day 28
Plank Drags: Find a slippery surface (think: socks on the kitchen floor, boots on a playground ledge, burp cloth/dish towel etc) and try dragging your feet up & down, in & out, or a combo of both…..
Why we love this: This planks is a great dynamic core workout, and it’s a fun way to switch up the traditional plank hold.
Day 29
90 Degree Bird Dog Plank: Remember the plank we did last week that reminded you of being a pointer dog? Do that again, except take your extended limbs out to 90 degrees.
Try both sides. (Yes, it’s the hardest one so far!)
Why we love this: This plank is a great core workout as well as a great move to help improve (and challenge) your overall balance!
Day 30
Plank of your choice!
P.S. Want an easier way to access plank photos/description??
Follow our 30 Days of Planks Challenge on Pinterest!
Follow BeyondFit Mom’s board ❯❯❯ 30 Days of Planks Challenge with BeyondFit Mom on Pinterest.
